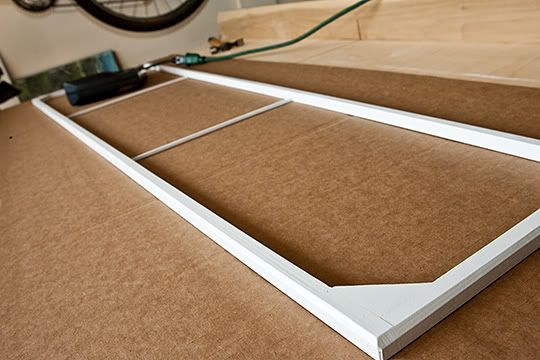
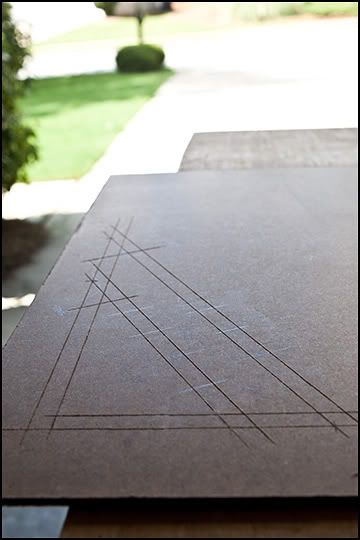
I've modified Bill's plans slightly in that I'm using 1/2 inch Baltic Birch for the baffle rather than 3/4 inch plywood. Because I modified things slightly I decided to create a layout board on a scrap piece of masonite so that I could check driver clearances inside the cabinet (as the drivers sit further back into the cabinet since I'm using 1/2 inch rather than 3/4 inch for the baffle and the mid-basses mount to the front surface of the baffle).
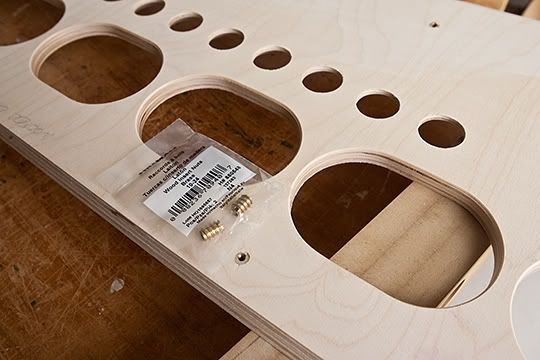
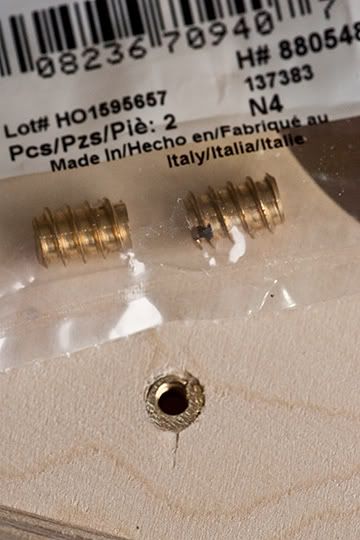
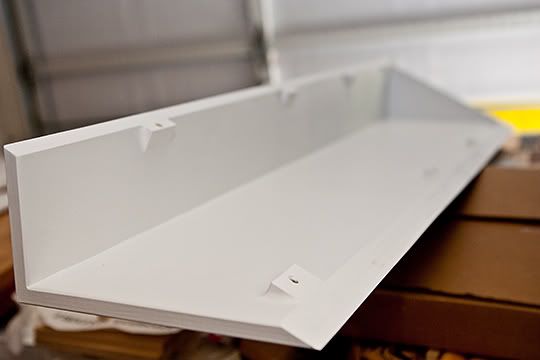
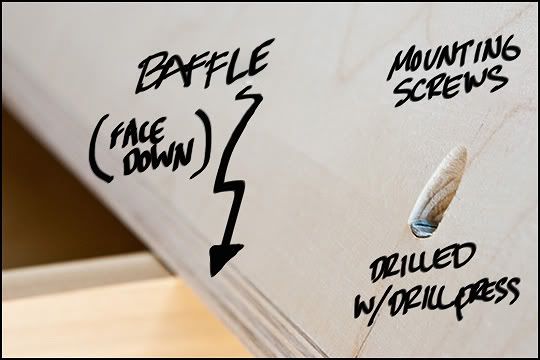
I've also added some small bosses to the interior of the cabinet and drilled and countersunk eight mounting holes for the front baffle. These are countersunk from the back on a drillpress and oriented 90 degrees to the front surface of the baffle. I'm using 10-24 flat head machine screws and I picked up some brass threaded inserts that screw into the mounting holes in the front baffle that take the 10-24 machine screws. This way the machine screws can draw the baffle down tightly and it can be removed if necessary.
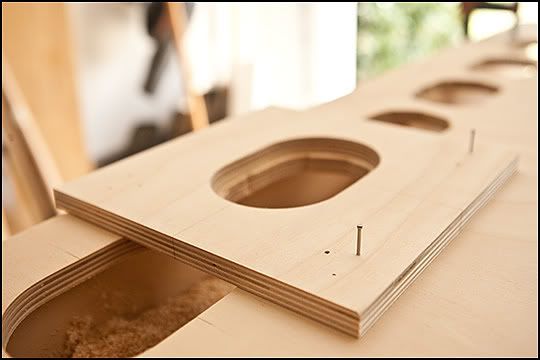
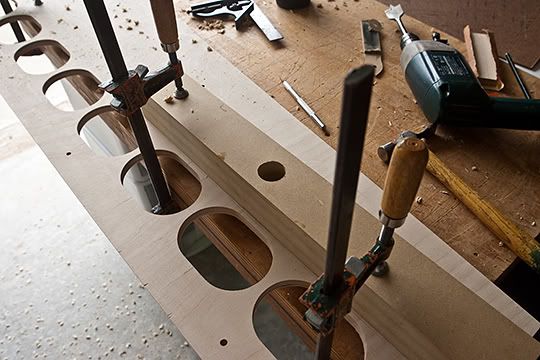
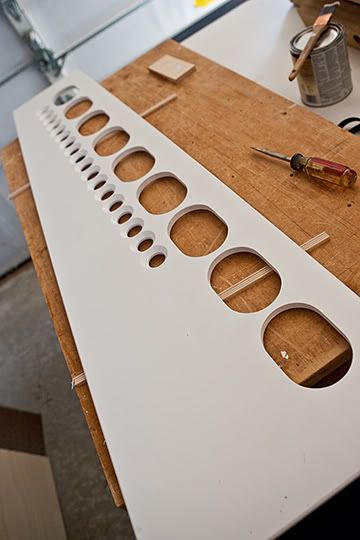
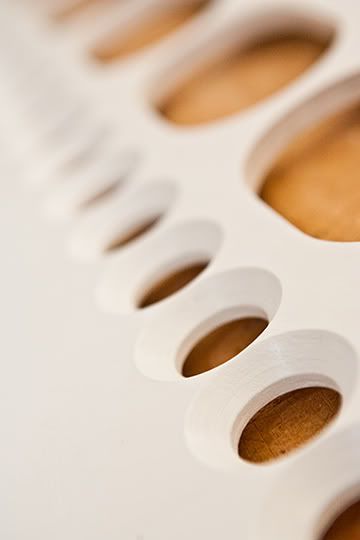
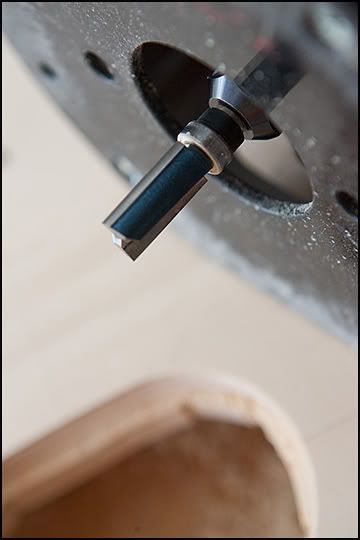
I created a jig with the exact size of the cutout necessary for the 3X5 mid-basses and then used it with a 1/2 inch carbide router bit with a ball bearing pilot. This approach worked great to create the exact sized openings in very short order.
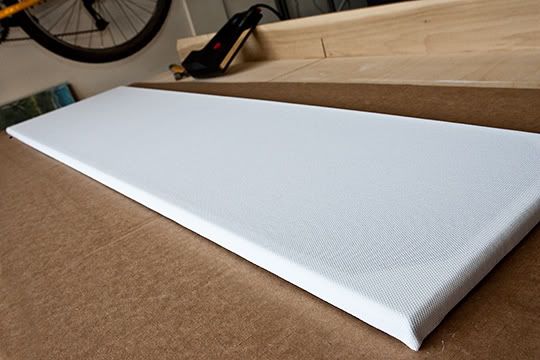
You may also notice that the grain of the wood does not run the length of the cabinet as it normally should if it were to be given a clear finish. I'm using some left over baltic birch and had to run the grain the short way versus the long way but this doesn't matter as the cabinet will be painted black and I will probably float a white grille over the front when it is all said and done.
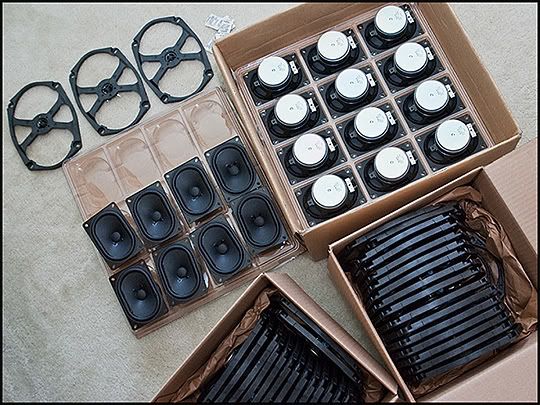
Inventory arrives!
I like to work with a layout board to check clearances, etc.
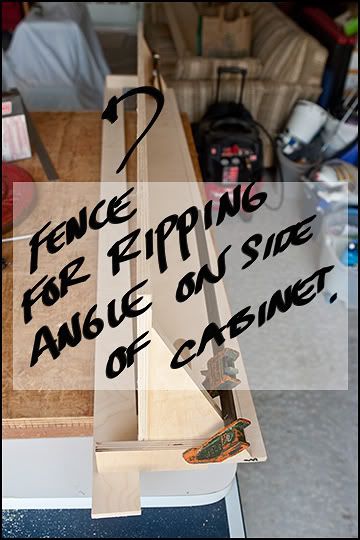
I attached a fence for ripping the angle on the side of the cabinet temporarily using clamps. Worked well!
Cabinet back and sides completed...
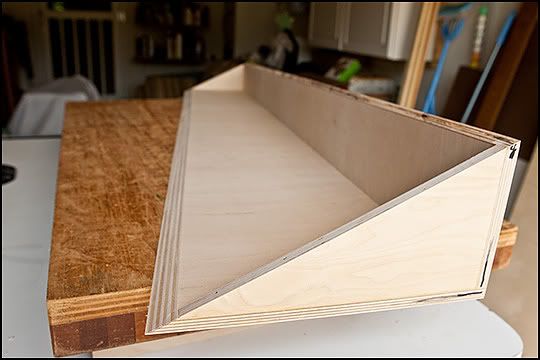
Here are the extra bosses I added so that my machine screws had a little more meat behind them....
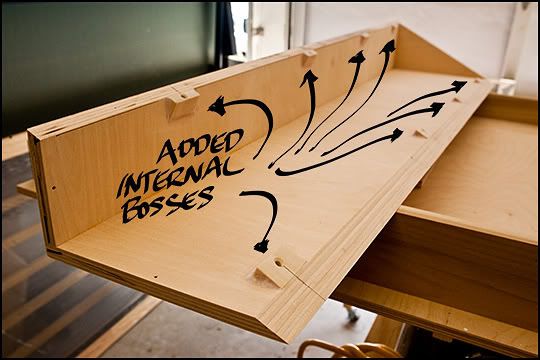
Another shot for reference...
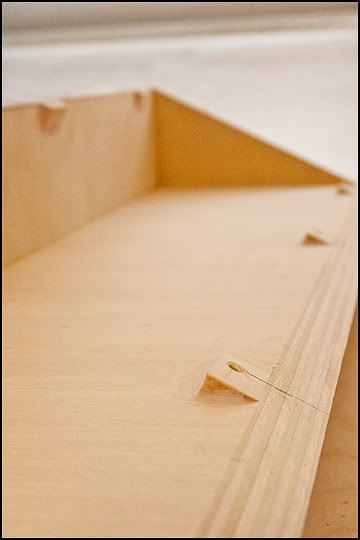
Screws countersunk from the back/side of the cabinet...
1/2 inch carbide router bit with pilot for use with jig for cutting mid-bass openings.
Template in place for routing next opening. You can see the opening in the foreground is complete. The finishing nails are pre-drilled once I have the template in place (I align center lines on the baffle face with centerlines on the template) then I tap the finishing nails into place and the jig is held securely as I route the opening. Once complete I simply pull the template, reposition, redrill for the finishing nails and away I go. Using the finishing nails allowed me to position and secure the template without the need for clamping it in place (clamps would have interfered with the base of the router unless I went to a much larger template).
