
As always, others will have their own methods that work for them, just thought I would show you the one that has worked very well for me.
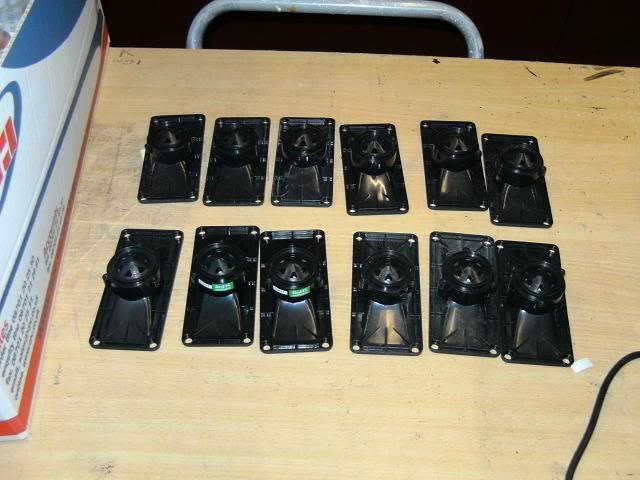
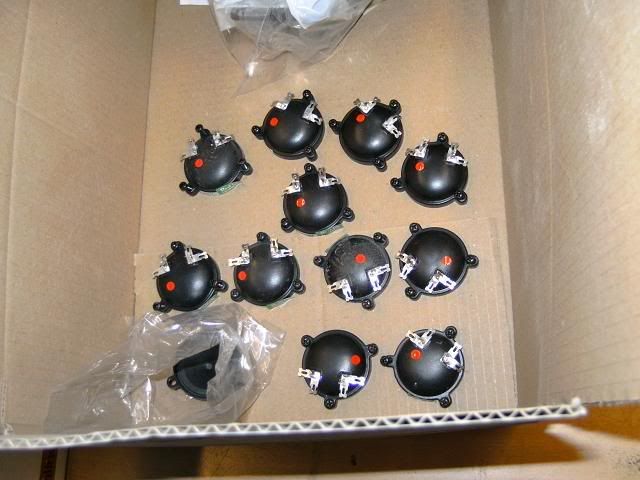
Step one remove the elements !!!!
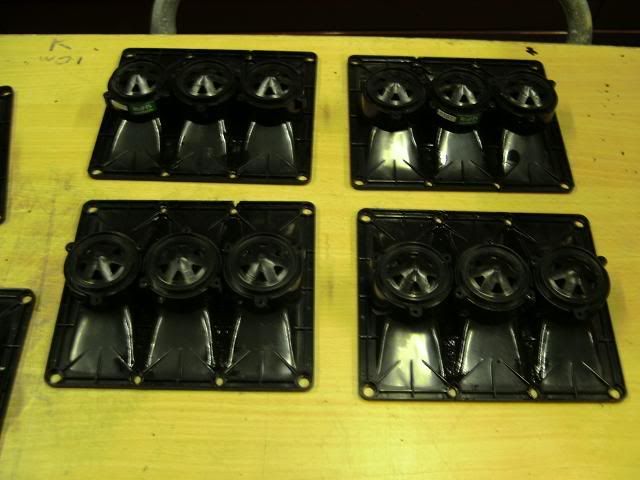
Step 2 cut them all to width and glue each full side up:-
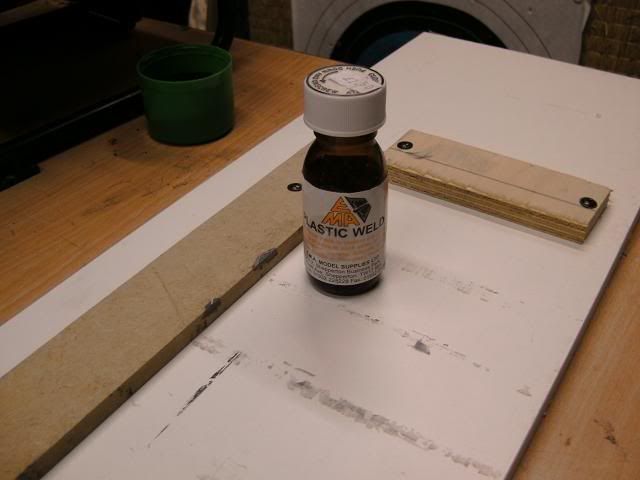
I now use 'plastic weld' model cement, rather than the thick ABS cement. It is very thin consistency, cures in minutes, and will work its way into joins using capillary action.
If the piezo is going to be exposed I would quickly run the flat arrays over some sandpapar to smooth them out at this point, as its simpler than when they are joined at 45deg.
Step 3 cut each side in one pass at 45deg on a fine tooth table saw so you get a single smooth cut on each side and glue both side together (rather than lots of individual piezo's to cut and glue separately)

If your arrays are to remain exposed I would sand the joints down a little, and then spray the dront of the array with a satin black spray paint (car body primer spray works well for this I have found)
Step 4 re-attach the elements and we are done:-
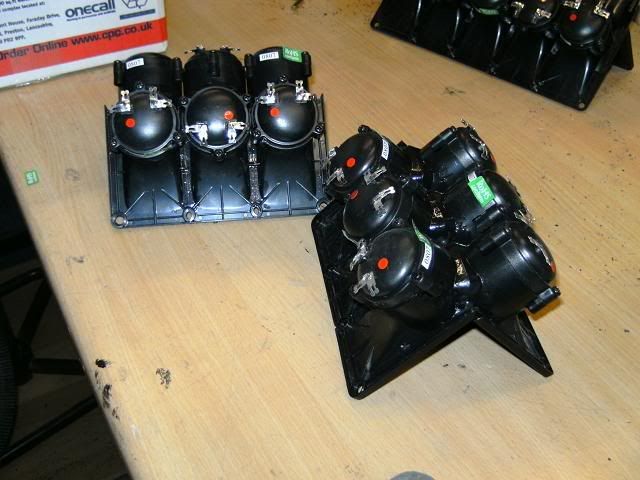
As Richard is mounting them the same way I did on my wedghorn alternate elements can be rotated through 180deg staggered as shown to make cutting and mounting closer simpler as you don't have to cut through the element screw housing.

Some builds require the element lugs all to be pointing inside, rather than alternated as space is tight, so adjust to suit.
Hope this is of some benefit to others
Dave


