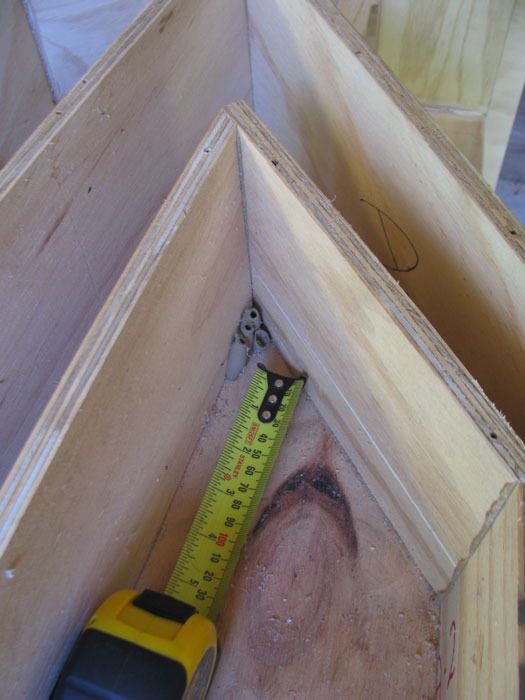
On the side panel it is clearly marked where panel 3 should line up. However, there are no such marks on the top (panel 1). Nor are there lines on panel 3 to show where the reducers make contact.
Therefore I placed panel 3 in position and drew lines on the top and panel 3 where the panels and reducers met each other.
I then drilled holes midway between the lines, just like Bill instructs you to do with the side panel.
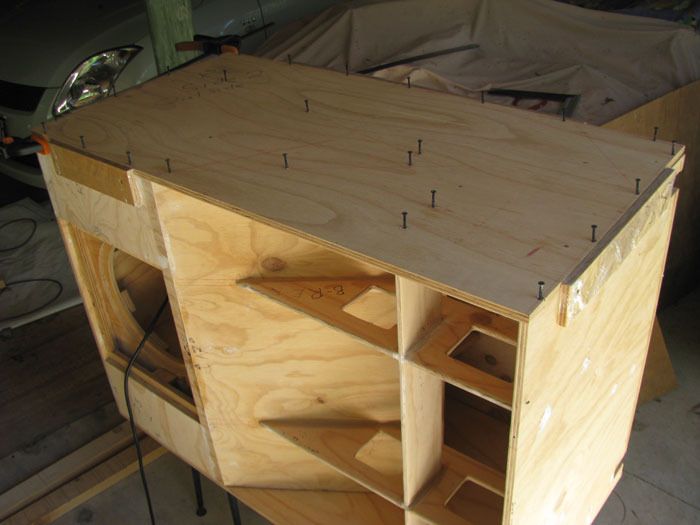
I did a dry assembly and drilled through the holes with my countersunk bit and installed screws. I also adding intermediate holes where needed.
Then assembled again, this time with glue and all the screws.
I couldn't use any of my clamps with this panel, but it didn't matter as it was well supported by the panels it was being glued to.
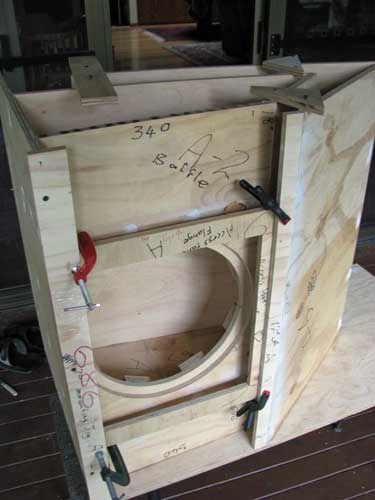
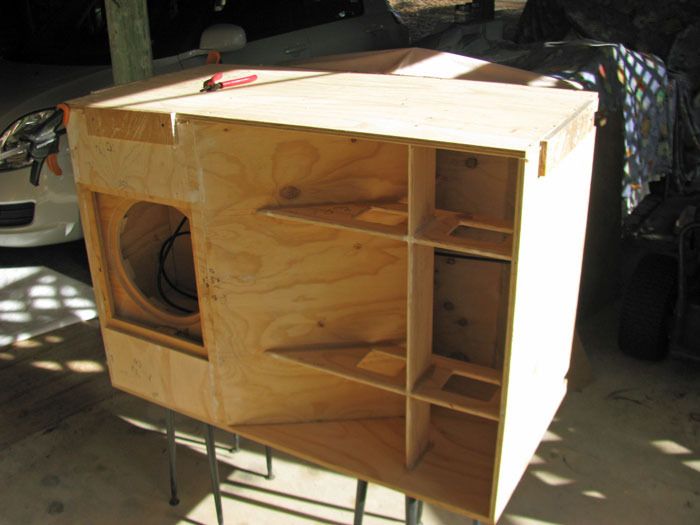
Next was to fit panel 4.
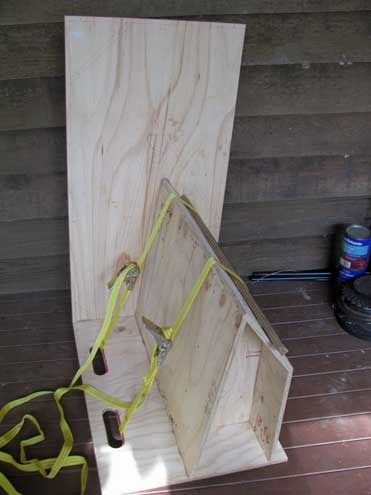
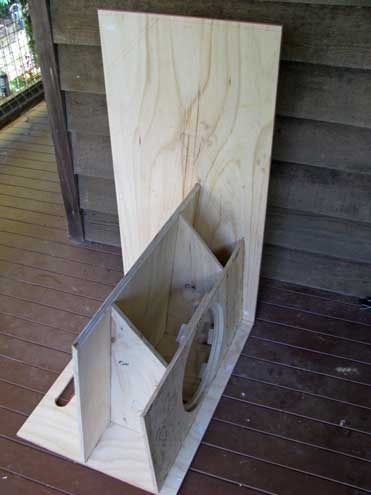
As Bill points out, there are not too many places you can install the screws.
However I decided to buy some straps that are normally used to tie down items in a trailer, etc and clamp the panel into position using the straps.
I could still screw the panel to my reducers, and also to the side. So using the method for panel 3 above to locate the screw holes, I added the glue, loosely strapped the panel in position, added the screws, then tightened the straps.
Only have two straps, so the second T39 will have it's panel 4 installed tomorrow.