Well...In the first sentence of the J12 Lite Plans it says "The Jack 12 Lite is recommended for experienced woodworkers. There are quite a few construction steps, so take your time, undertaking only a few steps a day." I can certainly say that I've taken the plans to heart in this respect because I'm only averaging a few steps per week

Anyway, I've made some progress of the last couple of days.
My idea to make a template for the horn braces and gang cut them with a pattern following bit on the router worked well, up to a point...because I was half way through them when my finger nudged the routers locking lever and the router sprang upwards, taking a nice bite out of the template and the braces being processed. As with so many things, the theory may be good but it has to be backed up with decent execution...anyway I had to revert to cutting out the last 8 of the 20 horn braces required individually with the jigsaw. Oh well, they would've had to have been done like that anyway, so nothing ventured nothing gained.
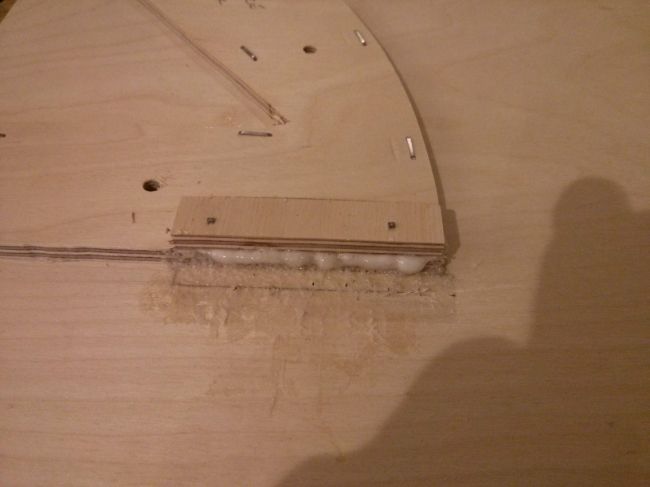
Anyway, after a lot of cutting and shaping I was ready to make with the PL. Here is one of the horn braces glued up and waiting to be applied to one of the top/bottom panels. This is actually the last of the braces that I fixed to the top and bottom panels, I had just opened a new tube of PL and, as everyone who has worked with this will know, with every tube you open there is a slightly different flow rate that you have to get used to...so this brace has about twice as much PL on it as the others.
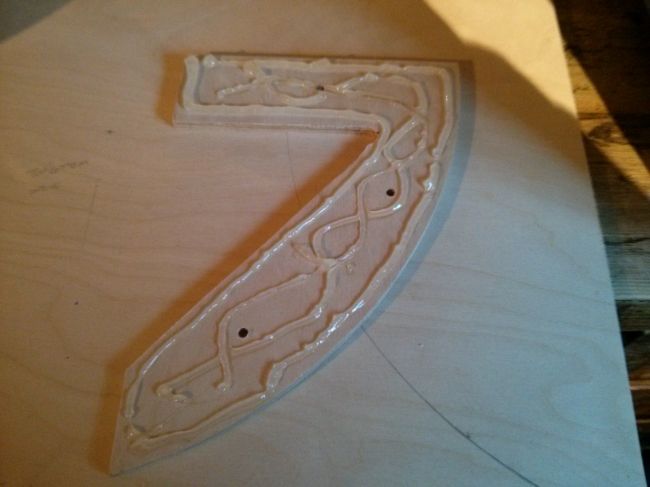
All the other braces had a nice small bead of PL squeeze out at the glue line, this was the only one that had too much.
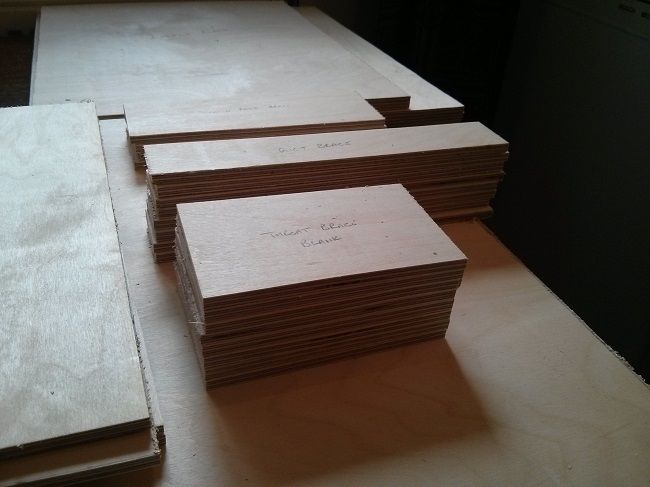
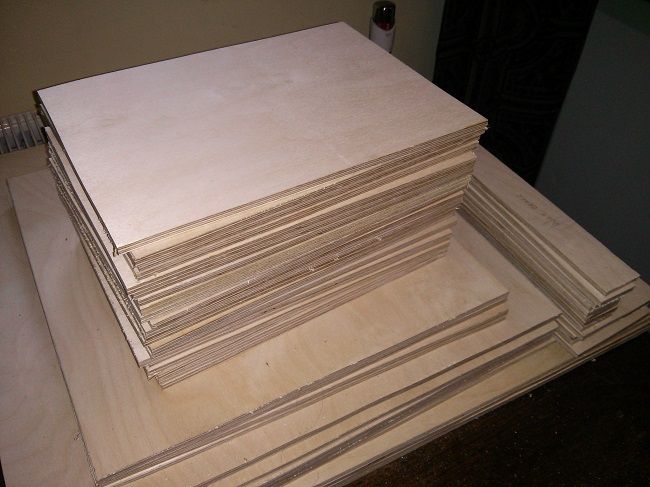
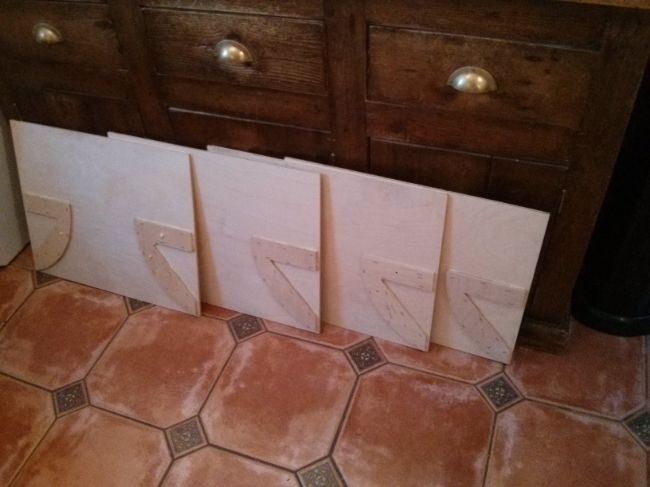
So, after an hour or so working at gluing and stapling I had my two tops and bottoms with the horn braces installed all lined up in my worksho...errrr...kitchen!
So then, time to turn my attention to more cutting and shaping. One of the lessons learned on this build is that, since I don't have a table saw, I am having to finesse each rough cut blank and do a double operation on each piece cutting it to exact size...very time consuming...and I'm pining for a well set up table saw so that I can cut straight to finished size (and angles) I'm also thinking ahead about how I'm going to manage a melded array using just a jigsaw, but I'll cross that bridge when I come to it. And...onto the baffle...
Don't underestimate the amount of time these take. On the plans it looks quite straightforward, and it isn't rocket science... but again, the execution takes some careful marking out and nibbling away with the jigsaw so as not to overcut any of the lines.
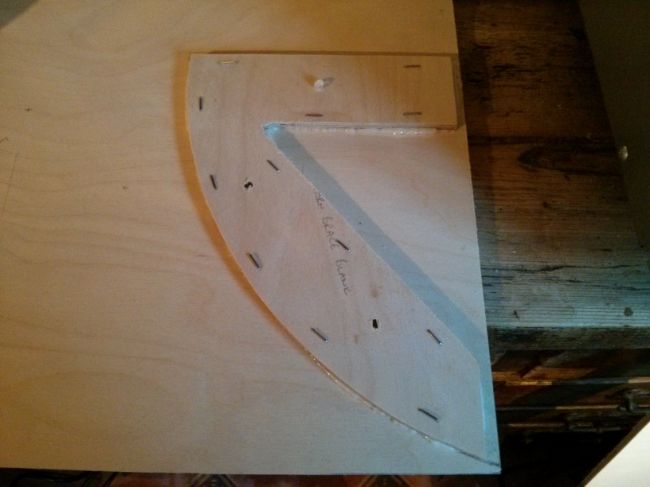
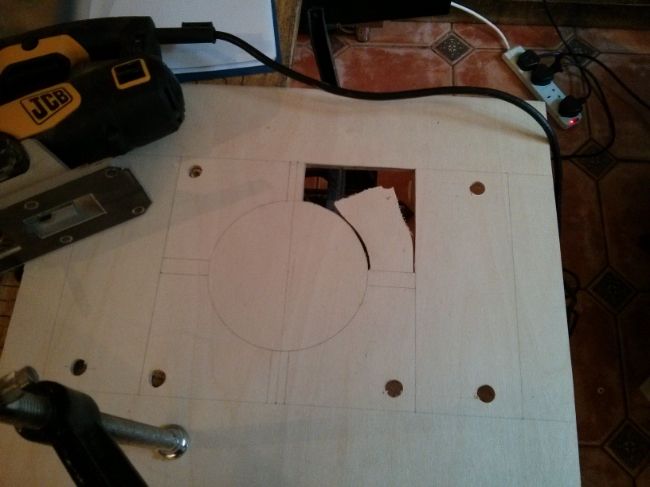
Here, I've started by drilling the 1/2" ports and, while I've got the drill out, putting in some starter holes for the baffle cutouts.
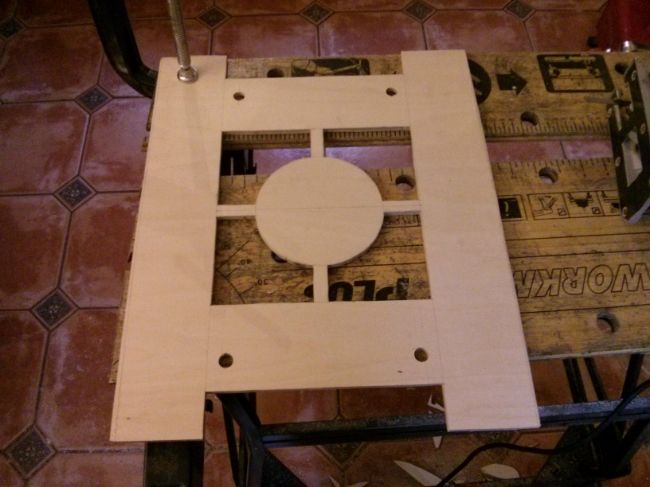
And, after an hour or so of patient and careful work, I'm rewarded with a reasonable looking baffle.
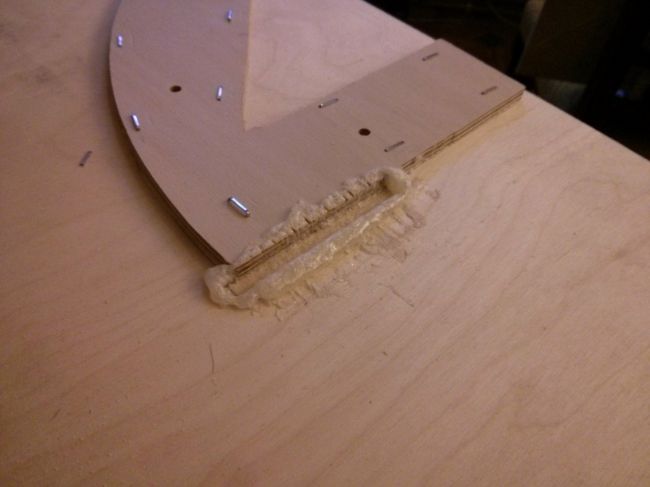
At last...I've now cut all the major components and can get on with the exciting construction stuff and gluing the baffle to the base...but after spending a hour or more on the baffle, just 10 minutes later the first f...err...mess up...
I found that my Stanley electric stable/brad gun is challenged getting into the tight 6mm corner required to fix the baffle to the bottom horn brace...it seemed fine at first, but as the PL expanded the staples just pulled through the first layer of ply, since they were only like splinters under your skin to start with...The gobs of PL are due to a rush of blood to the head and simply reapplying more PL and having a second go before the first lot had dried...still no joy...
No option but to let the PL dry, chisel it off and have a rethink...
Cleats are the answer...getting the first joint on the baffle is the key, thereafter, everything can anchor around it. So I cut a small piece of 6mm ply to double up on the thickness of the bearing surface...Here it is being glued up.
The eagle eyed amongst you will have noticed that I've also swapped from stapes to brads. I was using 12mm staples, following the mantra I learned in woodwork classes 40 years ago, that the fasteners should be double the length of the thickness you're joining, but...if you misfire with a staple and get it in the wrong place you've now made two holes in the wrong place instead of one...and the gluing surface of your carefully prepared piece can start to look like a pepperpot very quickly.
Anyway...cleats are the answer. Once the cleats had been fixed, dried and excess PL cleaned up, 30 seconds later the baffle was mounted and trued to the bottom panel.
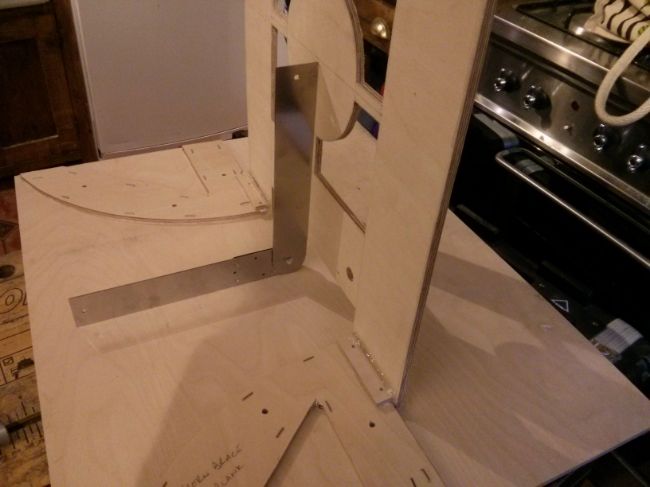
And not long afterwards, the sides and top panel joined in the fun...so we now have something that is starting to take shape as a speaker cab. You can see I've also put a backing piece on the inside of each side panel so that I will be able to route for sprung handles later on...I was unsure of whether to meddle with the plans, but I saw a post where Harley had done this soooo...it's all good.
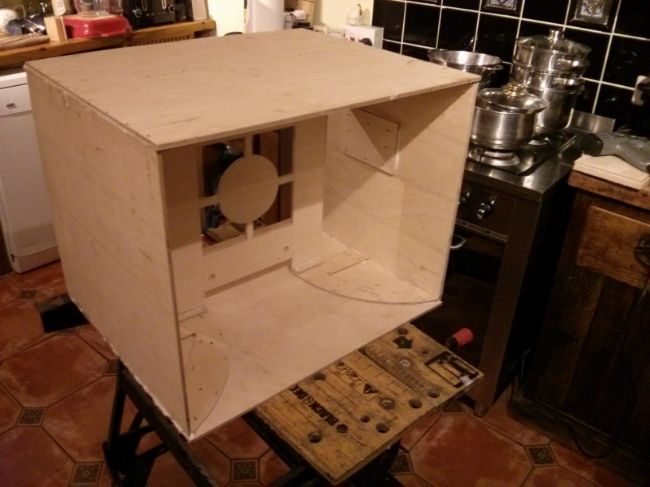
That's it for now...next step is to get cab 2 to the same stage. When I put my W8's together I was driven by gig schedules to get 1 done then the other...so the second one still isn't finished. It's functional, but still needs cosmetics finishing. I want to get both of these finished and completed at the same time...