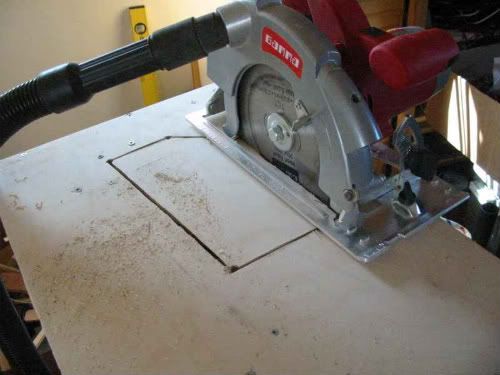
Plunge cuts for driver access holes.
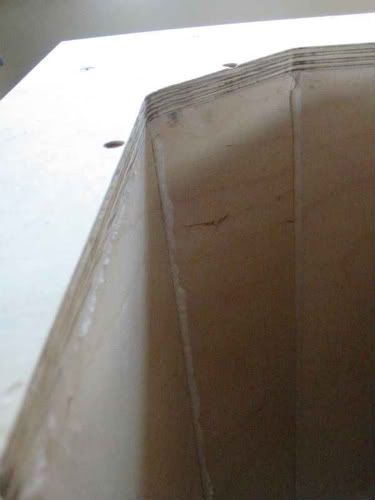
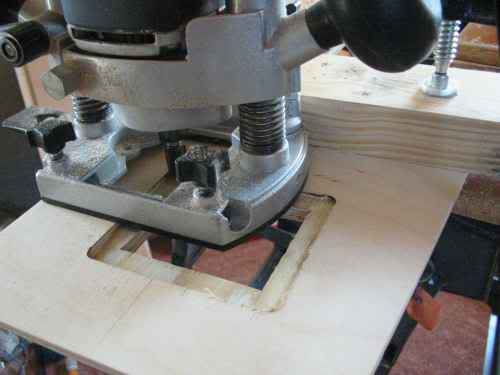
Router and pattern following bit been here.
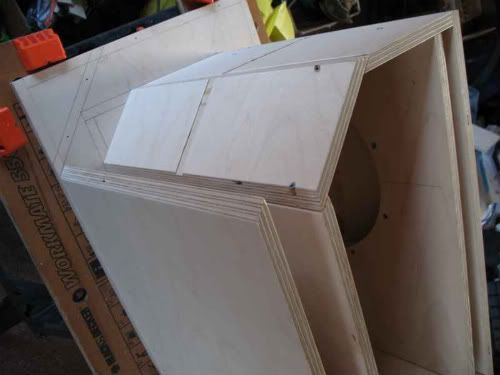
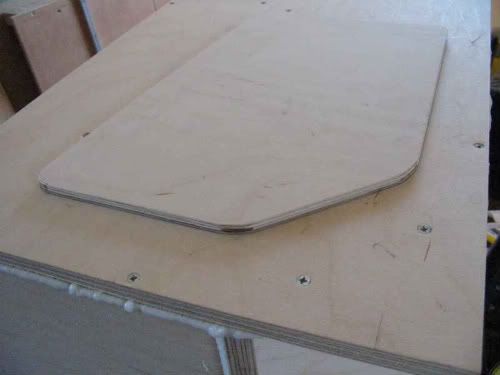
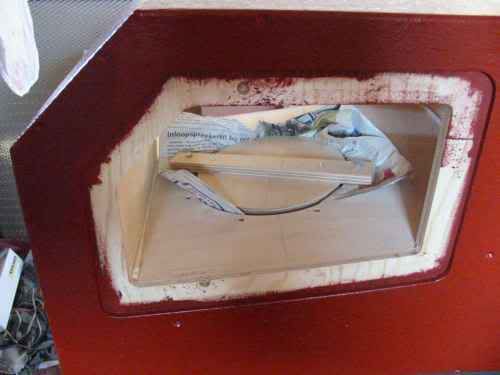
Access cover made, now sits on cab to mark recess location
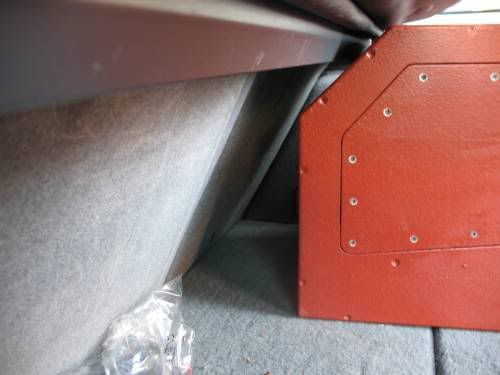
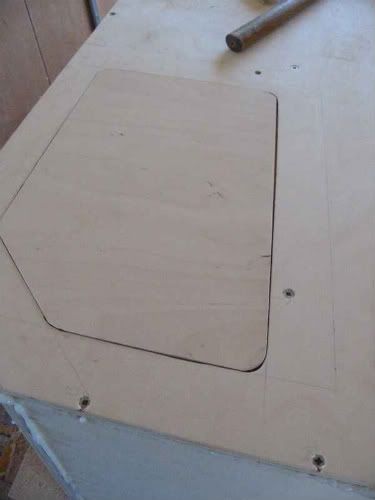
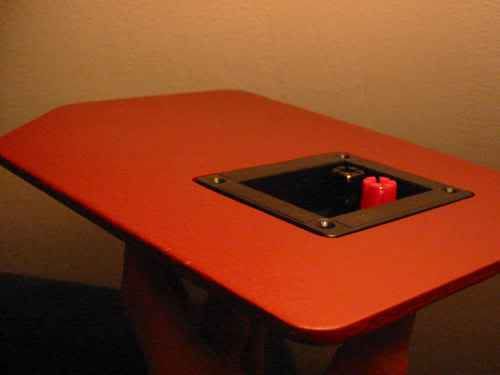
Recessed access cover
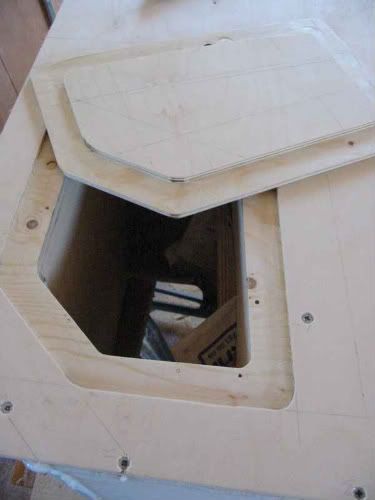
Not enough room inside the driver chamber to install the driver and fasten all bolts from one side, so another flanged cover was made on the other side of the cab.
(......)
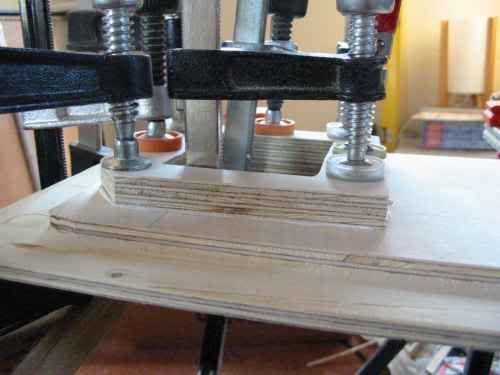
I should make a router guide board to make these things easier. I marked parallel lines at 46 mm from where the cuts had to come, then clamped a guide for the router. The lines are still visible in the pics on both panel and cab. It works, but it is time consuming, and error prone. Pretty happy with the result though.
(......)
Here's the same approach, for the recessed connection dish (in one of the two access panels)
Test fitting. The dish has one speakon connector plus banana's. Not metal, would not use this kind on pro sound cabs but I think it will do just fine in the trunk.
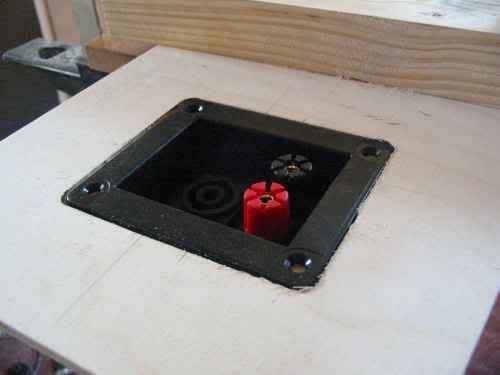
The connection dish is close to the routed flange on the access panel. Routing another recess in the other side could make the panel weak. So I added some scrap wood to the back. White wood glue is good enough here, no gap filling required. Less ooze, too, which is nice right next to the recessed flange.
Next comes the paint.
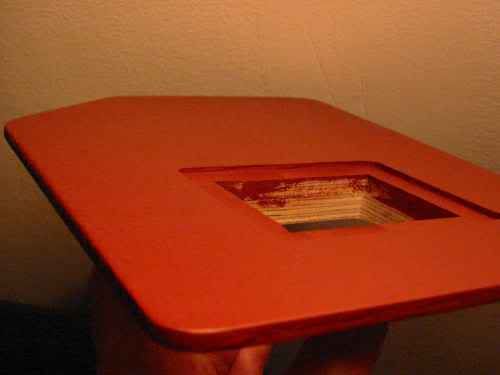
I like this part of the process - everything starts coming together and begins to look like a finished cab.
(......)
[/quote]