I have been a very busy bee. Here’s another epic Mike D build thread for you guys.
I didn't feel that my OTops deserved to be thrown in the back of a truck or in a box trailer and banged about. I spent a lot of time and money on them and want to ensure they last. So, I built a custom roadcase for them. Nobody makes a ready-to-buy case in these dimensions; I looked. I found many cases that would fit TWO OTops, but I’d need two cases and they were $350+ shipping EACH. Building this one case cost about 2/3rds of buying two prebuilt cases and having them shipped. Never mind having this one case custom built by someone else and then shipped! I did it myself and got exactly what I wanted. The case is built from Genuine Lowes Special ½” ply, not BB…couldn’t afford it.
This is the first roadcase I've ever built; it probably would've been easier to do a smaller one first, but go big or stay home, right?
It's not totally finished yet, but I wanted to get some pics up. The outside is 100% done, but I have to line the inside with plank foam and then decide if I'm building a removable top tray for cables, or am just throwing the mounting platforms I made in there on top of the OTops. Once all 4 OTops are in, there will be approximately 8 inches of space from the top of the OTops to the inside of the lid; plenty of room for a cable tray. Still haven’t figured out all the details on that though.
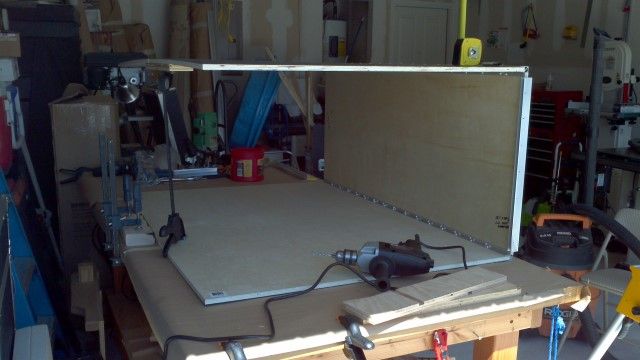
Here's what it looks like. If it looks huge, it is. On the casters the exterior measurements are 48"H x 51"L x 21.5" D. Those are standard 4" casters, BTW. Yeah, it’s big.

Standard 18v Dewalt cordless drill on top for size ref
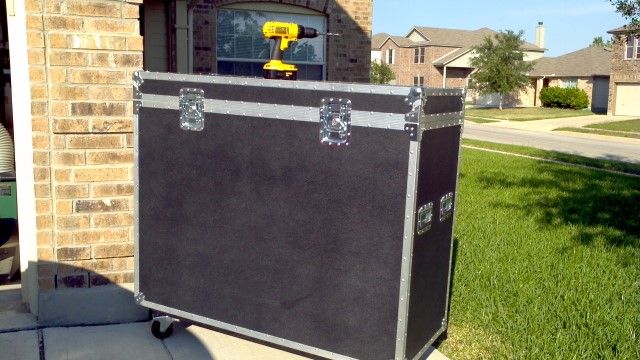

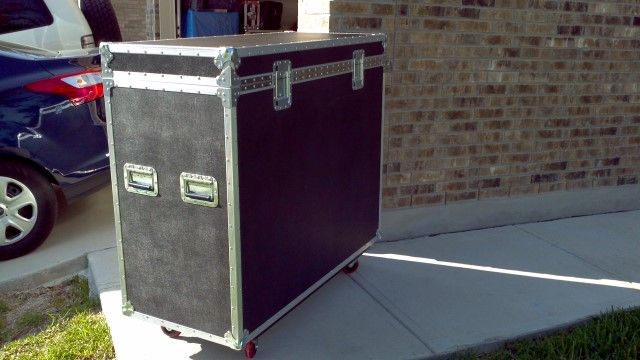

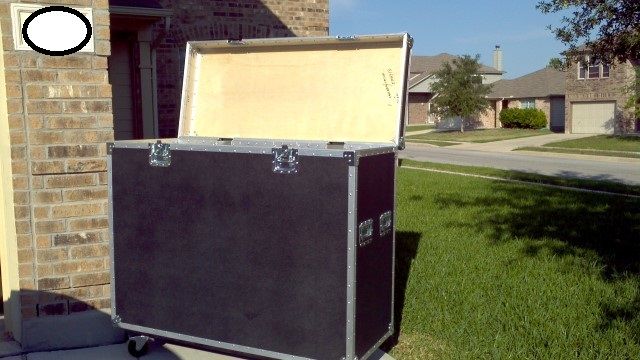
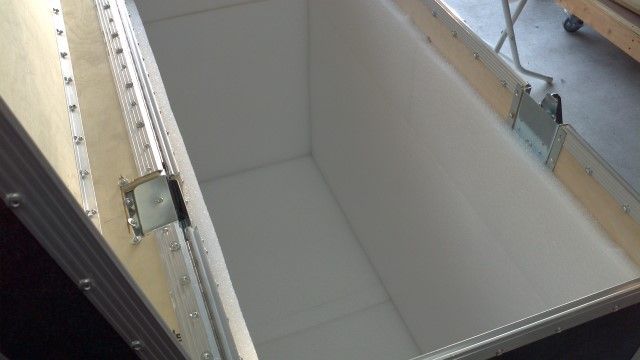
It is sized to fit two stacks of two OTops, with 1" foam all around. There is no center divider inside b/c then I wouldn't be able to get to the handholds nearest said center divider. I will just wedge a piece of foam or a blanket b/t the two stacks if I find they are moving around too much.

You can see the 9 t-nuts for the bolts that hold the caster board.
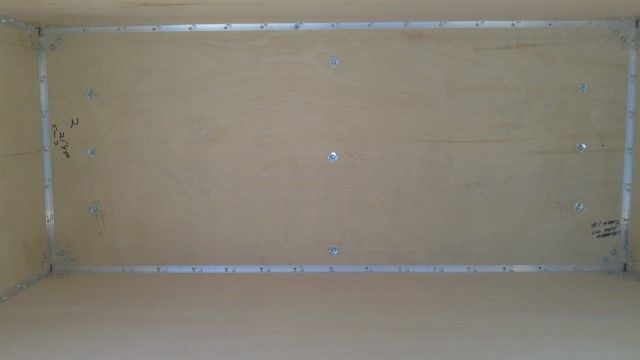
I don’t have detailed pics of every single step of the build, but basically the overall build can be broken down into these main steps:
1. Design the dimensions of your case, taking into account what thickness of foam you’ll use. In my case I knew I would use 1” foam, so I’d lose 1” on the bottom/left/right/front/back and sized the inside accordingly.
2. Buy all the parts. (ouch) There are a LOT of incidentals that add up here. The spray adhesives for laminating the ABS and sticking the foam inside the case were about $60 alone. I bought all the parts, except for the 3M Super 90 adhesive from these guys: http://www.diyroadcasesstore.com They ship quickly and their customer service is good. I had a few probs with my order, but they rectified them quickly and that’s all you can really ask for. I’d shop there again.
3. Cut the wood to size. Laminate the ABS to the wood. Use a trim bit in the router to cut the ABS flush with the panels.
4. Cut out your handle holes AND latch/hinge stop holes. It’s difficult to do the latter if you’ve never built a case before b/c you aren’t sure where the holes, go, exactly in relation to the top edge of the wood. This area is where I made a minor mistake, but it all worked out fine…it just isn’t pretty on the inside.
Some build pics.
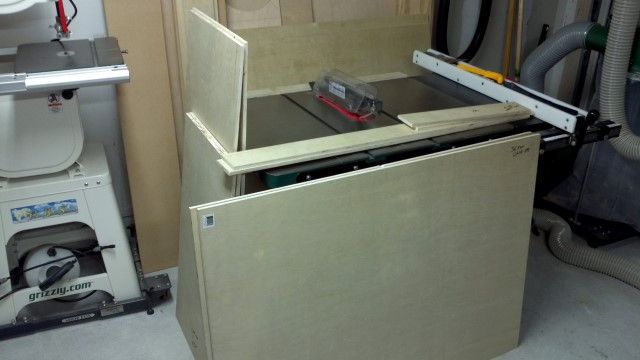
Wood is cut. The wood in front of/side of/on top of the TS is the wood used for this case.
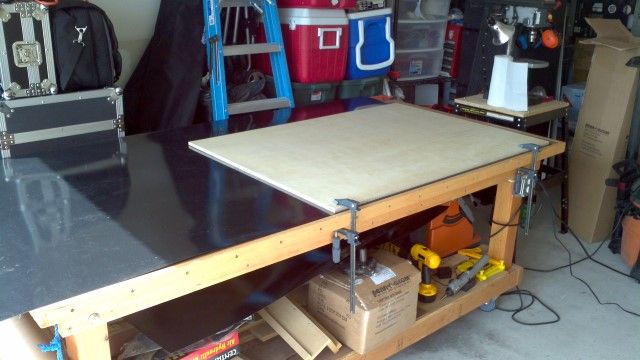
Cutting the ABS to size. ABS comes in 4x8 sheets that roll and flex and slip all over the place. You could do this on the floor, but then your ABS will get all scratched up and dirty. Note that the wood panel is clamped to the bench. That way I can run my utility knife hard against the edge to cut the ABS and the panel won’t move. It is OK, even desirable for the ABS piece to be larger than the wood panel. You’ll trim the excess off later with your router (very messy, that step!)
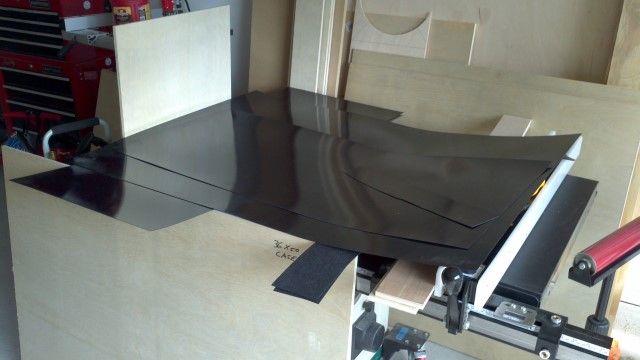
ABS all cut out. Essentially, most of these cutouts are ¼” - ½” bigger all around than the panel they cover. Slightly wasteful but whatever.
I didn’t get any pics of actually spraying the adhesive on and laminating the panels…too messy and too much going on. Basically, spray a generous coating of 3M Super90 adhesive on both the wood and the ABS. Wait a minute for it to tack up and then CAREFULLY place the ABS on the wood. You get ONE CHANCE at this as the second the two glue-coated surfaces touch, they bond like two welded pieces of metal. There’s trick for this using thin sticks of wood to keep the surfaces apart. You can find a video showing that on this page. Choose Video 4 “ABS Lamination” http://www.reliablehardware.com/diyroadcasevideos.aspx
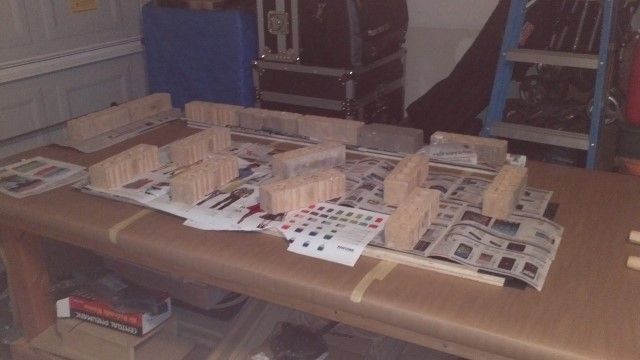

I used a standard 12” rolling pin to squeeze the air bubbles out. Press hard! After that, stack like-size panels together and weight them down however you can. Leave it overnight.
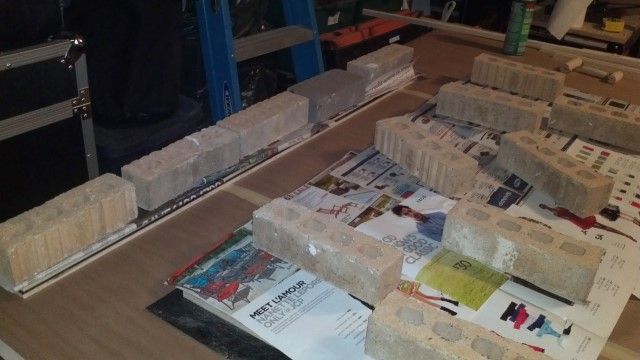
If the ABS doesn’t go all the way to the edge it is not a problem unless there’s more than ½” of wood uncovered. The aluminum channel that holds your panels at a perfect 90-degrees is ½’ deep. This is not an issue, for example:

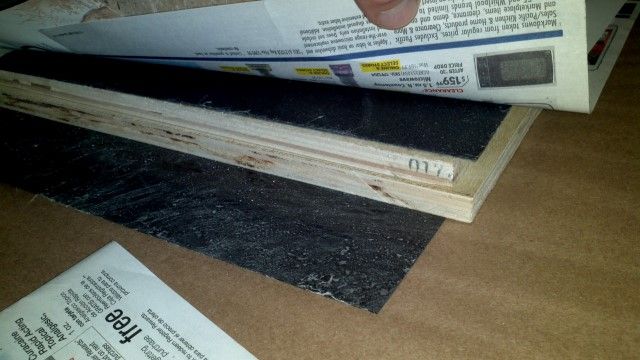

Now you get to use your flush trim bit to take off the overhanging ABS. This was fun as the router cuts through it like butter. But MESSY AS HELL. You will get ABS pellets everywhere. In your hair, nose, ears, shoes. I’ve vacuumed the shop 3x and am still finding black ABS pellets.

Nice, trimmed panels (these are the front/back panels). Note all the crap on the floor.

Time to cut handle holes. I made a template for the router and HIGHLY recommend you do so too. Took me 45 mins to make a perfect template and about 10 minutes to cut out the four handle holes.

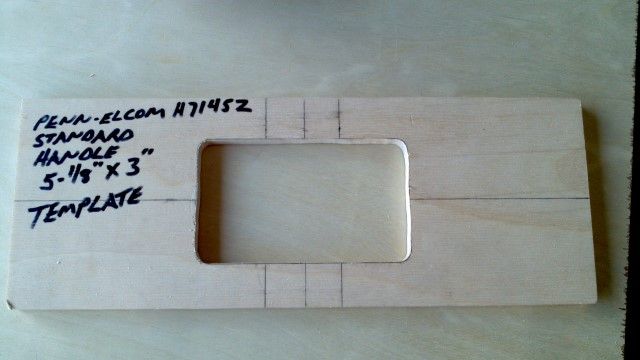
Marked my wood for the center points of both handles (two per side)

Line up the vertical and horizontal center lines on the template w/the same on the workpiece and cut.


Just beautiful.
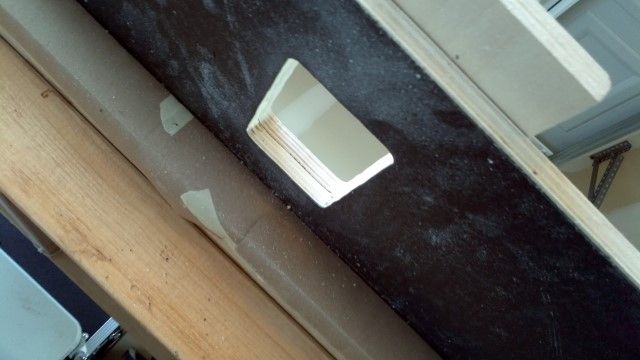

Mounting holes for handles drilled. I bought the backing plates (steel ring, basically) for the handles and highly recommend them.
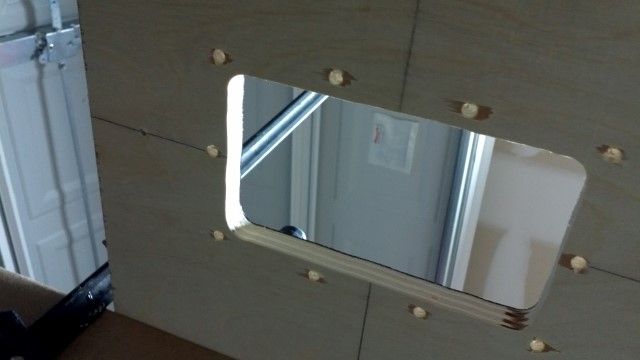

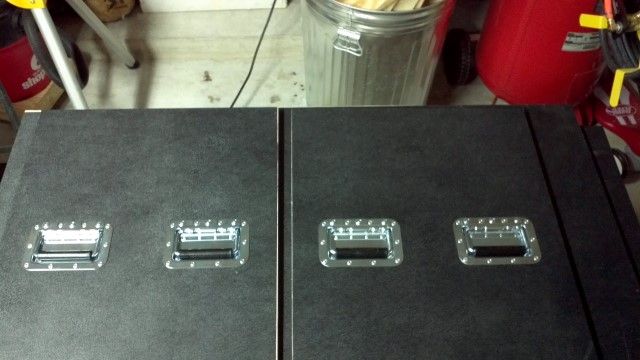
We skip ahead a bit here….this was the first “next pic” I took. Here, I’ve already drilled the aluminum channel and the wood and begun riveting. On the ReliableHardware vid page I linked to above, there’s an excellent video showing how to do this. In fact, I highly recommend watching that entire series about 10x before you attempt this. I did and I still had questions…though I admit I’m not the quickest at picking up new things.

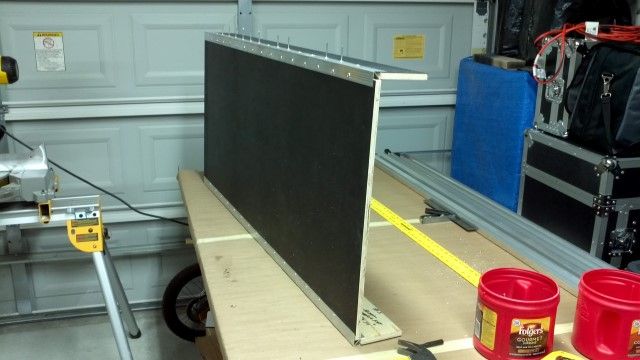
Some rivets in, others about to be in.

And here we have a boo-boo. This is the bottom panel. I thought the ABS was lined up on the wood and I dropped it in place. Except it was off by about 3.5 inches. I had to cut a piece of scrap to patch it. Nobody will ever see this, so it doesn’t matter except to me.

Bottom and one side.

Overkill is my middle name. The prebuilt flight cases I bought have rivets every 5 or 6 inches, depending on the size of the case. I put a rivet every 3 inches. Between that and using ½” wood, it should last forever. It had better, as I don’t want to do this again anytime soon!
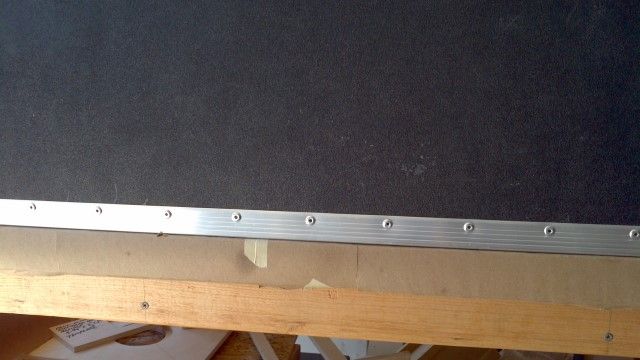
Black dots show where the rivets go. Measure twice, drill once.
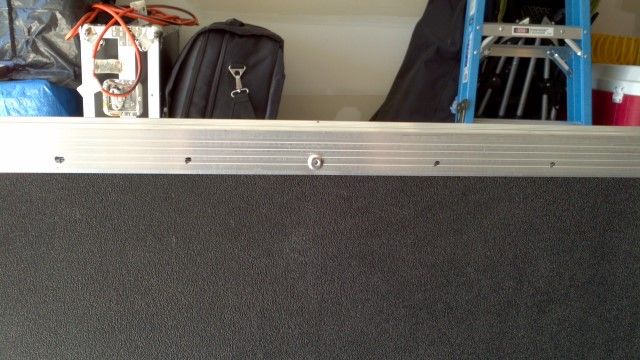
This is called a Bastard File. What it did to earn such a name, I’ve no idea. But you will need one.
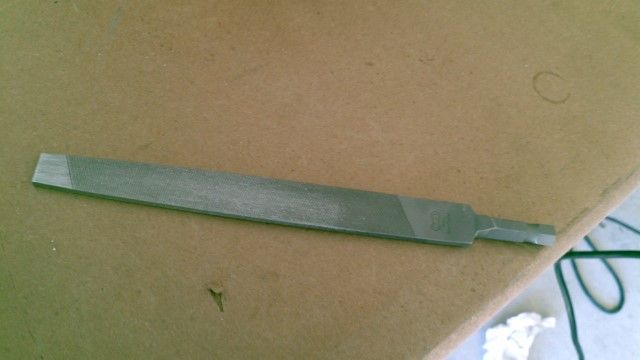
Because when you cut the alum channel with an abrasive wheel it MELTS and you get this.

So you file where the wood slides in and wind up with this.
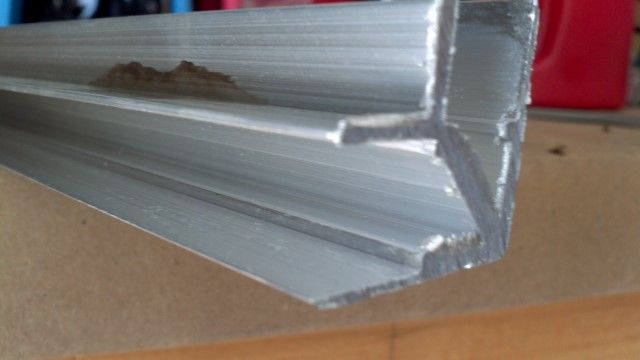
Bottom and two sides. Note the clamp in “spread mode” keeping the panels separated and the tension off the bottom joint.

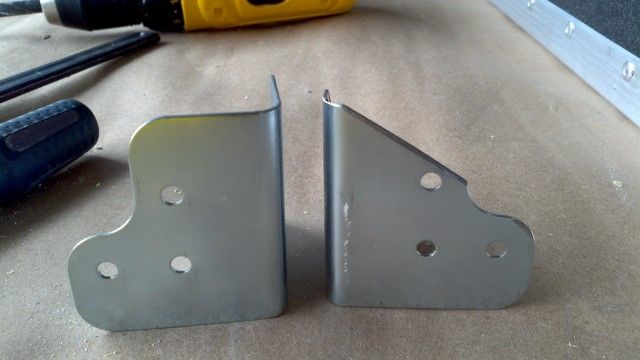
The corner clamps I bought were too large. On the lid, they were hitting the ball corners. Stock on the left, “Mike Modified with the abrasive wheel” on the right.
Starting to look like something! That clamp in the middle was in place for 72 hours; I had a bad bow in both the front and rear panels. It fixed 80% of it. The hinge on the rear fixed another 15% and the remaining 5% I live with.

Latch. Penn Elcom hardware used throughout the case. Build once, cry once.

Latch backing plate I mentioned earlier. That backing plate also happens to be the PERFECT cutout template. Worth every penny.

Stop hinge on the back of the case. I did not know that the same backing plates that fit the latches, fit these hinges, else I’d have bought two more. I used washers to back them, which is the standard thing to do anyway.

Bottom and top of the stop hinge.

At this point I had also gotten the lid fitted along with the aluminum channel that mates the top and bottom closed. This was a HUGE PITA, it took me a long time and I ran into some issues with cutting pieces too long/short and then my hacksaw broke, etc. No pics of this and I’m sorry about that. The lid is arguable the most difficult part of the build I will say this: Once you get the piano hinge mounted across the back, it will pull the whole rear of the case, body and lid into place. My front back panels are very large and the front is a bit bowed. When closing the case I have to nudge the large front panel about ¼” into the top to get it to close flush. Nothing major but worth mentioning.
At this point the case is built and it was time to make the caster board. Surprisingly there are tons of “How to build a road case” videos out there but almost nothing on caster boards (that I could find, anyway). So I’m documenting my build here.
Ordinary piece of ¾”, 2’x4’ ply from Lowes. I cut the corners off as to not interfere w/the ball corners. In this pic it is centered on all sides on the bottom an screwed into place in preparation for drill the holes that will mount the board to the case. You can see the one screw across the short edge nearest you.

Corner cut.

Another shot.

Mounting holes drilled (3/8”) and caster positions marked.

Caster holes drilled.

Hit the lower edge of the board with a ¼” roundover and went over it with the air palm sander/220 grit paper.

Sprayed with two coats of this. HIGHLY recommended.

First coat.

Second coat and wheels attached. T-nuts/lockwashers/flat washers used everywhere.
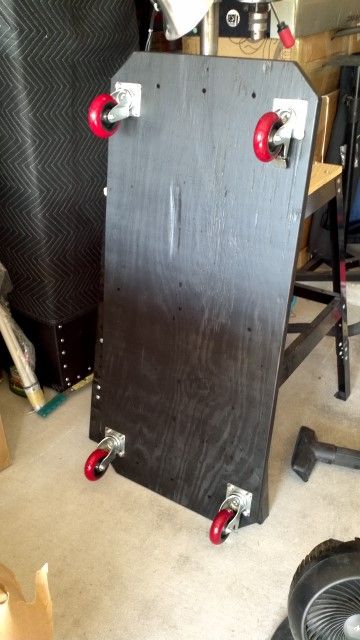
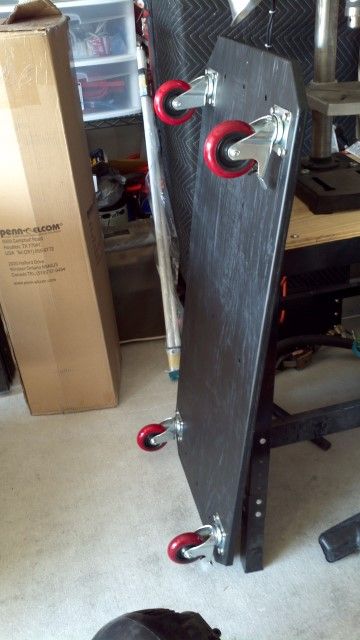
Mounting holes in bottom of case. I know they aren’t perfectly aligned. Doesn’t matter. There are NINE 5/16” lockwashered, t-nutted bolts holding the caster board on. It ain’t going anywhere.

Hey a t-nut.

Done.
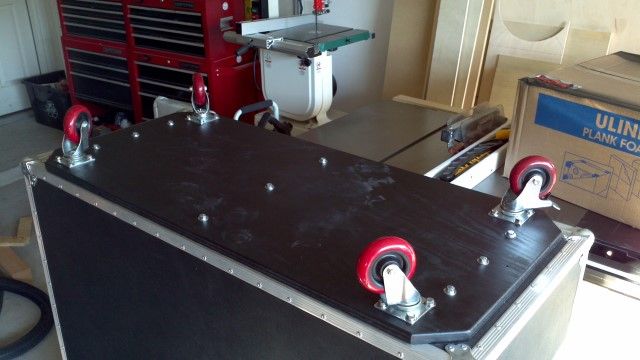

And there we have it.


Hope you enjoyed reading this major-length saga. Thanks for looking!

