Page 1 of 2
Doug's Auto Tuba build
Posted: Tue Dec 04, 2012 7:21 pm
by dougc
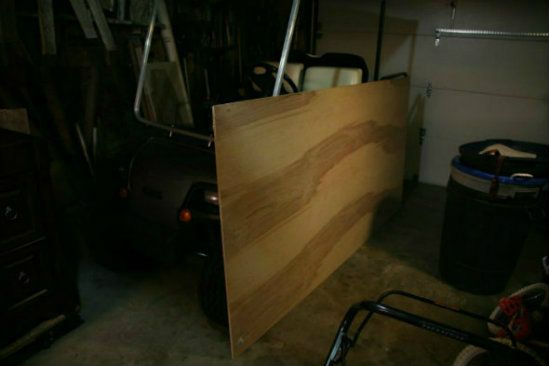
I guess I'm ready to wear some PL fingers for the next couple of weeks. I am building the 13" wide AT with the 8" MCM 55-2421 driver for my son's car as a Christmas present. This was going to be a replacement for a computer sub that blew, but that was fixed with an $8 5" driver I bought through MCM when I ordered the 8. I picked up some 4x8 plywood at HD today for $33. It is not the good 7 layer cabinet-grade BB, but this will do well for this little project. This might move to the pontoon boat if my son is inspired to build something different, such as a dual loaded AT. The MDF is not suited for outdoors, so this plywood will do for now. I have two 30" Titans that I really enjoyed building, so this is as much of a treat for me to build something as it will be a nice gift for my boy. The gift for me is the pair of 36" THTLPs that are coming up after we build this little guy.
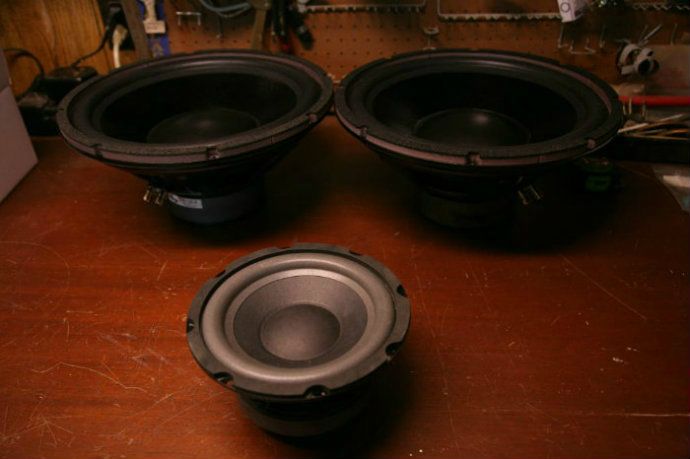
Everyone likes pics, so we will start with that:
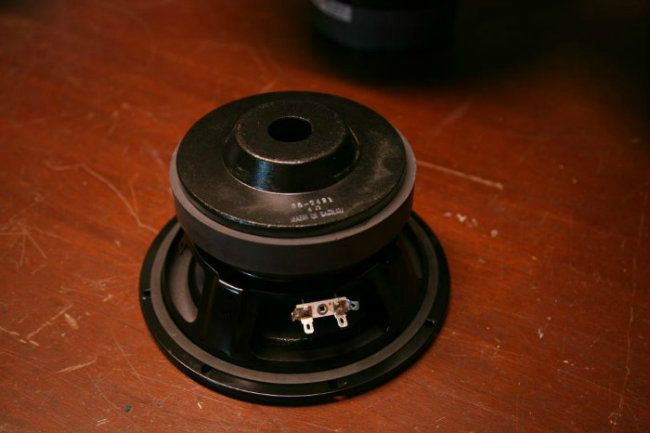
The stout little 8" MCM driver with the 15" Dayton DVCs behind
Re: Doug's Auto Tuba build
Posted: Thu Dec 06, 2012 7:08 pm
by dougc
I made some sawdust today. I rough cut all the panels, numbered them, and started the first few steps. I'm heading to the hardware store for some allen bolts for the driver and epoxy for the T-nuts. Then I will glue down the first two inner panels to cure. I have learned from the previous builds to move slowly and let the first couple of steps be absolutely perfect, then it's easy sailing the rest of the way through.
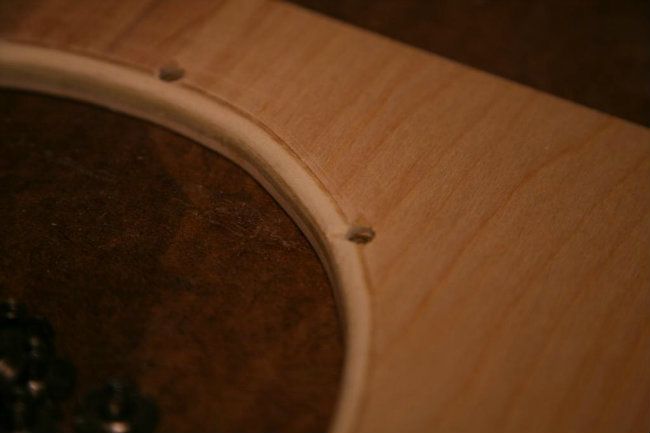
The lines are down with some pin-holes ready for fasteners on the last panel. I forgot to do this on one of the T48s, and won't do that again.

Hole for the driver and pilot holes for the 10-24 T-nuts.

I used a 1/2" routed edge so that I could get the hole for the driver as small as possible without the surround contacting it on excursion. A Jasper jig is on my Christmas list.
Manual range of the excursion shows that the surround is clear of the baffle, so now I'll run a test tone through just to be safe.
Re: Doug's Auto Tuba build
Posted: Wed Dec 12, 2012 7:56 pm
by dougc
I have it all together, driver broken in, and leak tested. I have some finishing of the exterior to do and I'll get some more progress pics up. My first impression is that it sounds pretty good for an 8 sitting in the middle of a room.
Re: Doug's Auto Tuba build
Posted: Thu Dec 13, 2012 10:36 am
by shawn_g
Nice! Your son is a lucky guy!
I'm anxious to see pictures of the finished product.
Re: Doug's Auto Tuba build
Posted: Thu Dec 20, 2012 11:06 am
by dougc
Pulling the t-nuts tight and secured with Gorilla glue. I like to use the washers so the bolt heads don't plunge in to the baffle

The cured glue foams up and helps lock the T-nuts in place

Re: Doug's Auto Tuba build
Posted: Thu Dec 20, 2012 11:17 am
by dougc
The journey...

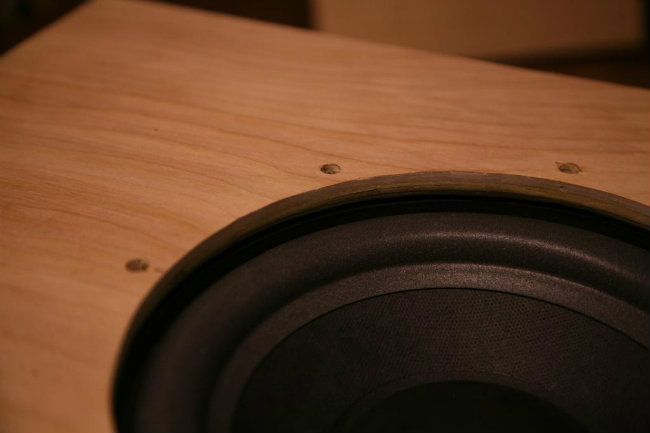
Driver space measured and attached


Always my favorite view

Re: Doug's Auto Tuba build
Posted: Thu Dec 20, 2012 11:22 am
by dougc
Re: Doug's Auto Tuba build
Posted: Thu Dec 20, 2012 12:37 pm
by dougc

I saw some curved braces on larger horns, so the one in the mouth on this is a test run for the next ones. I like the look for sure.

The end.
Re: Doug's Auto Tuba build
Posted: Thu Dec 20, 2012 12:42 pm
by Tom Smit
Good job!
Re: Doug's Auto Tuba build
Posted: Thu Dec 20, 2012 12:47 pm
by Radian
dougc wrote:The journey...

An important step.

Re: Doug's Auto Tuba build
Posted: Thu Dec 20, 2012 12:56 pm
by Bill Fitzmaurice
Nice, I think we have a new catalog page photo.

Re: Doug's Auto Tuba build
Posted: Thu Dec 20, 2012 1:28 pm
by Tom Smit
Bill Fitzmaurice wrote:Nice, I think we have a new catalog page photo.
Congratulations!
Re: Doug's Auto Tuba build
Posted: Thu Dec 20, 2012 2:02 pm
by dougc
Thanks guys! Amazing how nicely everything falls in to place if I can be patient, take my time, and enjoy the process. I can't wait to get this installed in my son's car. I have a local shop that does a great job of amp, h/u installation, and running wires, and they are looking forward what this little 8" loaded horn will do. 240w is the peak for this MCM as stated in the specs. Is it recommended to feed it 240w? I run the amp size to the peak RMS rating for the driver in the other vehicles, am have my eye on a little JL 250/1 amp for this.
Re: Doug's Auto Tuba build
Posted: Thu Dec 20, 2012 3:02 pm
by Ryan A
Congrats...you have some nice woodworking skills.
As for the power, you want to focus only on the RMS power rating, not peak. In this case its 120 watts. Find an amp that puts about a similar RMS wattage. The amplifier you mentioned is too much for your MCM driver, seeing as how it puts out 250 watts RMS @ 4ohms. It does help that your AT is probably 6-8 ohms, but it is still a bit much for a single MCM.
Something like this (bridged) will be more than enough, and much cheaper than the JL you're looking at:
http://www.parts-express.com/pe/showdet ... r=267-5009
Re: Doug's Auto Tuba build
Posted: Thu Dec 20, 2012 5:34 pm
by But it Hertz
Really enjoyed this thread! Awesome work


