Nothing strange should happen, if that's what you're wondering.Randall Dibble wrote:What would happen
It should work just fine.
Nothing strange should happen, if that's what you're wondering.Randall Dibble wrote:What would happen

Another convert!Rug wrote:Dang, this is fun!
Be advised, it's a sickness. You think GAS is bad, wait until you fire that baby up. You'll be hitting Bill's catalog page for more plans.Rug wrote: Dang, this is fun!
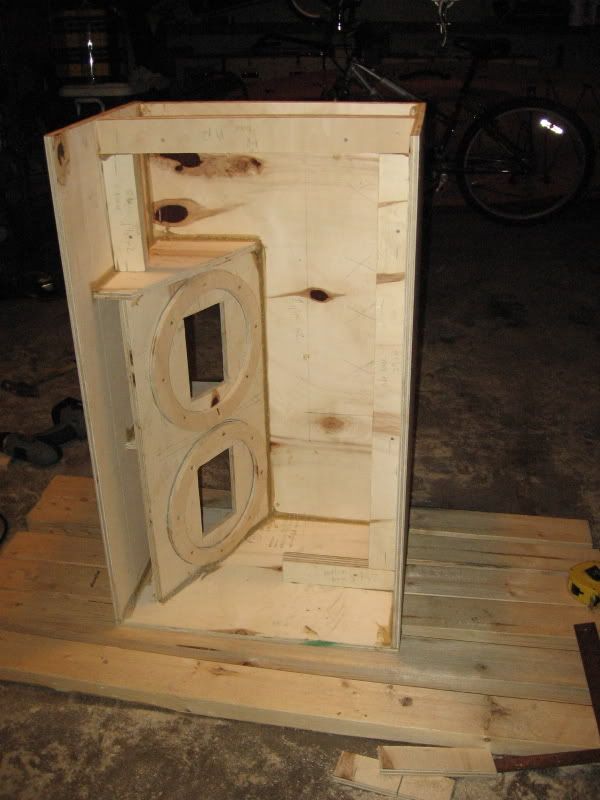
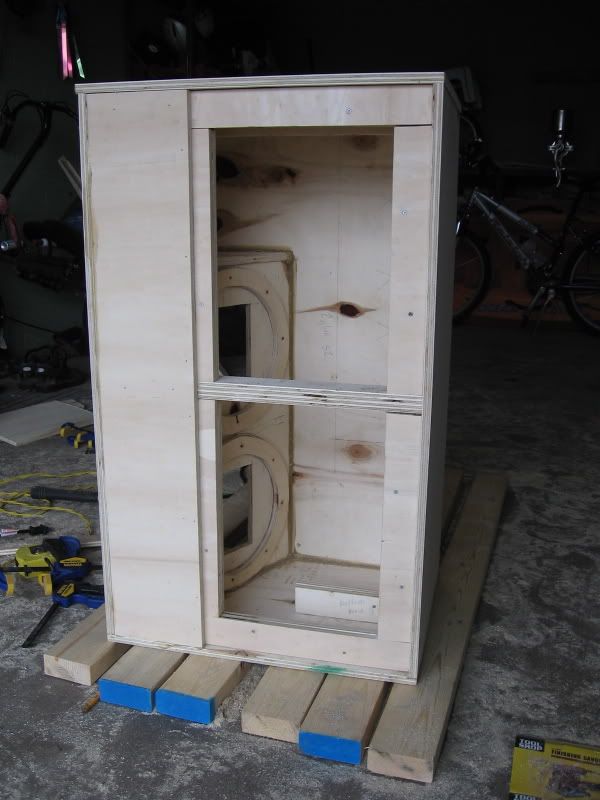

I got to ask why?Tim A wrote:If you're planning to route the edges, do it before you fill.
The screws go in the panel that the router sets on, not the one the bit runs across. You should always route the edge of the panel, this avoids tear out.Scott Brochu wrote:I got to ask why?Tim A wrote:If you're planning to route the edges, do it before you fill.
If you used screws on the corners. Then removing the screws will leave holes, Wont that mess up the smooth edge when gliding that router across the edge?
I know you can't be sloppy with the filler either. I take my screw out and then fill/ scrape off with putty knife and let dry, than route edge and sand with orbital sander/ or hand.
Just wondering what your motives where?
|
|
|
|
