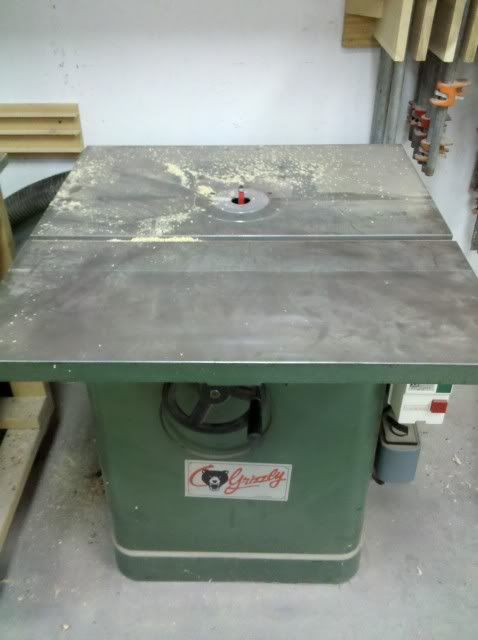
Had to pick up some sheetgoods for work (programmer buying lumber for work? This can't be good...), so I opted to try out some Arauco. Haven't ever used this before, so I figured I would give it a go. So far, I've been fairly impressed with it, as far as a standard plywood goes. It's no MDO or cabinet-grade hardwood ply, but for the price, it's pretty good.
I'm horrible about taking in-process pics, but did remember to snap a few today. And please forgive the crappy cellphone pics. On to the pics...
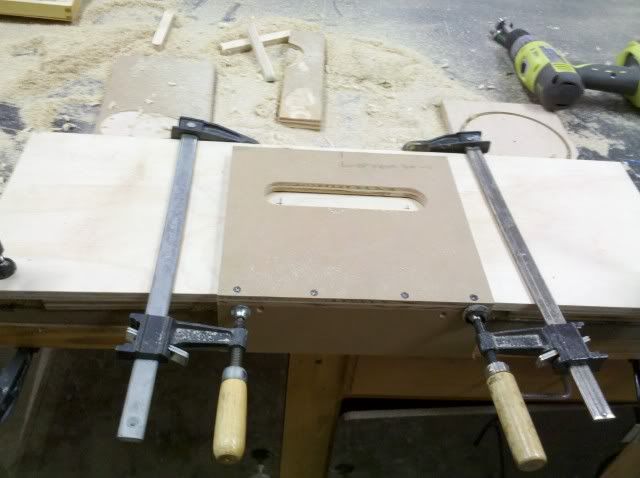
Opted to make a template from MDO, rather than measuring and cutting each baffle. Time will only tell if this was a time-saver or not, being that I don't have the drivers yet. If they don't fit, I will call that template "practice". Used the DeWalt router with the plunge base and a Jasper jig to make the 6" driver holes. Used a Forstner bit on the drill press for the tweeter holes. Dropped the template on the table saw to make the straight slots for the tweeter array. Finished the corners up with the scroll saw.
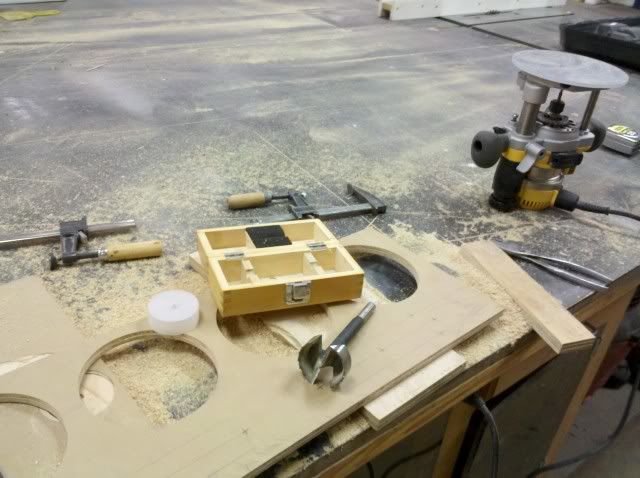
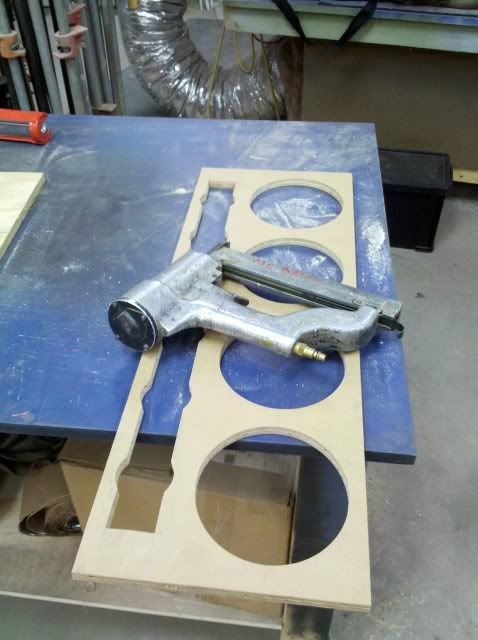
Getting ready to put some "tabs" on the template so that all I have to do is slide the template onto the baffles and shoot a short screw through the tab into the side of the baffle to hold it while I route it out. This picture is a GREAT example of why to buy good quality tools. This is a Senco stapler that has been around since I was just a pup. It's been dropped, abused, and used for many, many years, and never had a single issue.
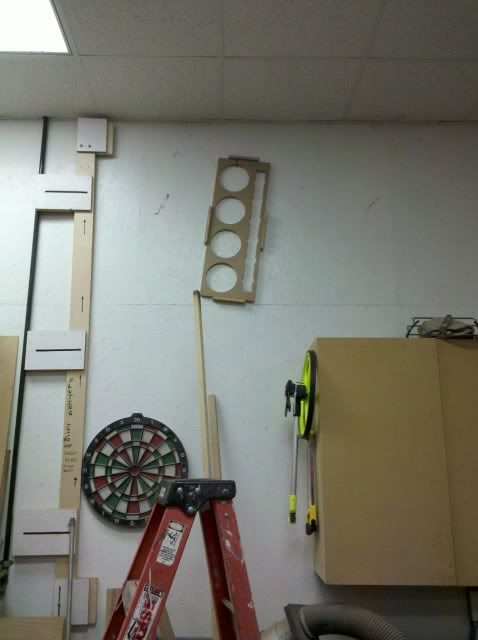
Welp, done with that template for today... It has a new home up on the wall. Should I ever decide to make brothers and sisters for the twins, and provided everything is kosher on size & placement, this should cut a good chunk off of build time. Worked well drilling a starter hole with a 1" Forstner bit, and using the D-base for the router with a pattern bit. I actually preferred that route to using the router table with a pattern bit, but only because the router that's in the table right now is an old Ryobi that's seen better days... As has the bit that's loaded in it. (pretty sure it's seen a nail or two...)
Made another jig up for the port holes. Make a center mark on the side, align it with the center mark on the jig, clamp it from the face, and route away. Used the D-base on the DeWalt again.
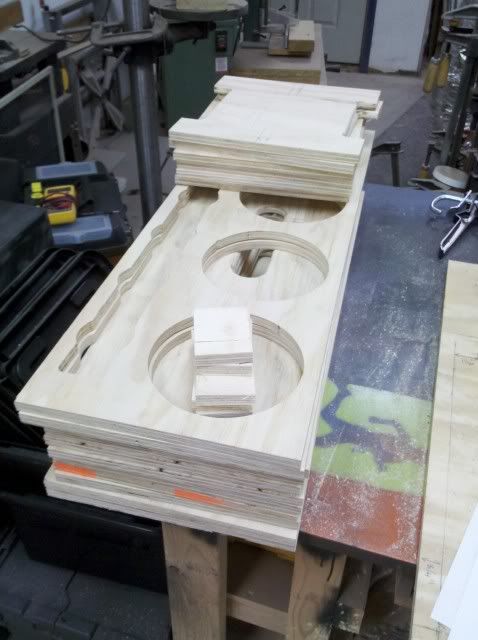
And here's the fruits of today's labor: The flat pack. Yes, there's a few extra sides. Three to be exact. I had material left at the right width, so I opted to go ahead and route them out with the rest. Should knock some time off of the brothers and sisters down the road. Used a 1/4" roundover bit on one of the little Porter Cable trim routers on all the handle ports.
Work on it will pretty much be halted until the drivers are in. Monday I'll be back in the shop... But I'll be fabbing up a prototype for a modular cabinet system for thermal label printers at work. I would rather be working on the speakers, but the speakers won't be making the instant money the other project will.