Page 1 of 7
Curved Grill WH10
Posted: Sat Apr 02, 2011 12:31 pm
by N.Webber
Hi all,
As noted on another thread, I am now building a pair of WH10s that will be fitted with a curved grill.
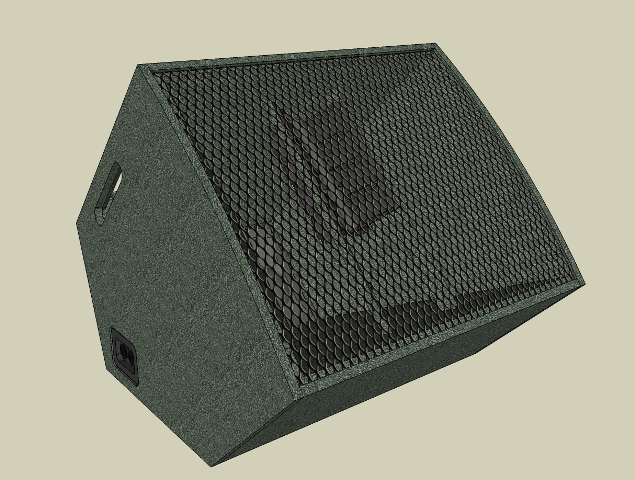
This is the modified Sketchup model:
Here are some pictures of the build:
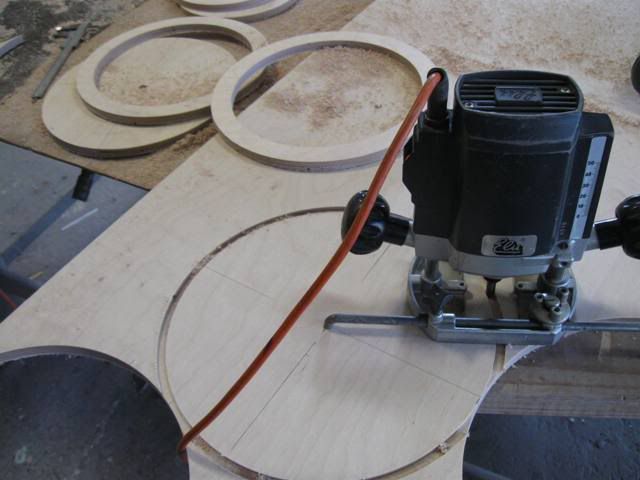
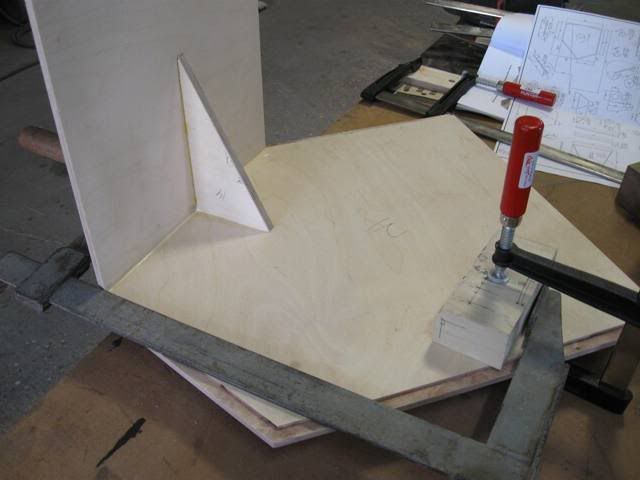
Cutting the baffles and spacer rings:
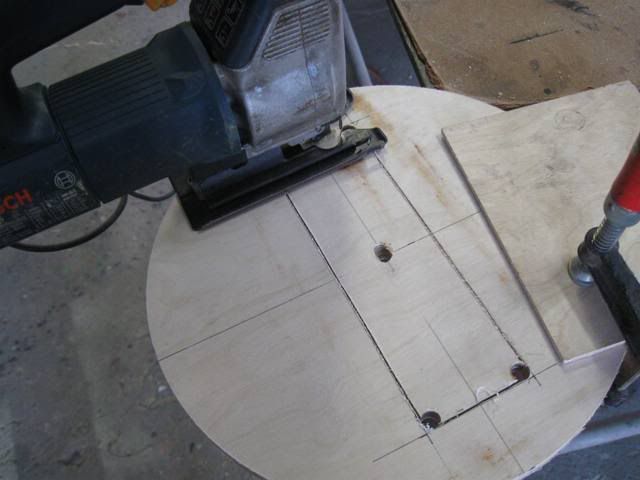
Cutting out the throat opening:
Gluing spacers and baffles:
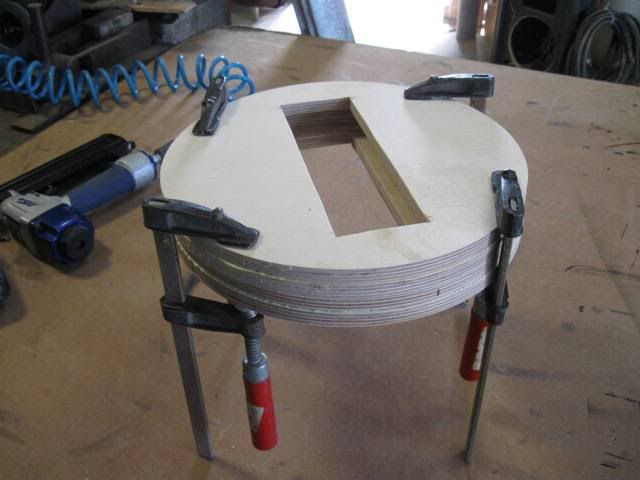
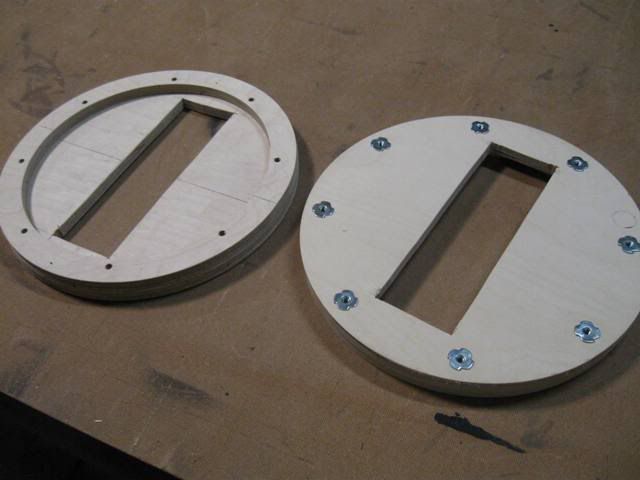
Baffles ready with t-nuts:
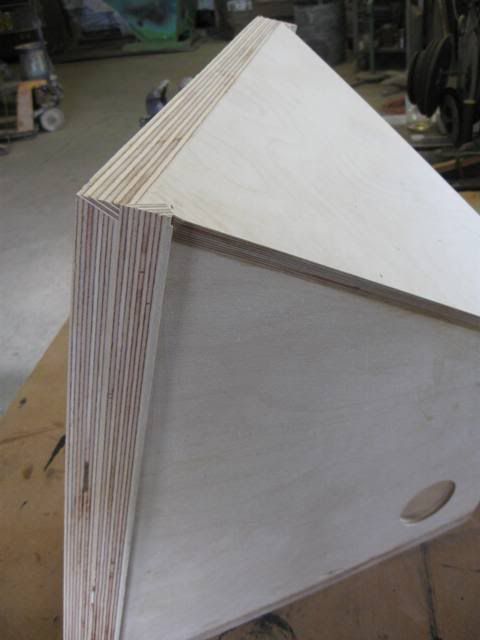
Routed edge of side panel (mod from original plan)

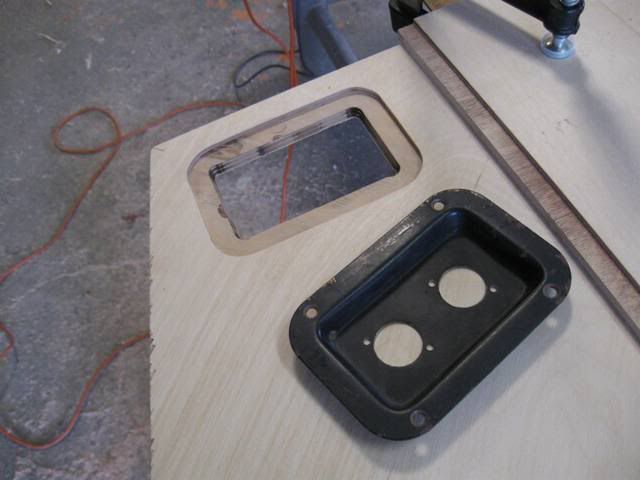
Routed recess for Speakon dish:
Shell panels Ready with braces:
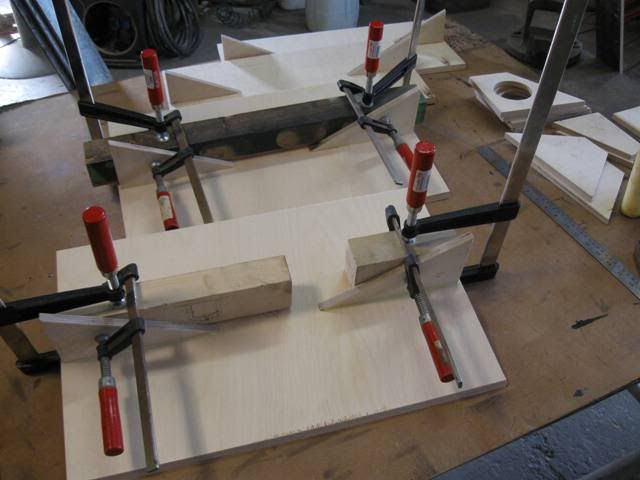
First shell panel attached to side panel:
Second Panel:
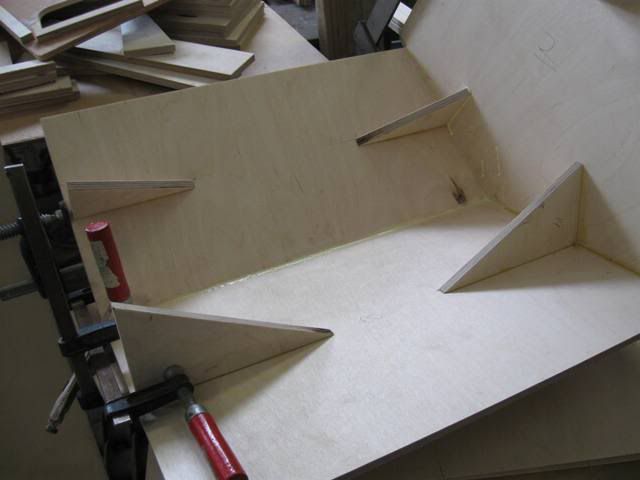
Second side panel:
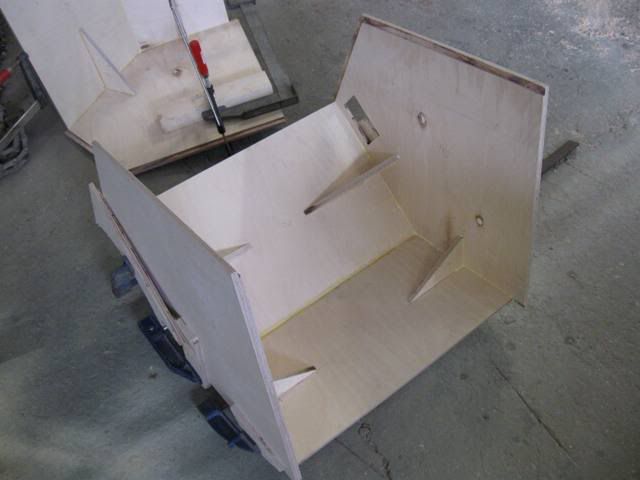
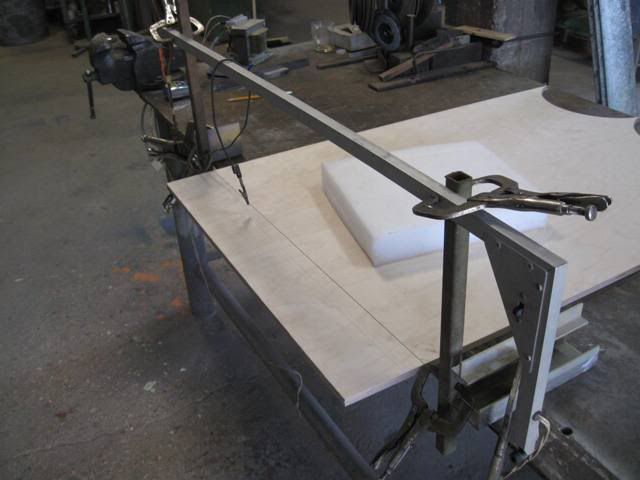
Horn jig in place:
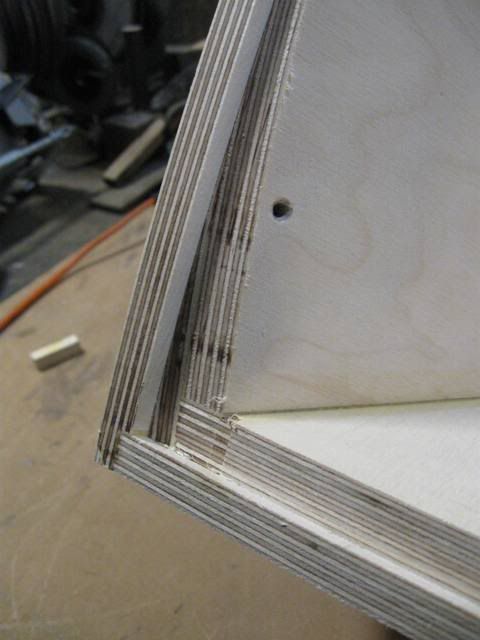
Front edge of horn side panels are aligned for additional thickening strip
(This is another mod/addition to the plan needed because of the curved front - will be clear later...)
Routing the front edge/curve of the side panels:
Thickening of the dish opening edges:
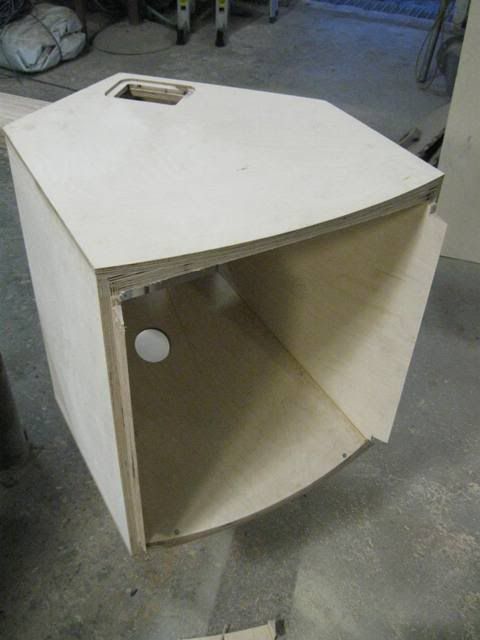
The outer shell in 'work' position:
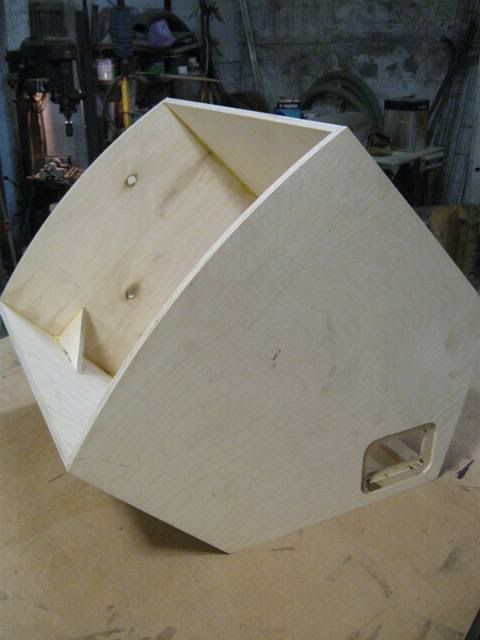
Managed so far...:


Re: Curved Grill WH10
Posted: Sat Apr 02, 2011 8:05 pm
by tdogg
schweet.
Re: Curved Grill WH10
Posted: Sun Apr 03, 2011 1:38 am
by dcodym
Lookin' good. Nice clear pics as well - very helpful.
Re: Curved Grill WH10
Posted: Sun Apr 03, 2011 5:52 am
by Frankie G
Pretty cool man!
Re: Curved Grill WH10
Posted: Sun Apr 03, 2011 6:45 am
by LelandCrooks
Now I know Nimrod's secret. He has a Bosch jig saw. Man I miss mine. One of my ex employees exploded it cutting plate. I replaced it with a porter cable that was on sale for 1/2 price, a $200 saw for $100. It's a good saw, but buy once, cry once. I should have sprung the extra and bought another Bosch.
Re: Curved Grill WH10
Posted: Sun Apr 03, 2011 8:35 am
by Dave Non-Zero
If that's all it takes then I'm getting me a Bosch too!
Re: Curved Grill WH10
Posted: Sun Apr 03, 2011 9:00 am
by bzb
LelandCrooks wrote:Now I know Nimrod's secret. He has a Bosch jig saw. Man I miss mine. One of my ex employees exploded it cutting plate. I replaced it with a porter cable that was on sale for 1/2 price, a $200 saw for $100. It's a good saw, but buy once, cry once. I should have sprung the extra and bought another Bosch.
Hey now, blaming the tools is MY M.O.
Nim, beautiful work, as always. I have a love/hate relationship with your posts

I'd actually love to see pics of what you guys really work on in that shop.
Re: Curved Grill WH10
Posted: Sun Apr 03, 2011 11:41 pm
by N.Webber
Dave Non-Zero wrote:If that's all it takes then I'm getting me a Bosch too!
...and I'll get another one

bzb wrote:I'd actually love to see pics of what you guys really work on in that shop.
Well, this is actually a workshop of the technical department of a small factory.
I manage this department, so deal with everything technical regarding all of the manufacturing machinery and equipment.
This includes design, engineering and maintenance of all from electric, control, monitoring and small PLCs programming
and of course metal fabrication and construction of new equipment.
For example:
It is a very basic and 'old school' workshop, housed in an aging building, but has all the necessary tools.
I am fortunate to be able to use this space after working hours for myself. So, whenever I have the time and a project (like this one)
- as soon as the working day is over (and on weekends…) the place transforms into a makeshift hobbyist loudspeaker shop, or a road case shop, or…
Re: Curved Grill WH10
Posted: Mon Apr 04, 2011 12:12 am
by sine143
you should see the place I build in. I imagine your bathrooms of similar size haha.
Re: Curved Grill WH10
Posted: Mon Apr 04, 2011 12:22 am
by SeisTres
sine143 wrote:you should see the place I build in. I imagine your bathrooms of similar size haha.
At least you have a place, I had to build most of mine out in my yard

Re: Curved Grill WH10
Posted: Mon Apr 04, 2011 2:14 pm
by N.Webber
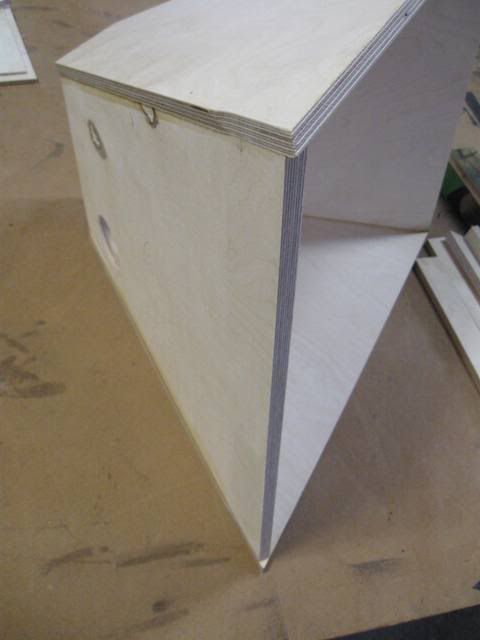
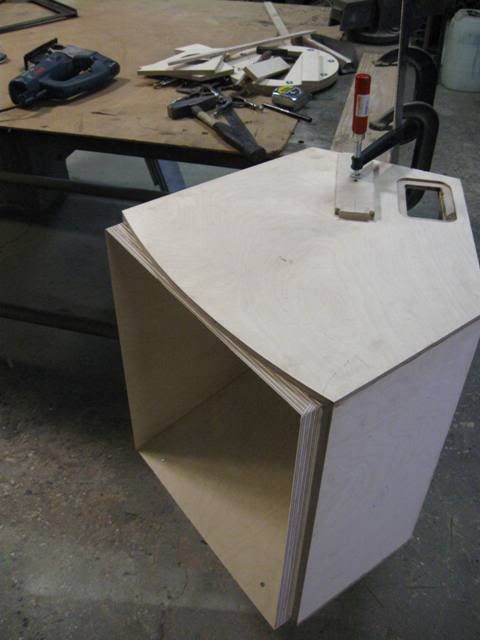
Made some progress today:
Horn trimmed to inner dimensions of the shell:
Horn inserted into shell, aligned and positioned 5mm (3/16") outer then the final position:
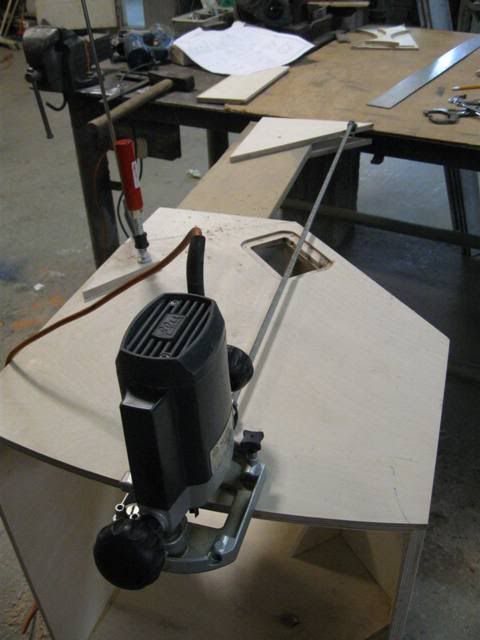
Horn secured inside the shell with temporary screws and the cab positioned for trimming the horn side panel:
Rough trim with jigsaw:
Final trim with router (straight bit with top guide bearing) flush with the cab's curved edge:
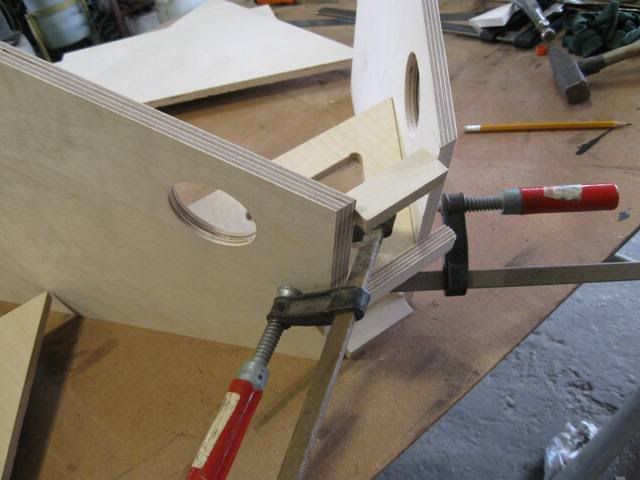
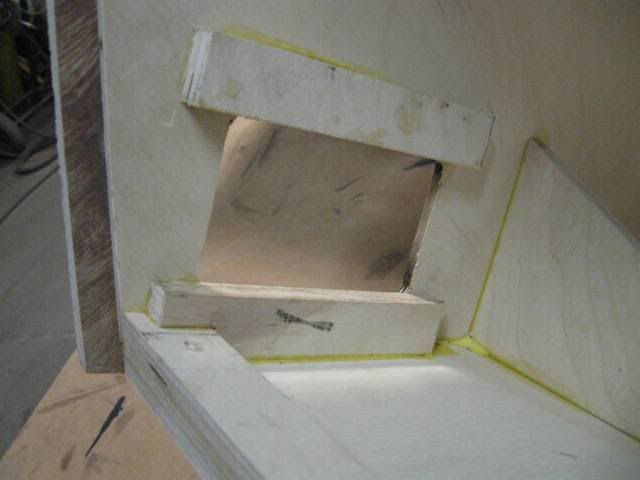
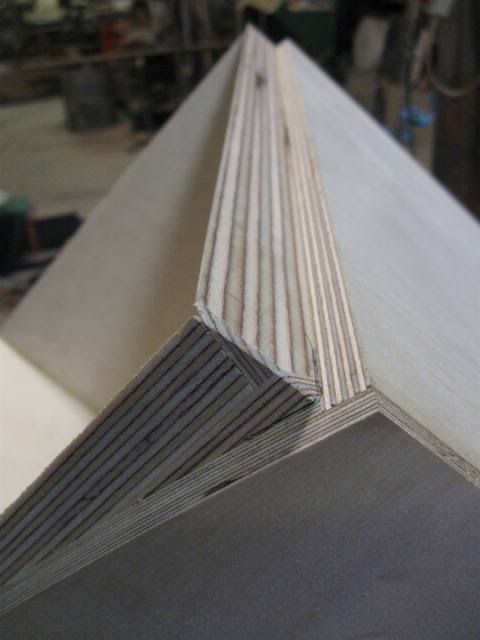
After trimming the horn's straight edges (matching the angle to the shell's front edges):

Temporary screws removed and horn pushed back to its correct position:

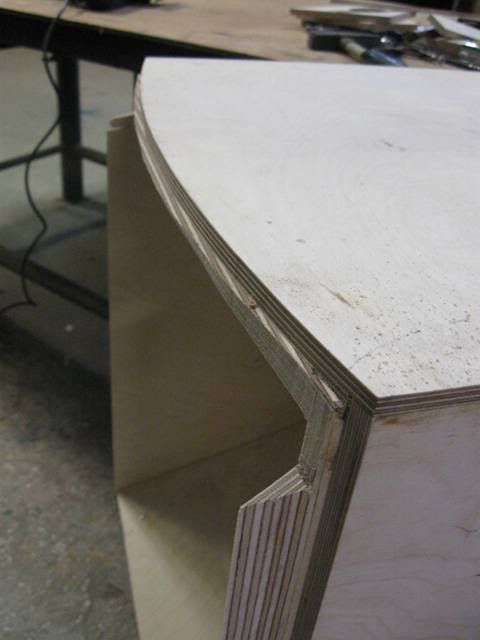
Close-up of recessed corner:
Re: Curved Grill WH10
Posted: Mon Apr 04, 2011 2:34 pm
by Drey Chennells
tight work

Re: Curved Grill WH10
Posted: Mon Apr 04, 2011 2:40 pm
by jswingchun
That's a clever approach to getting the curves and angles to match on the recessed horn. Good work!
Re: Curved Grill WH10
Posted: Mon Apr 04, 2011 3:37 pm
by AntonZ
jswingchun wrote:That's a clever approach to getting the curves and angles to match on the recessed horn. Good work!
+1
At first I did not understand why you had that extra strip glued to the horn side. It came together in the last pic. Verrrrry nice indeed
Re: Curved Grill WH10
Posted: Tue Apr 05, 2011 9:23 am
by N.Webber
Thanks..

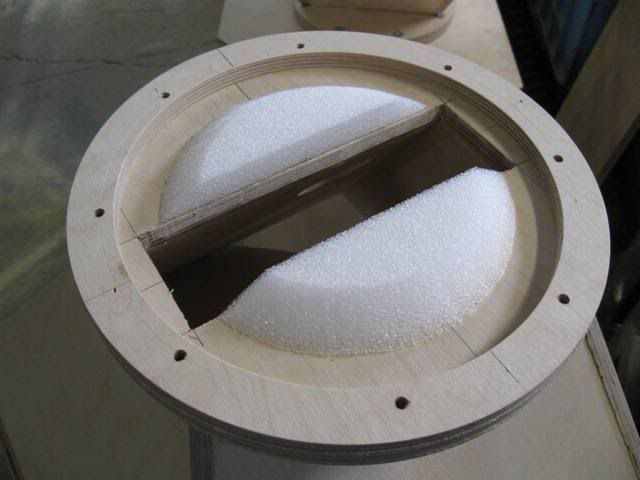
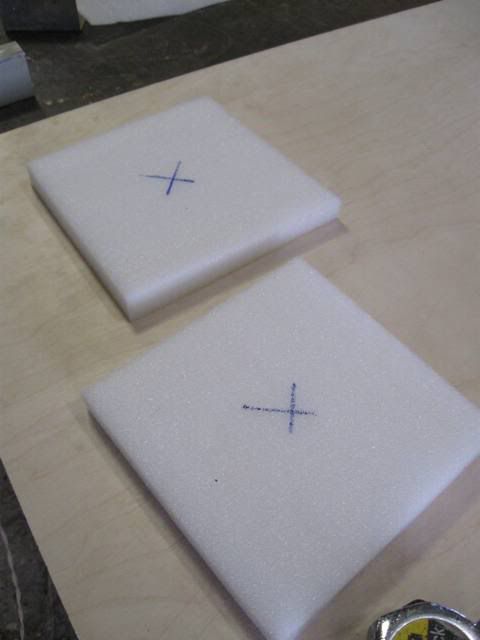
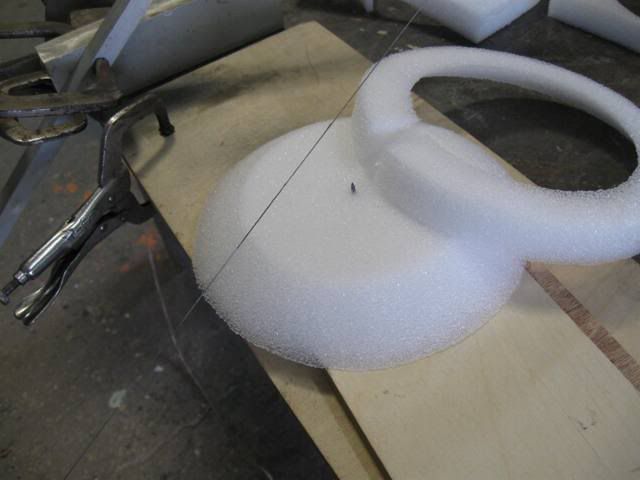
Today I prepared the throat fillers.
I used this hot wire 'Styrofoam cutter' I still have from my younger R/C modeling days…
Here placed for slicing a block of foam into two 1" 'tiles':
Center marked:
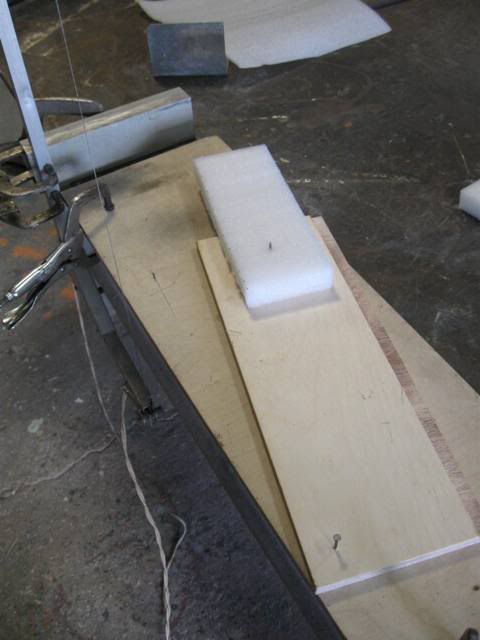
For cutting the discs the setup was changed. The hot wire now positioned vertically and an improvised table was arranged.
The closer nail in the picture is the pivot for the upper ply rectangle. At the other end of this piece is another nail going upwards
– this is the pivot for the center of the discs to be cut. And finally there is a small headless nail on the main board acting as a stopper.
In this picture the 'apparatus' is shown before testing with a scrap piece of foam:
The disc is cut:
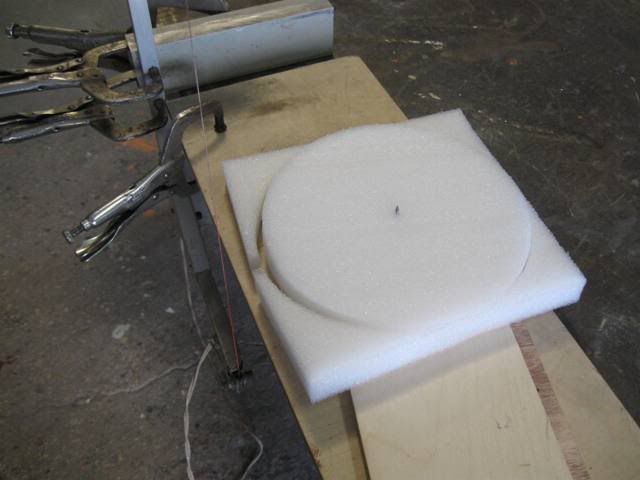
Now the hot wire is tilted and positioned for cutting the taper of the discs. Here shown while adjusted against a marked piece of foam:
Taper cut:
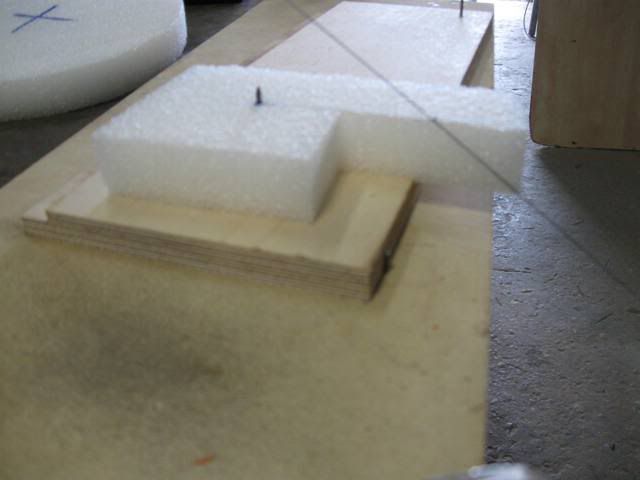
Finally, cutting the two filler parts from each disc with a utility knife:
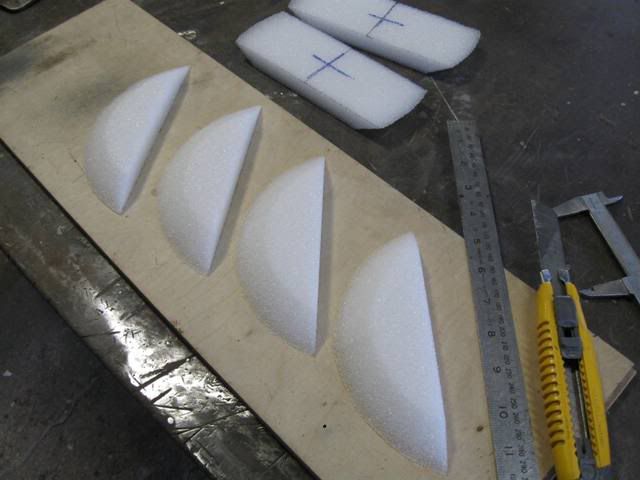
And seeing how they will finally be placed: