Page 6 of 31
Re: myn's Tuba HT Build Thread
Posted: Wed Jul 01, 2009 11:25 pm
by maxmercy
You must have had a lot of squeeze-out. I left an inch between the joint and where the driver frame begins on my build... You must have left an inch between the hole and the joint. You should be fine. If you are paranoid, use some clear bathtub caulk there.
JSS
Re: myn's Tuba HT Build Thread
Posted: Fri Jul 03, 2009 8:40 pm
by myn
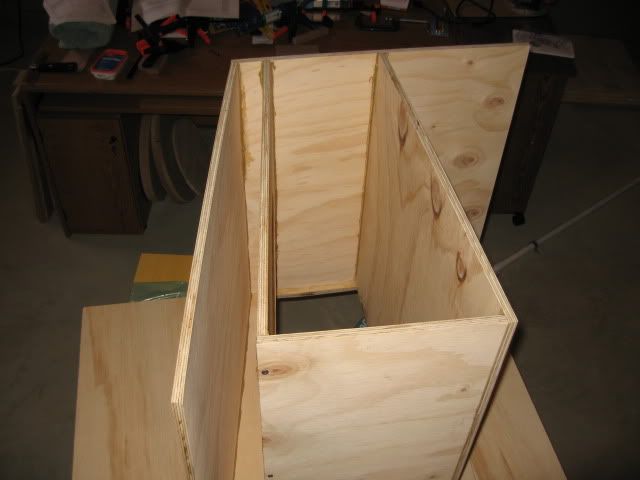
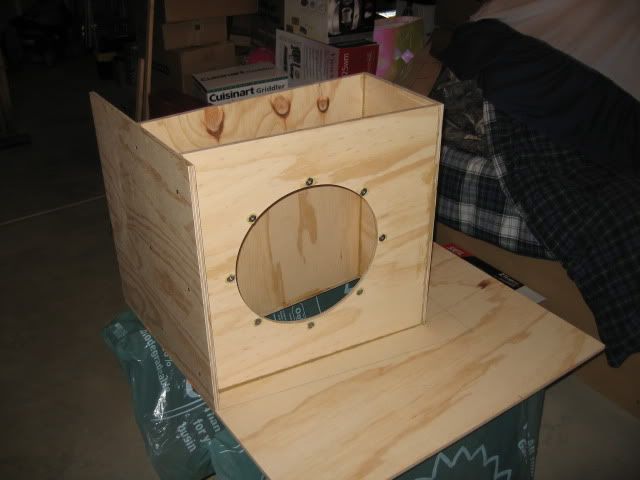
[== 6/23/2009 ==]
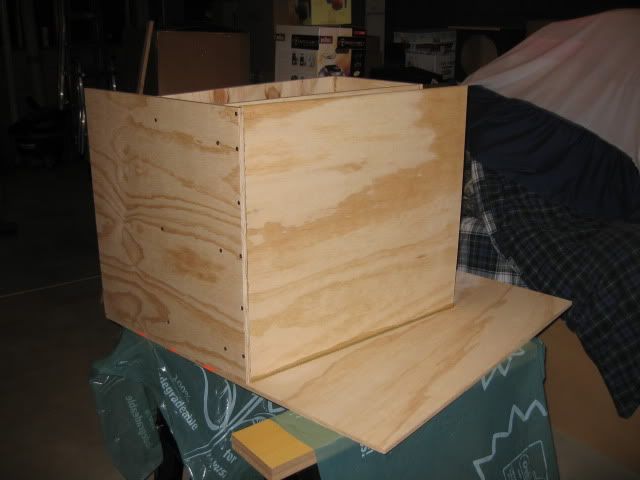
Panel 4 is now done. I managed to get the panel flush against the ajoining panels with a little muscle, clamping and screwing.
Regarding Panel #5. The plans only call for an angle cut on the front With a straight 90 degree cut on the back. Looking at the SketchUp drawing it appears like there should be an angle cut on the backside as well. Can someone confirm?

Re: myn's Tuba HT Build Thread
Posted: Fri Jul 03, 2009 9:55 pm
by maxmercy
Since all the angles are less than 10 degrees, I used all 90 degree cross-cuts, like the plans say you can, and made sure to 'caulk' well for any air leaks...but I also used a brad nailer, instead of screws...
JSS
Re: myn's Tuba HT Build Thread
Posted: Fri Jul 03, 2009 10:11 pm
by myn
hrm. My plans don't state that. Like you said though. All of the angles are < 10 degrees so not a big deal. PL fills gaps so well.
Re: myn's Tuba HT Build Thread
Posted: Sat Jul 04, 2009 12:52 am
by WB
Scott Brochu wrote:WB wrote:I like the screw because the the PL hardens on the threads and pulls out like a custom fit plug. It leaves a clean nozzle ready to use. Never used a nail before, might act the same way though.
I might try that way next time if I can remember.

What size screw do you use? 3" wood screw?
How big do you clip your tube tip?
Before ...
after.
Use a fresh screw each time.
Re: myn's Tuba HT Build Thread
Posted: Sat Jul 04, 2009 2:25 pm
by myn
Re: myn's Tuba HT Build Thread
Posted: Sun Jul 05, 2009 4:13 pm
by myn
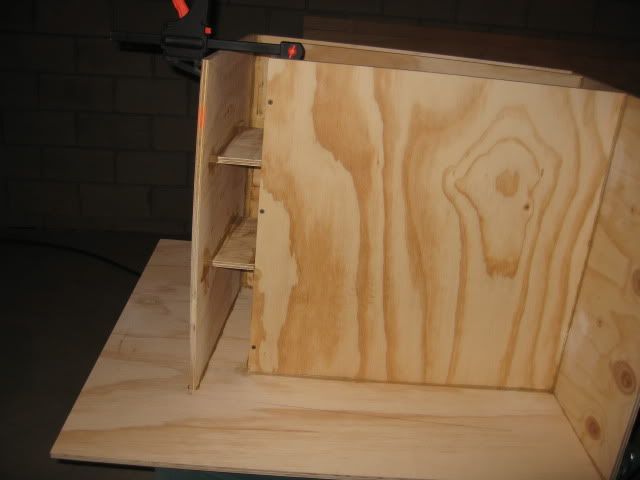
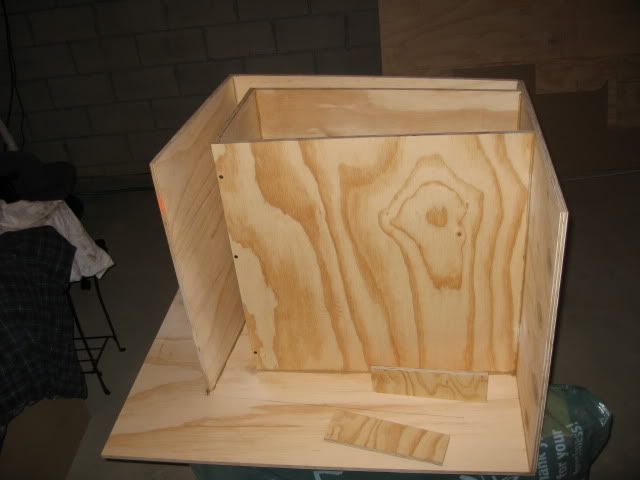
[== 7/05/2009 ==]
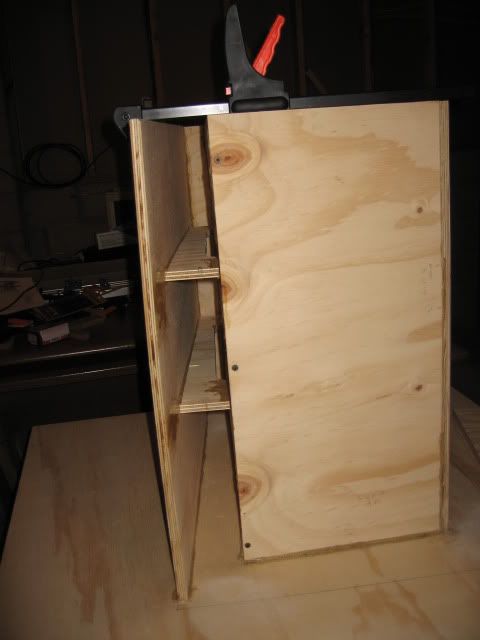
I cut out the braces for panel 3/5 (under the driver) as well as panel 6 and it's braces.
I am noticing that the braces don't fit in between the panels as clean as I would have though I attribute this to the warped panels. In some cases they fit good towards the front of the brace but may be out an 1/8 towards the back and vice versa. Is that common and to be expected? Should I just use a heavy dose of PL for them? The plans say to just make them fit snug without bowing the panels. I'm not sure how I'll be able to get them in tight without a little twisting.
Thoughts?
Re: myn's Tuba HT Build Thread
Posted: Sun Jul 05, 2009 8:30 pm
by Rickisan
However much the brace is too small on one end... cut an equivalent amount off the snug fitting end along a line ending at the existing "too small" dimension and the brace should fit just right. This is hard to describe but I hope you understand my intent. I can do a Photoshop if will help.
Re: myn's Tuba HT Build Thread
Posted: Sun Jul 05, 2009 9:39 pm
by Tom Smit
WB wrote:Scott Brochu wrote:WB wrote:I like the screw because the the PL hardens on the threads and pulls out like a custom fit plug. It leaves a clean nozzle ready to use. Never used a nail before, might act the same way though.
I might try that way next time if I can remember.
What size screw do you use? 3" wood screw?
How big do you clip your tube tip?
Before ...
after.
Use a fresh screw each time.
I have re-used a nail for three tubes, so far, with the same results as you. There does get to be a build-up after a time, but it removes easy enough! I keep some waxed paper wrapped around the nail/nozzle to keep from hand contact.
Re: myn's Tuba HT Build Thread
Posted: Sun Jul 05, 2009 9:44 pm
by Tom Smit
myn wrote:[== 7/05/2009 ==]I am noticing that the braces don't fit in between the panels as clean as .....Thoughts?
Don't know if this is proper but, when building my AT I screwed the brace onto the "exterior" panel, checked for fit, removed and PL'd that edge of the brace and re-attached, then applied a thick layer of PL to the other edge of the brace and attached the panel.
Re: myn's Tuba HT Build Thread
Posted: Mon Jul 06, 2009 9:25 pm
by myn
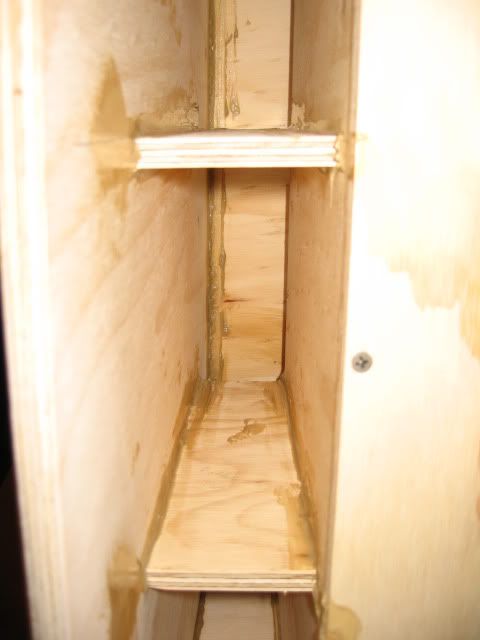
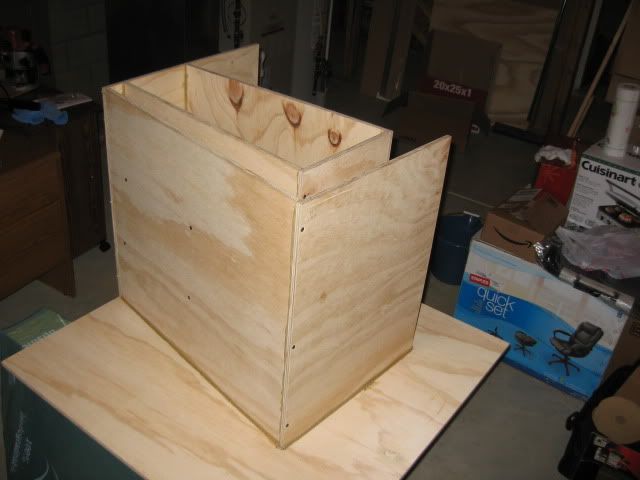
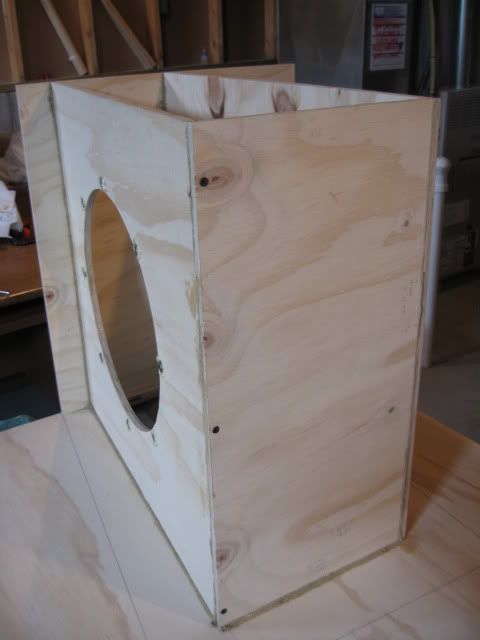
[== 7/6/2009 ==]
Braces between panel 3 and 5 installed.
NUFF PL to fill the gaps.. I felt like I was playing that childs game "Operation" with the braces as I pushed them between the panels. The objective being don't smear all of the PL all over the panel before Its in place. I only managed to screw the braces in place through panel 5. I was unable to get my drill into the access panel to screw them in through panel 3. Lesson learned. Predril braces before securing panels. I am guessing it should be fine as there was lots of PL squishing out and the clamps will hold the braces against the panels

Re: myn's Tuba HT Build Thread
Posted: Tue Jul 07, 2009 1:05 am
by maxmercy
Lookin' good! The THT plans must have changed since I purchased mine, as mine only have one brace opposite the driver...
I found the most time-consuming part of the whole build to be fabricating the braces...and of course the finishing process.
JSS
Re: myn's Tuba HT Build Thread
Posted: Tue Jul 07, 2009 1:39 am
by chrapladm
The plans I bought not to long ago have the 2 braces in the plans on page 10.
I wish I had all of my needed supplies to start my THT.

I Get excited to see others are coming along with there build and I want to start my own but have to wait a little longer. But after seeing Max's and now yours myn I have learned alot. I am sure mine will be alot easier now that I have read the instructions 10x's and now I have seen a few being built. I am sure I will have more questions but lot of them have been answered now.
Re: myn's Tuba HT Build Thread
Posted: Tue Jul 07, 2009 10:41 pm
by myn
Re: myn's Tuba HT Build Thread
Posted: Wed Jul 08, 2009 9:04 pm
by myn
[== 07/08/2009 ==]
Rickisan wrote:However much the brace is too small on one end... cut an equivalent amount off the snug fitting end along a line ending at the existing "too small" dimension and the brace should fit just right. This is hard to describe but I hope you understand my intent. I can do a Photoshop if will help.
Thanks Rickisan. That little tip helped me out today installing panel 4/6 bracing. Used my jigsaw and trimmed a 16th off one end and it fits significantly better.
I also cut out Panel 7 and it's braces tonight. Seems like I'm finally getting in the groove and its becoming increasingly faster todo things.
Looking ahead to Panel 2/7 brace install, I'm wondering how I am going to slide the braces into place as Panel 1 is in the way. I am guessing I start as far back as I can and very carefully push them into place? This bracing reminds of of that kids game "Operation. In this case the goal is not to get the PL all over your cabinet!
I also am thinking about installing panel 2/7 reflector after panel 7 and the bracing has been installed unless someone can convince me otherwise.