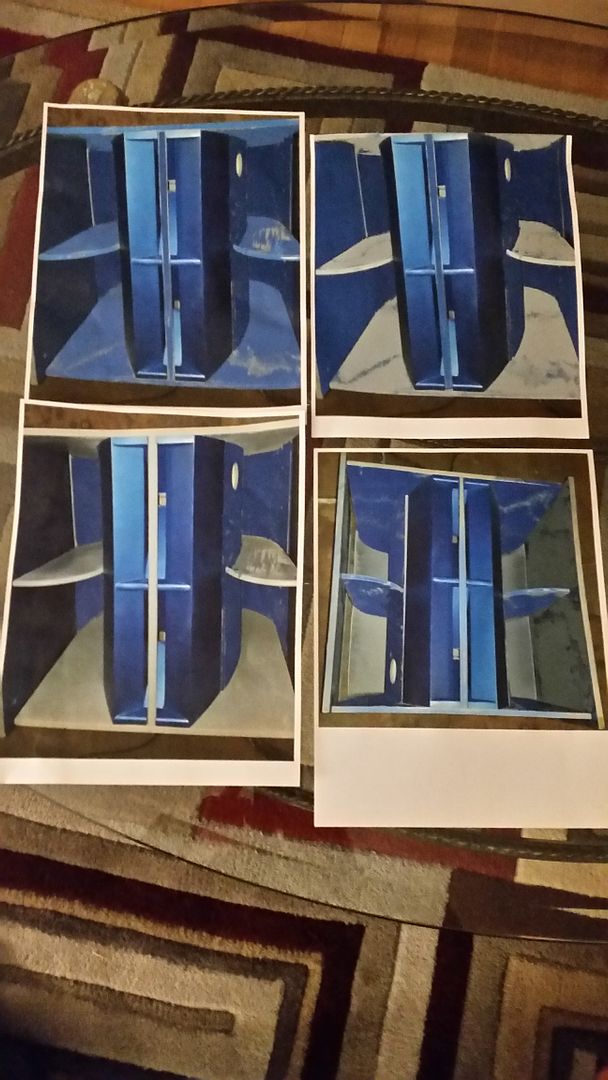
More progress - the butt cheeks!!! (viewer discretion is advised)
After cutting out the 1/8" baltic birch blanks I had to get them to bend. I did this awhile back right in the middle of heating season so the blanks were bone dry. I bent one about half way to the desired shape and it cracked in half so that didn't work. My new plan was to pick out the best looking side to go on the inside of the horn and then wetted the outside of the blanks with warm water. By the time I finished wetting them the first ones were already dry (told ya they were bone dry) so I wetted them again and then stacked them in a pile and let them sit for 20 minutes. After that they were able to bend quite nicely. I ended up using a 5 gallon pail and a clamp to help me tie some string around them:
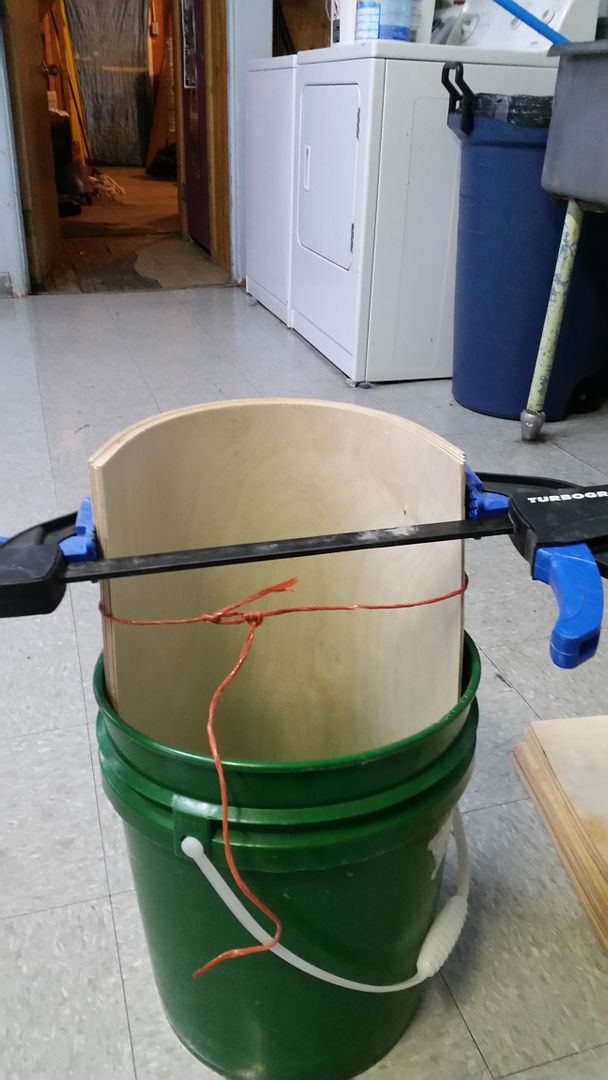
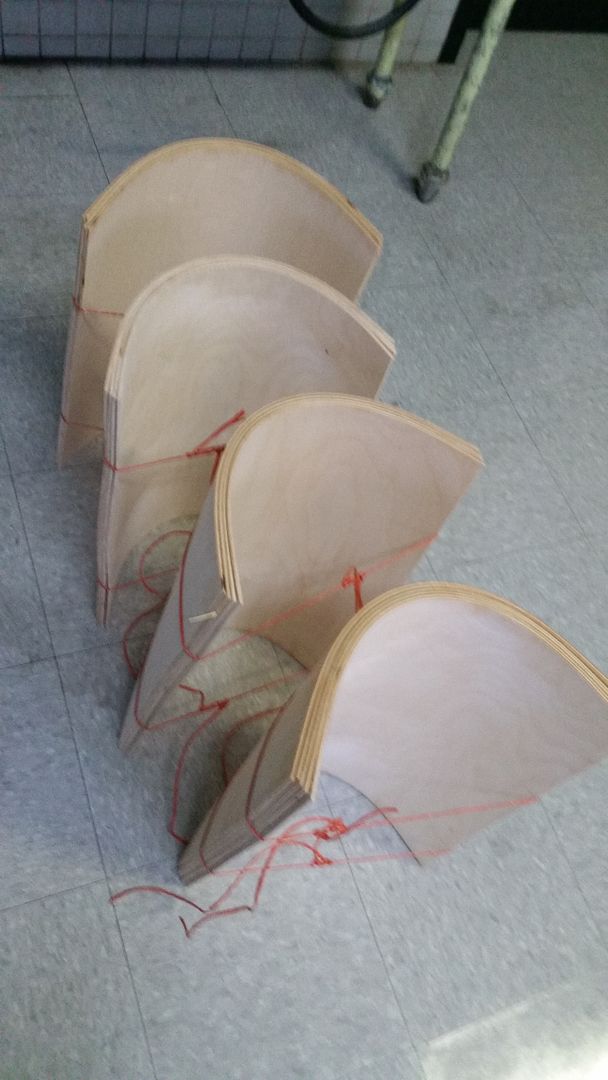
After a couple days I twisted a pencil in the twine to tighten up the curves and every few days I gave it another twist.
I used the ratchet straps to attach them:
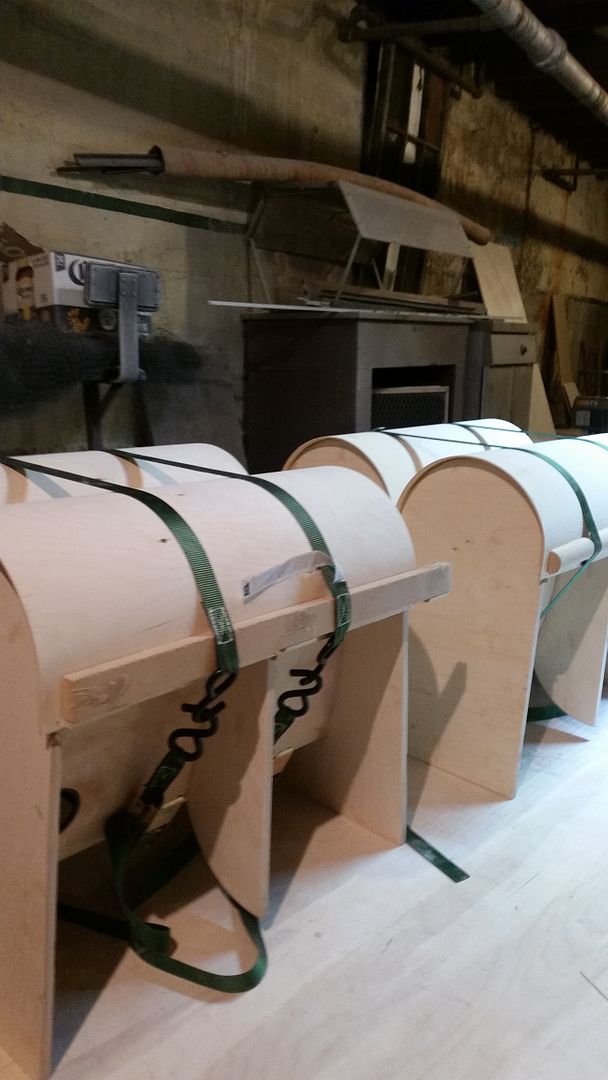
The first 2 didn't go very well. They kept lifting in the middle while I was trying to attach them. I used staples on the ends and they pulled through. 24 hours later I removed the straps and the glue wasn't fully cured and they separated pulling through even more staples. Good grief! I was looking forward to this part of the build from the beginning but this wasn't going well. Time to go home for the day.
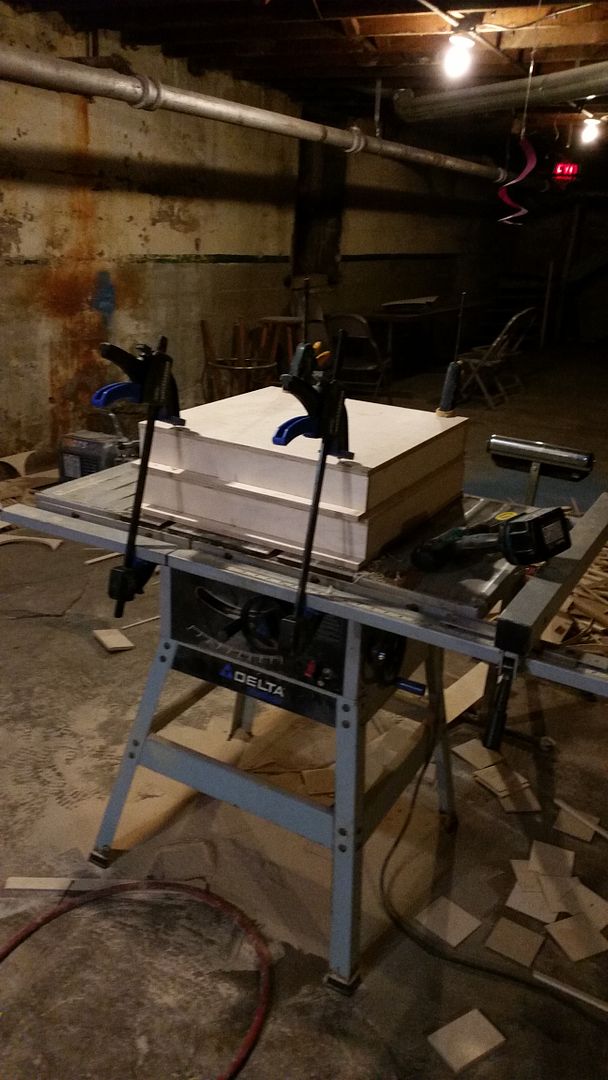
The next day I came up with a plan. Instead of staples I cut out a bunch of little blocks and decided to put away the stapler and just use a brad nailer. I used the ratchet straps to hold the panel down, then starting on the inside and working my way to the edge I used the blocks and a single brad to secure the piece:
The good thing about this was that I could immediately remove the straps and go on to the next cab. I got the rest of them done and the 2 that separated I repaired using superglue and the retaining blocks with a brad to hold them in place.
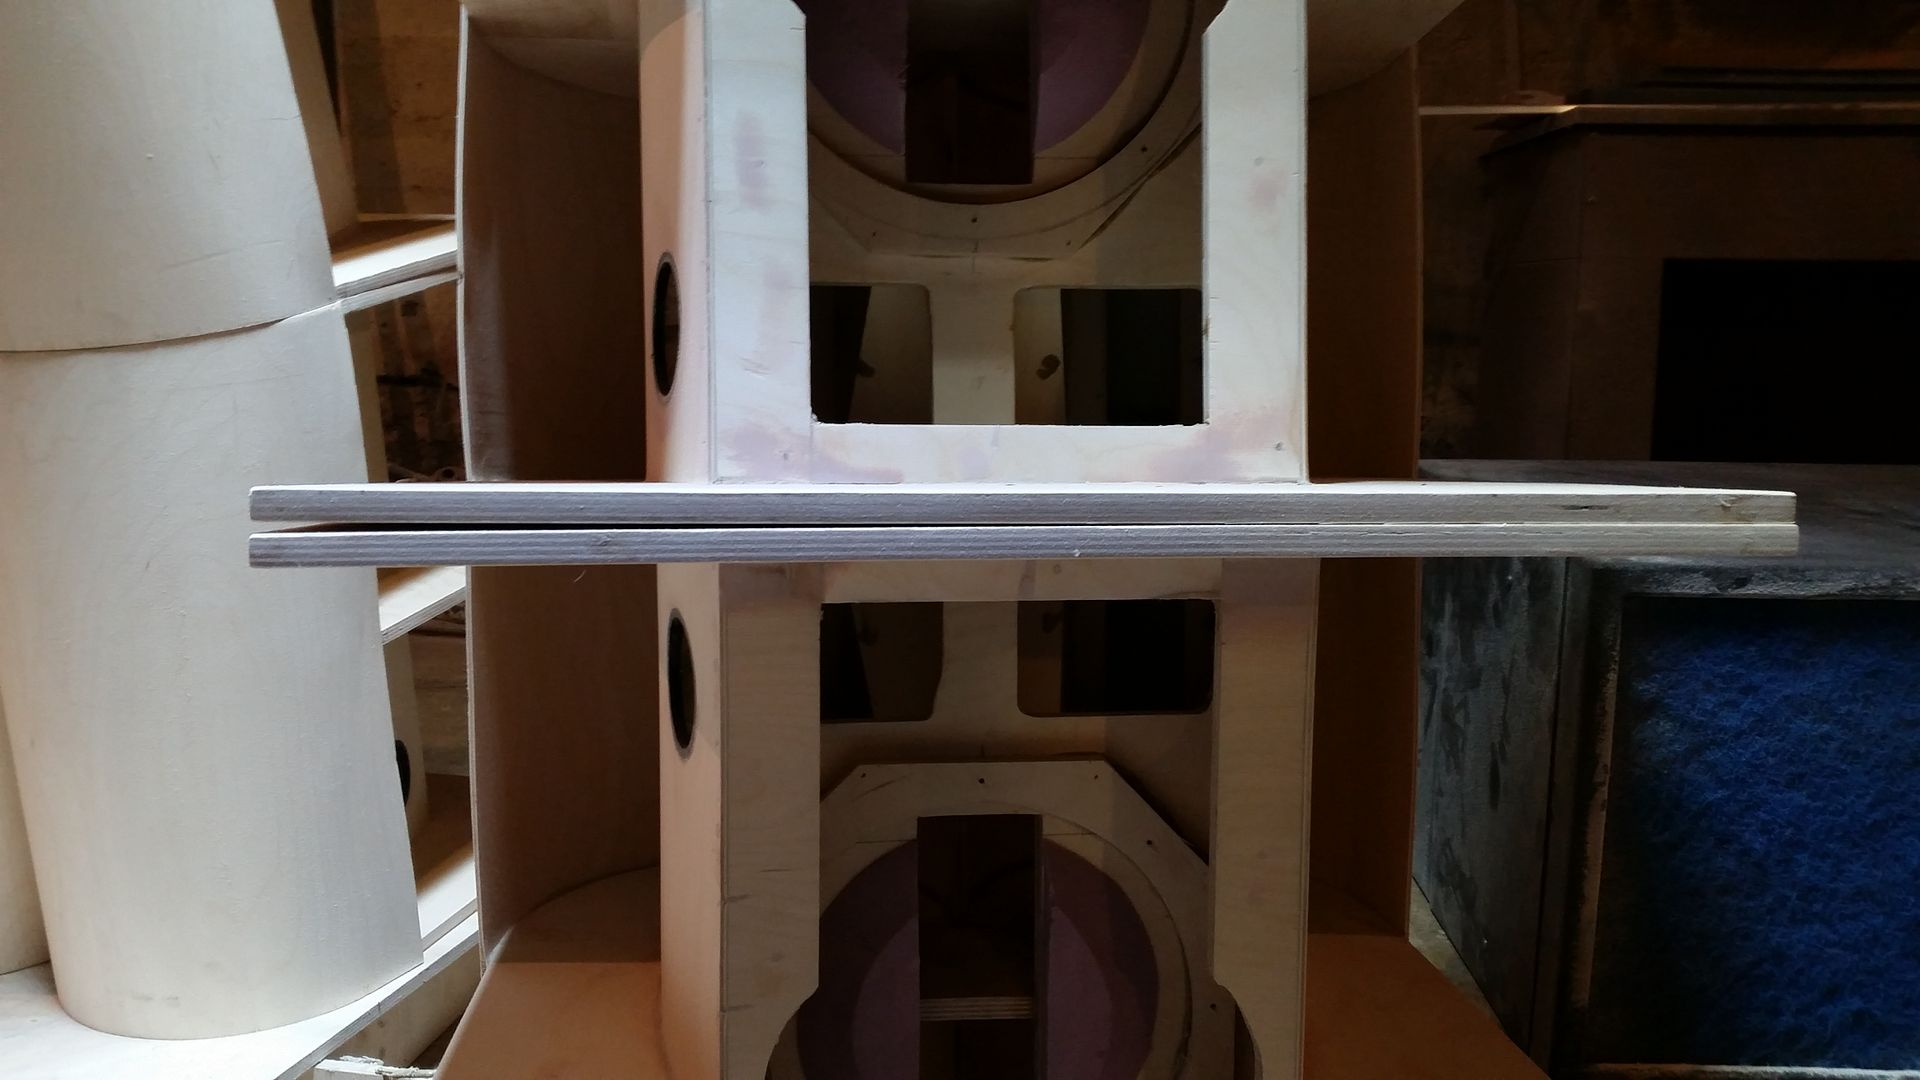
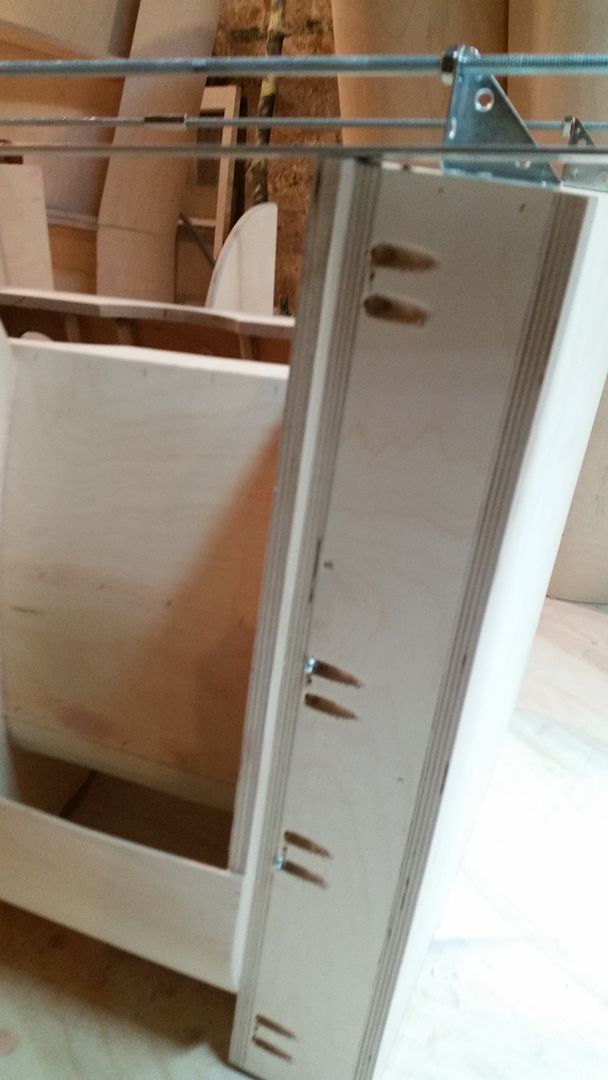
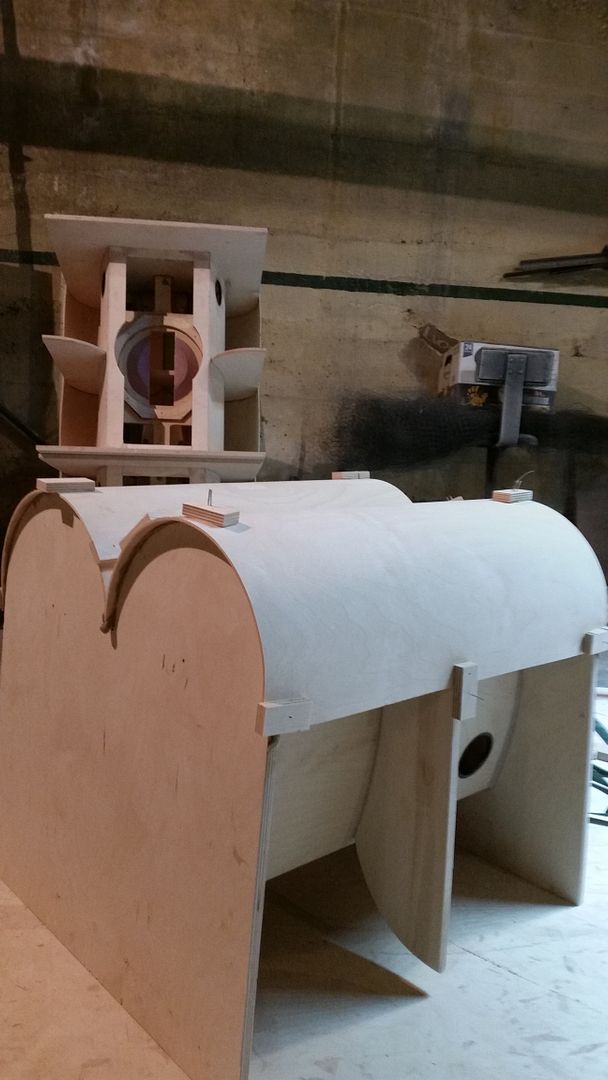
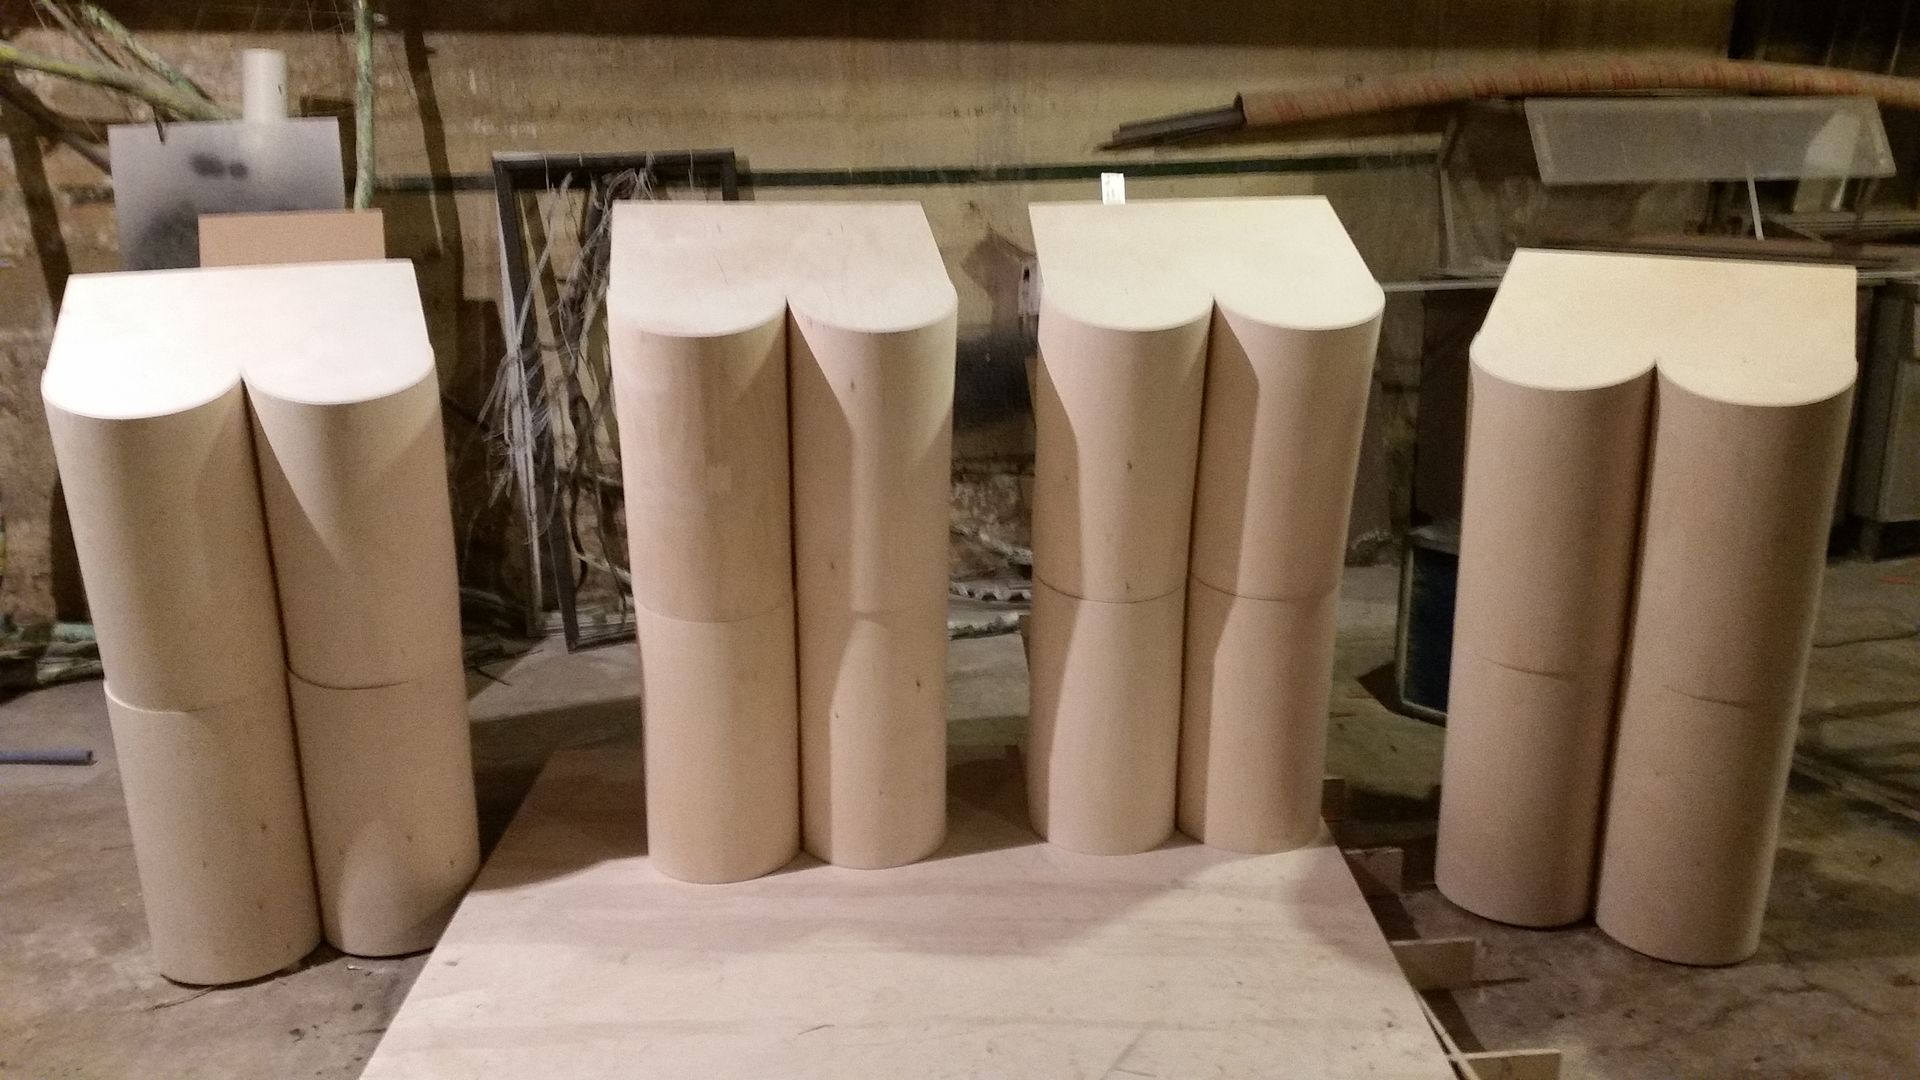
I waited 3 days this time before removing the blocks and after a little bit of trimming ... success!
(you might want to cover your kids eyes for this one)
ta-da!!!!
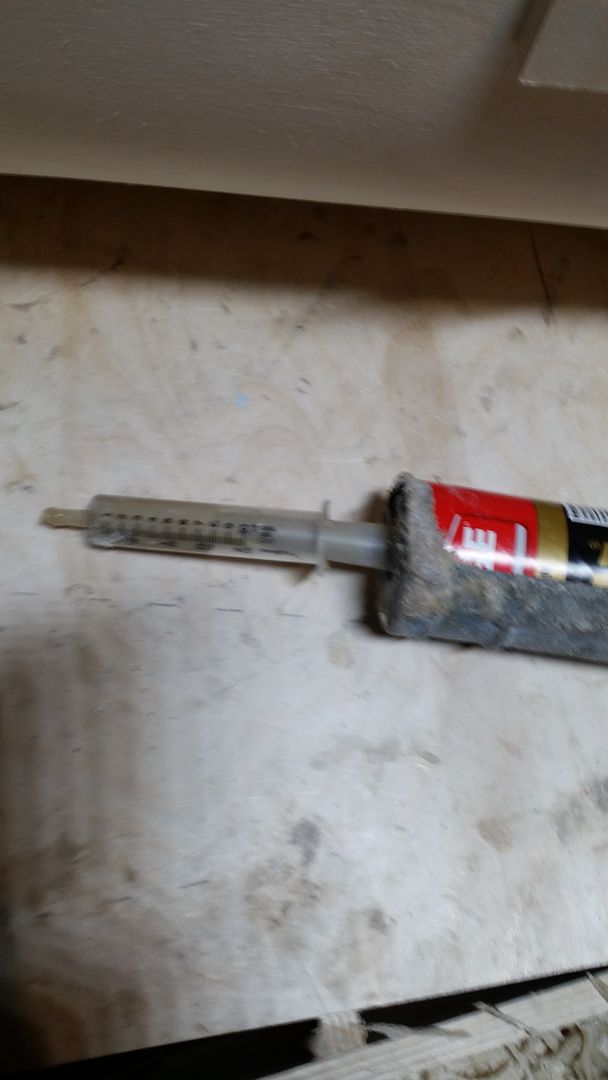
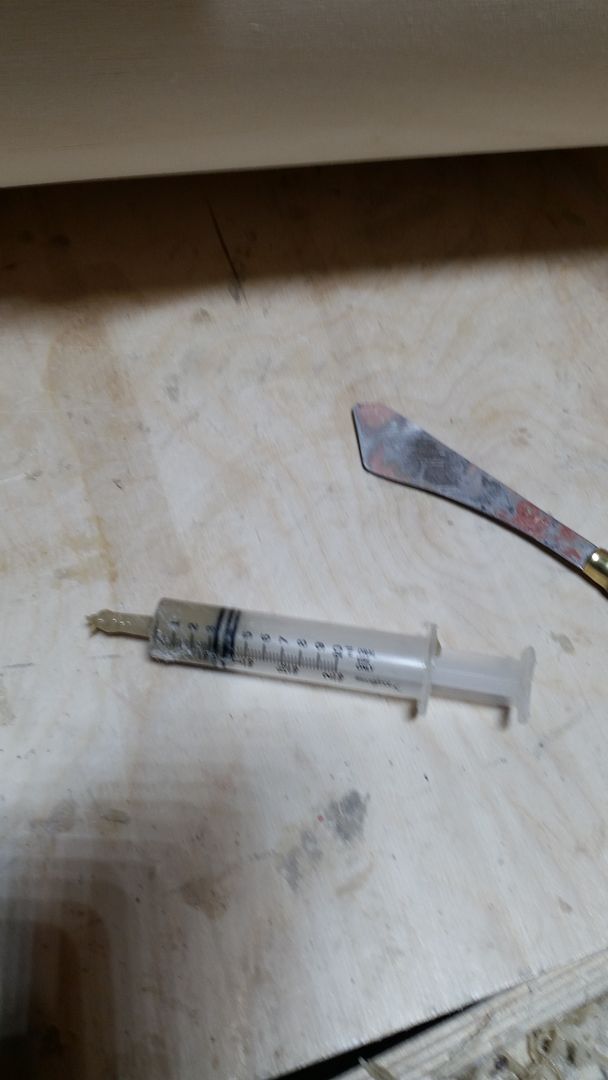
I thought I'd share a little trick I came up with. There were a few spots where I had to go inside the horn to fill in some gaps with PL but the big caulking gun doesn't fit in there. I made a new smaller caulking gun using a syringe that you can get at the pharmacy for dispensing liquid medicine to kids. Just fill it up with the PL and you are good to go:
Filler up
Ready to go:
Action shot: