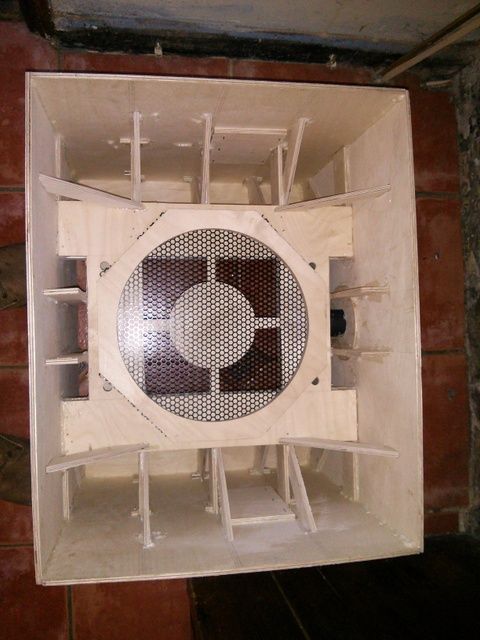
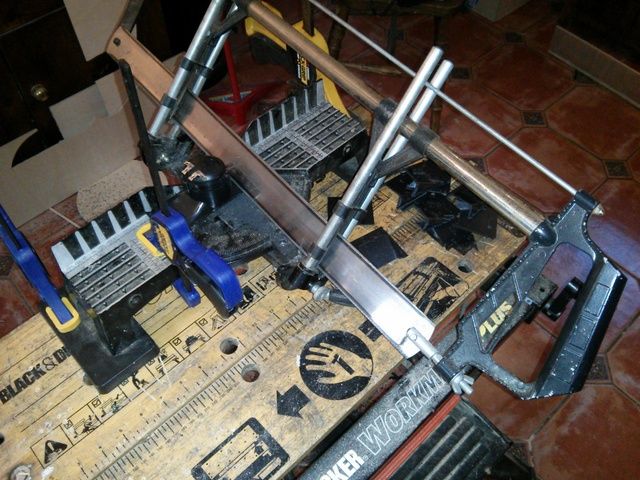
So...the array is nearly ready at this stage (still got to wire it up though) and time to turn back to the woodwork, well...the polystyrene work anyway...and fit the phase plug on the front....
I found the polystyrene ball on Amazon for about £8, thought it was quite pricey but ordered it anyway thinking I could cut it in half for each cab...when the box arrived I found I'd ordered 25 of them so I have a few spare

Any UK builders who need one just PM me and you can have a couple....anyway, I took my time cutting these because you should never Rush Hemispheres....do you see what I did there

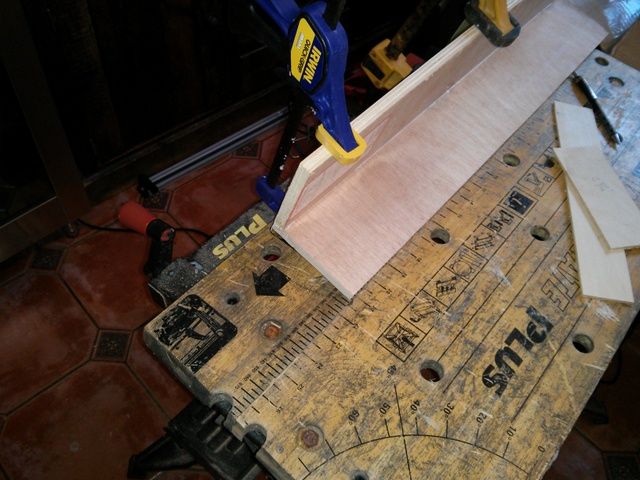
After that it was time to route the recess for the handles, so I made up a template and routed the first one pretty well, here you can see the template being positioned for the second side...held on with double sided carpet tape
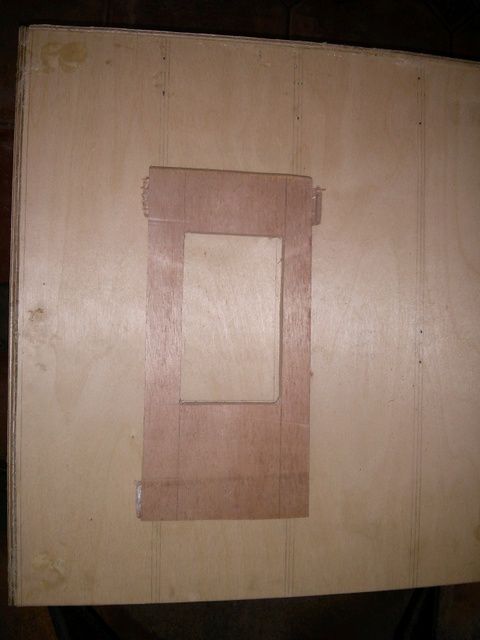
A minute or so later and, in the middle of the second route, the pattern following bit (which I had tightened to white knuckle levels some ten minutes previously when doing the first side) dropped out of the router chuck and whirled it's way straight through the side of the cab...ooops...still, could've been worse...it could've spun it's way through my face. Just a salutary lesson that no matter how often you've used power tools, or how carefully you check things, sometimes you make mistakes....be careful, these things ain't toys.
So, no option but to saw out a whole handle cutout...
Then I glued up a patch of 3mm ply on the inside to create a handle recess and make it all airtight again. In hindsight, the handles needed an 8mm recess, so I would've just laminated a rectangle of 3mm ply onto the 6mm ply at the handle position, then cut a handle recess sized hole, then put another 3mm rectangle over that...and I'd have done that before I glued the sides on right at the start of the build...Oh well....experience is what you get just after you need it...
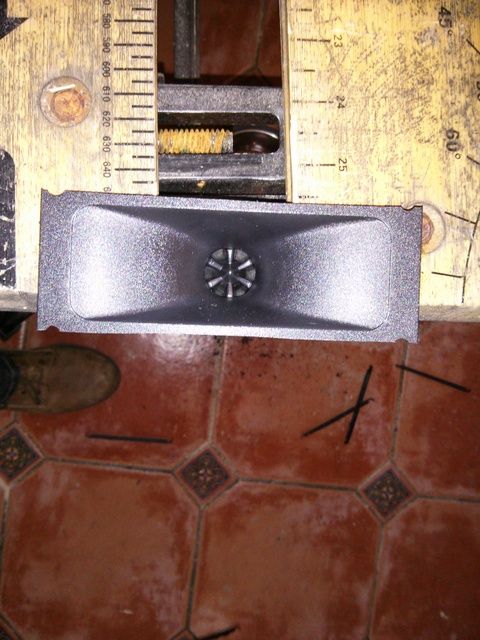
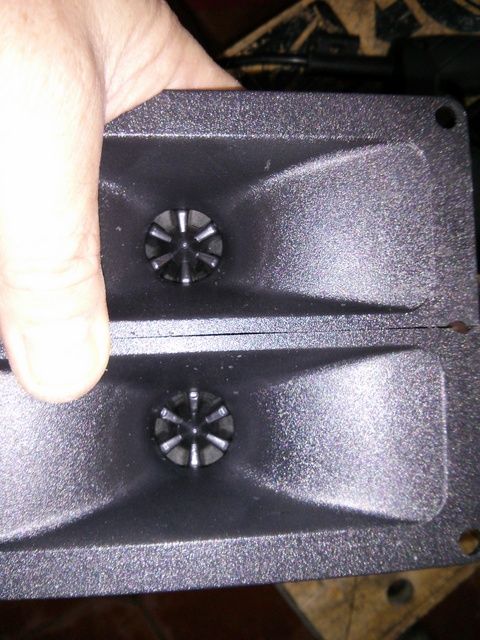
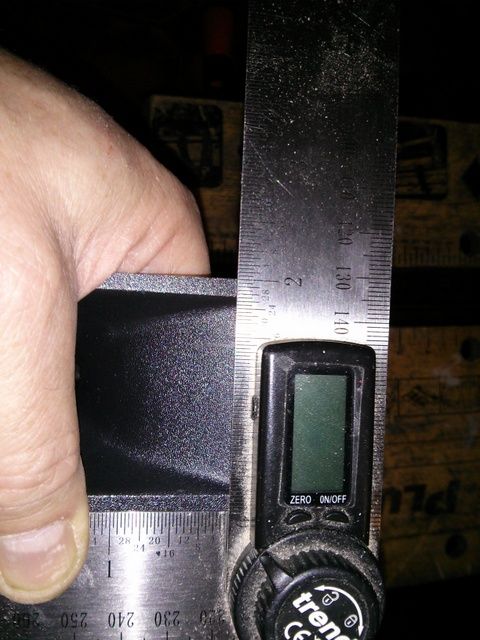
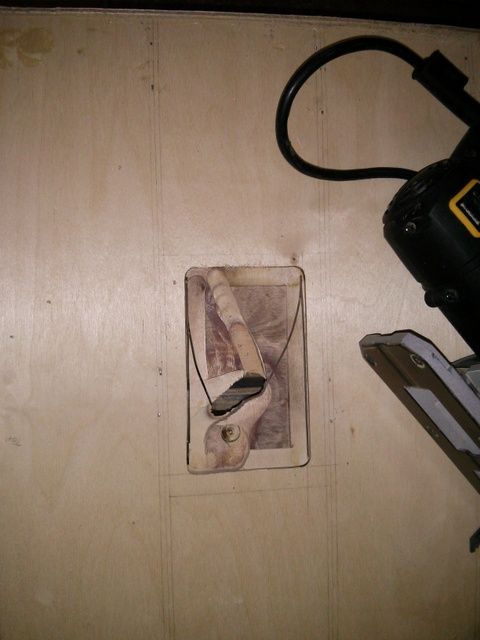
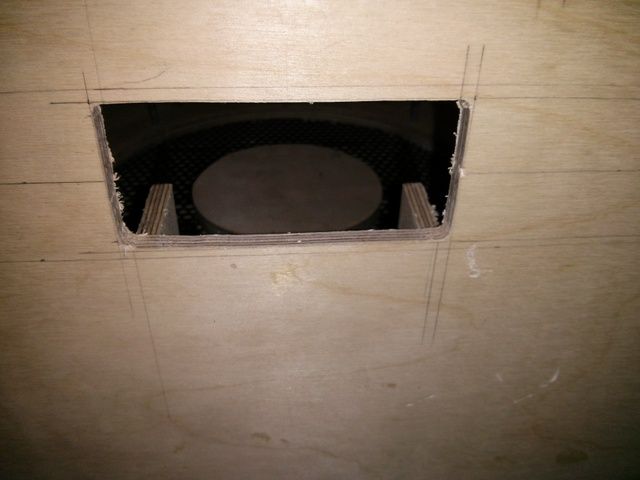
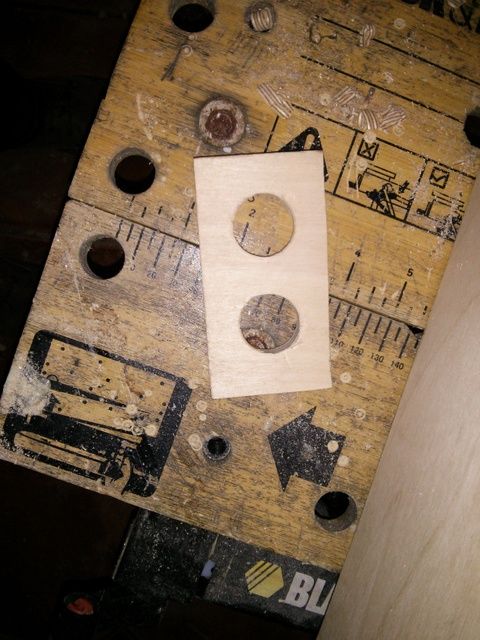
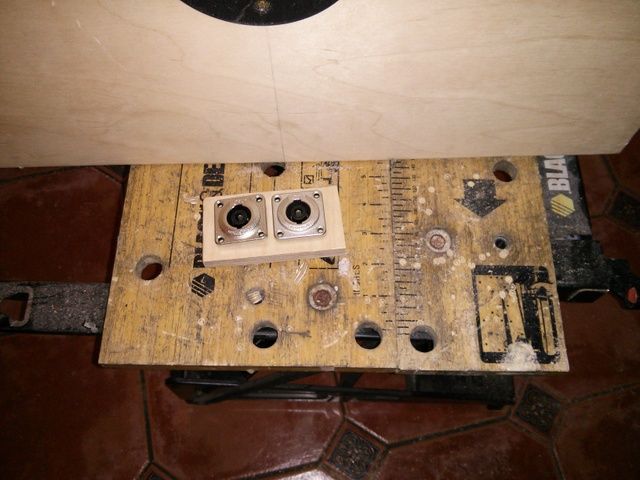
It's the little things that take up the time...here's a sequence of pictures illustrating the cutting and measuring of the cab and a backing piece to make a recess for the speakons, plus gluing and fitting....
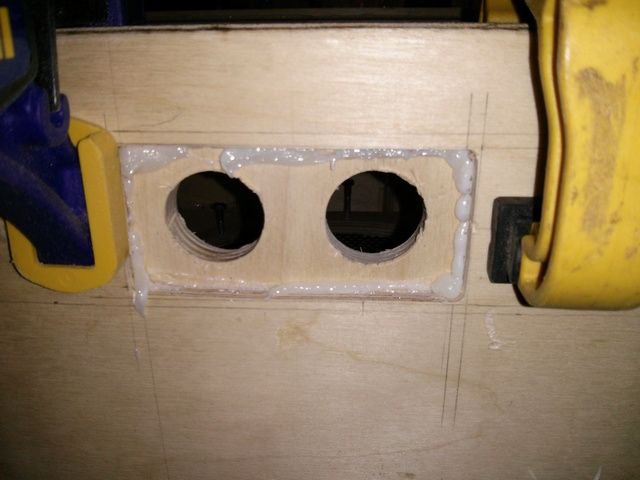
Making sure everything is centred, square and that all the PL squeeze out is chiselled off when it's dry and there is another hour of your life gone...never mind, I would have only spent that hour watching daytime TV and waiting for the grim reaper
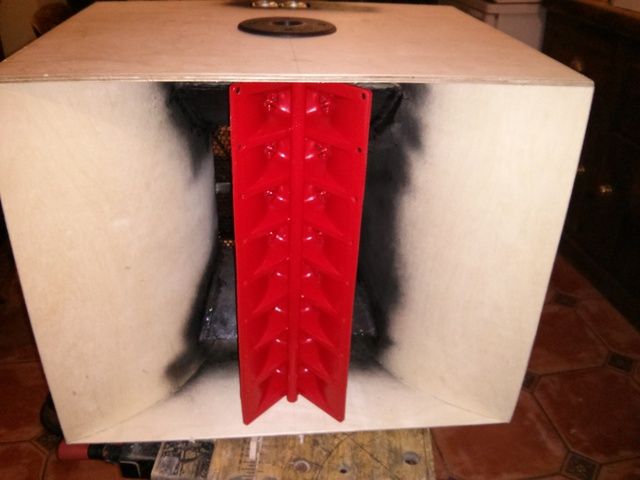
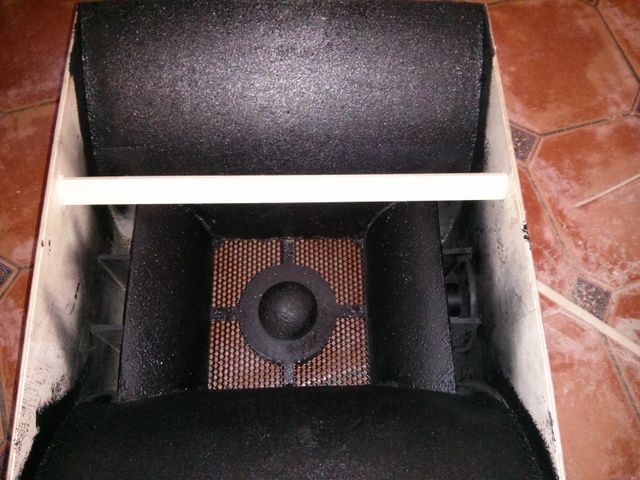
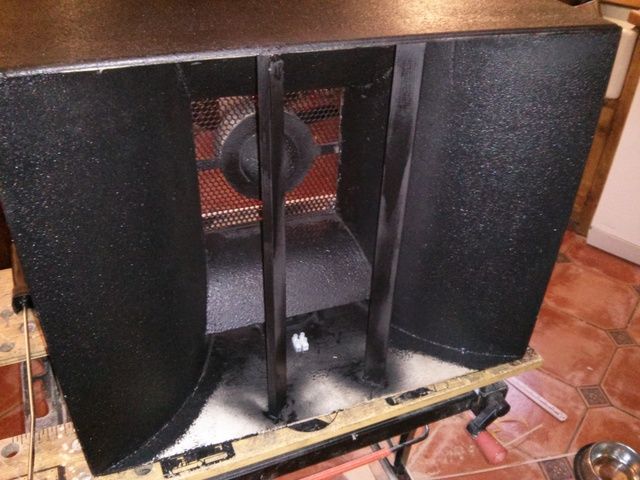
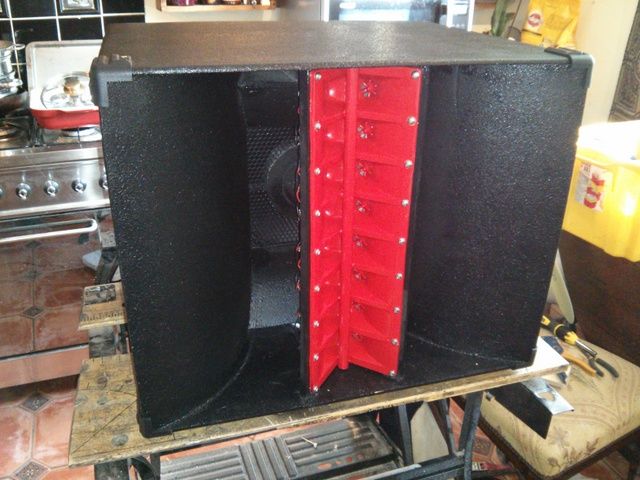
I'd still got some 50mm insulation left over from building a wetroom, so I cut a phase plug circle from that

I used a hand saw to slice it in half like a loaf of bread, and sanded a concave surface onto the disc, then hot glued it into place...it's maybe a tad shy in diameter, but by this time I'd started getting impatient to be done...it really seemed like there were still a mountain of things to do...so that'll have to do

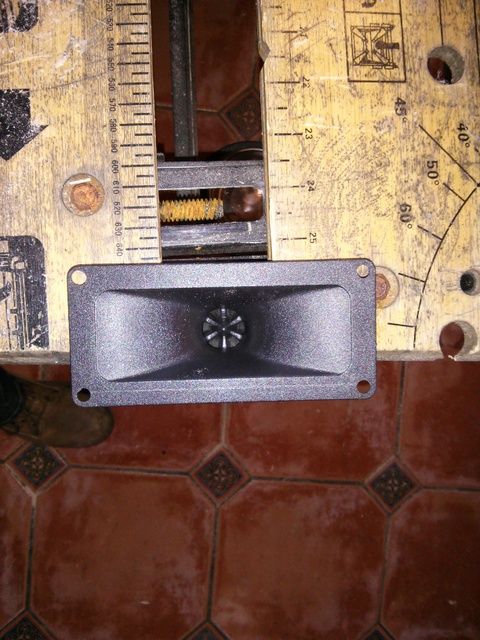
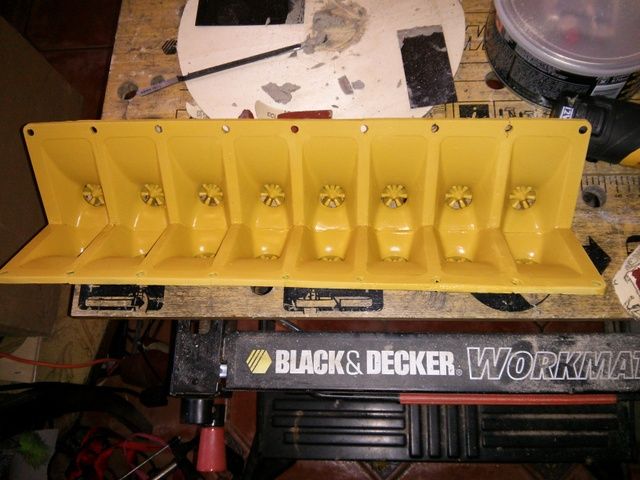
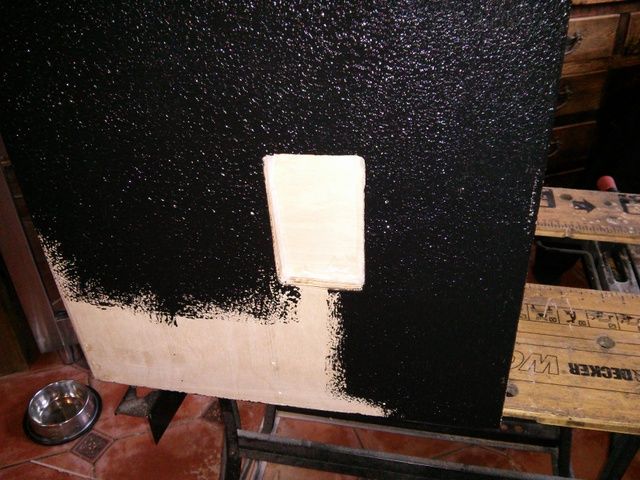
But then things seemed to start coming together...got a bit of duratex onto the horn sheaths before fitting the tweeter brackets.
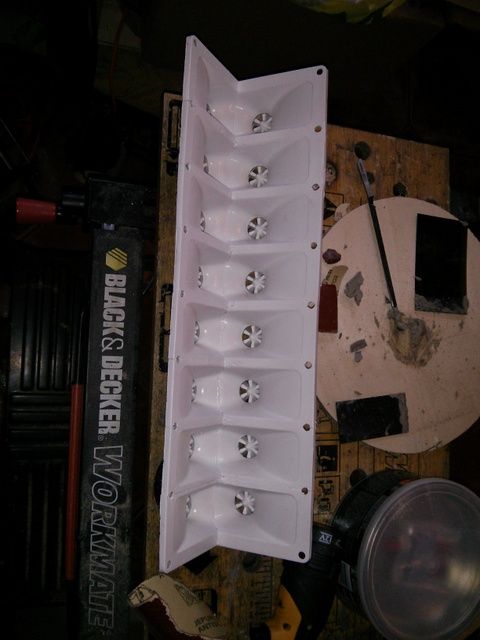
and duratexed the sides (repaired handle recess turned out OK didn't it?)
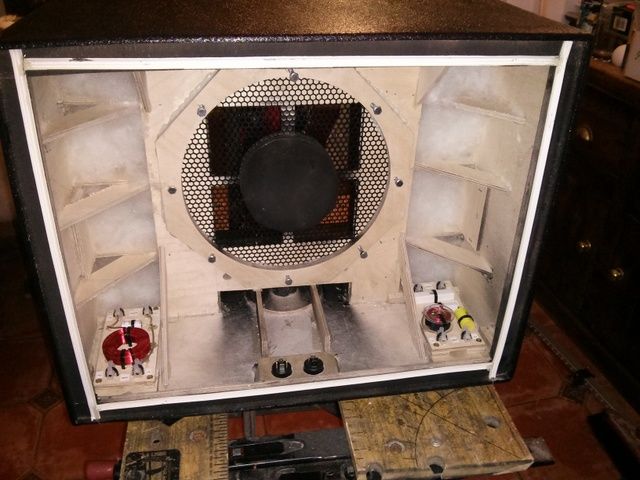
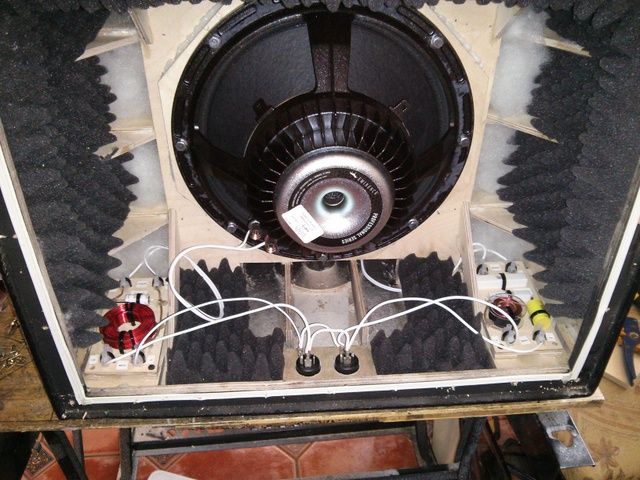
Crossovers were fitted to a couple of strips of 12mm ply that served to stop the crossover mounting screws going through to the outside of the cab, and stop the corner protector screws and the rubber feet screws coming in from the outside...positioning took a while but it works quite well

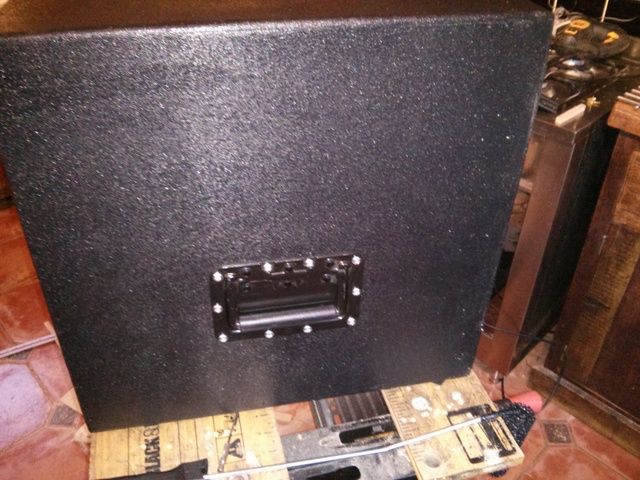
infamous handles were fitted...and we're getting some traction here...
And a connector block for the tweets glued up before a bit of black undercoat gets sprayed around
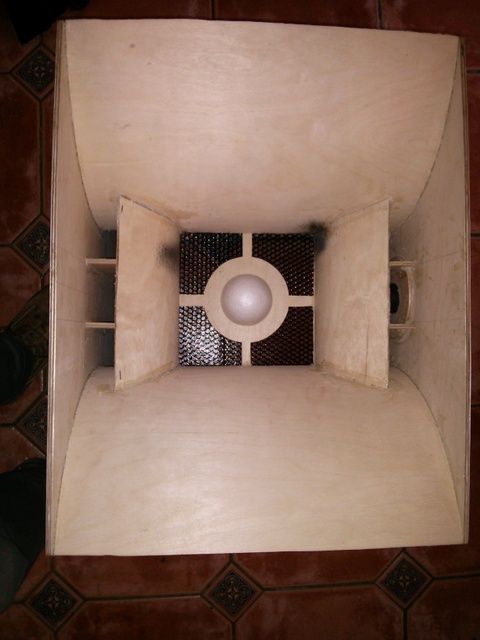
A bit of polyester stuffing gets loose filled into the horn voids
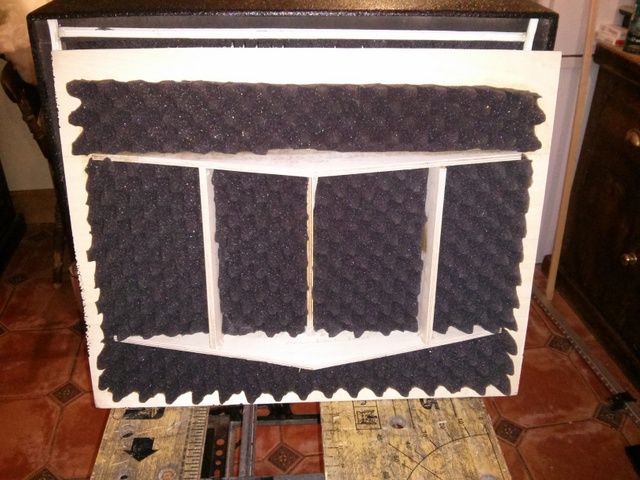
Followed by some acoustic foam padding...
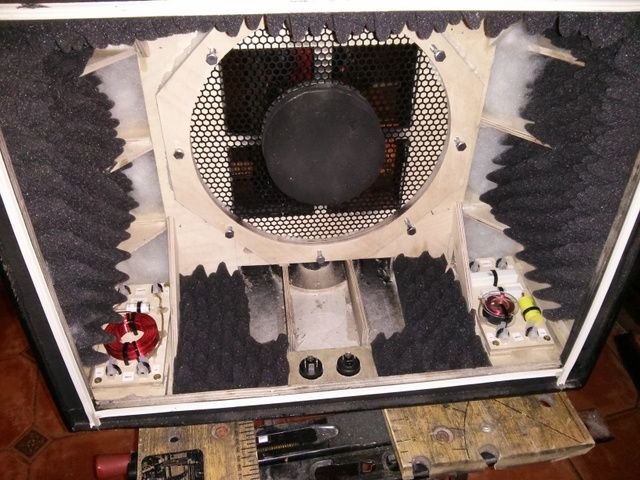
I left a bit around the ducts, not sure how near I should've taken the foam to the duct but didn't want to block it.
I made the back panels next but, just before I fired my first brad into the back panel, my Stanley electric staple gun went bang and refused to fire any more...I only bought it for this project so it's only lasted a couple of Jacks less back panels...can't take it back because it's the worse for PL squeeze out. So, how to make the back panel braces hold while the PL sets....hmmm..."That's another fine mess you've got me into Stanley". After some chin stroking I remembered that Bill recommended using hot glue to tack pieces into place while the PL set up, so that's what I did....a couple of dabs of hot glue before pressing the brace onto a PL bead on the back and it worked a treat...
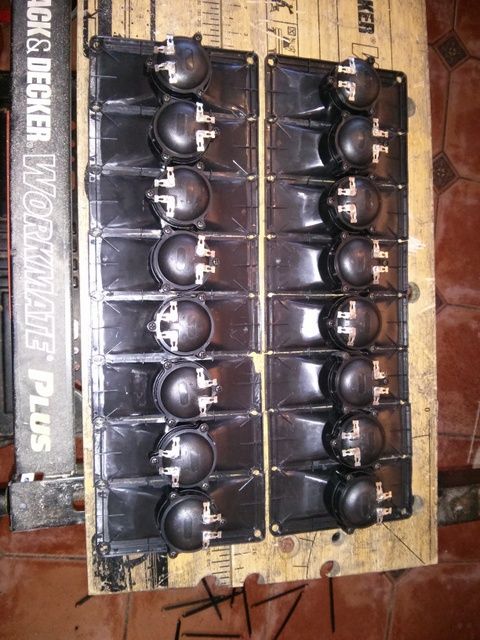
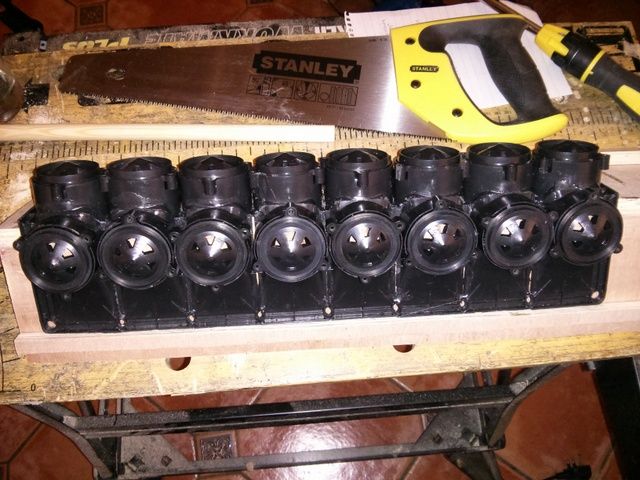
Finally, mounted the drivers and tweets and wired it up
and buttoned the back up...managing to put my first skerch on the back panel in the process...thanks to a stray screw on the workbench
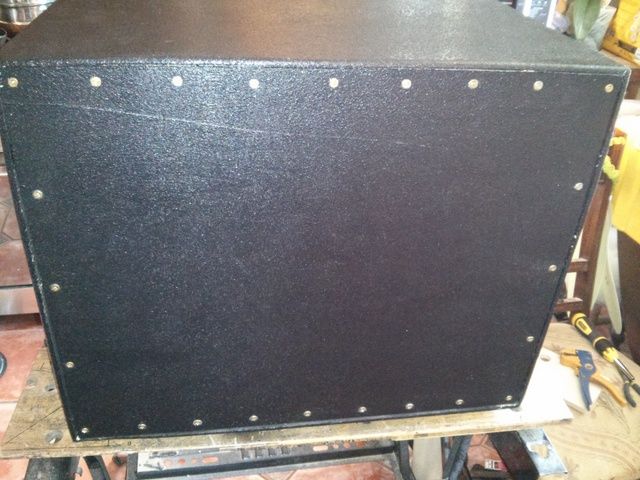
And there we have it...one kitchen built J12 Lite. I've already taken it to rehearsal were it was very clear and VERY loud. Despite only having time for some very rudimentary RTA'ing, it sounded great....
All I have to do now is, get the next one to the same stage
Which is where we came in on the last couple of posts.
I will post a review and a YouTube video when I've built the second cab, but in the meantime, that's it for this build thread. Thanks to everyone who gave me advice and encouragement along the way.