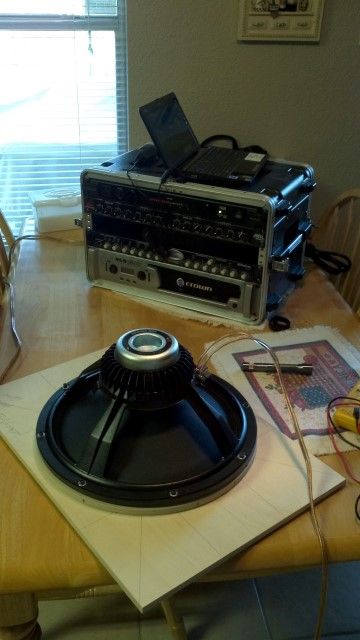
@draehn: I have a Craftsman model something or other...it's got a 4" throat. I bought it more than 15 years ago. It appears to be the same drill press that HF and even Grizzly sell as their ultra-low-end mini-drill press. It has a miniature-horse-horsepower motor and bogs down drilling holes with anything bigger than a 1" bit. It is great for small, light work, but for cutting nice holes say, for handholds, you would be better served nibbling the hole out with your teeth.

I've tried changing speeds on it, depending on the work to be done...the motor is the (really) weak link. I have it set at it's mid-speed (2200 rpm or something like that)...it is the best compromise. I think I know what you mean about reversing the head. Won't work for my tool; everything only bolts on one way. Thank you for the suggestion though!
THE PROGRESS...IT IS MAJOR? YEEEESSSSS!
I got a lot done today and I am freaking beat. Feet hurt, back hurts, legs hurt...but am grateful that I had the time to do it all. This is what the weekends are for! I wanted to say that I have followed the plans very closely as far as laying out all the lines and clearly marking everything goes. It really helps you keep track of what goes where. I find that adding additional little scribbles like "TOP -->" or "Cut to this line" really helps. Whatever works for you, but lay out all the lines/panel numbers. After awhile it is difficult to keep things straight. Your mind gets tired, but written notes last forever.
I got all the side panels marked out; posted a pic of that earlier today. I still need to clamp the other side to each panel and drill the screw placement holes though. /note to self
I got all the tops cut out and the 1-piece flanges cut out (angled sides too) and mounted the baffles. Today was a milestone for me. It marks the most complicated thinking I've ever had to do for a woodworking project. Go ahead and chuckle if you want; if I had the skills that some of you have, I'd probably be chuckling too. But we all had to learn the hard way...and today was hard.
Figuring how deep to make the 1-piece flange, then cutting the flange to width with the correct angles on the correct sides...it was draining for me. There is so much measuring and checking and fitting and measuring again to do, especially when you go the 1-piece flange route. The flange butts up against panels 2 and 3 and the flange has to be exactly "this wide" and the angled ends have to be right, else panels 2&3 won't sit properly...like I said, nerve wracking. Pics or no progress, right?
Marking a top for the cutout.

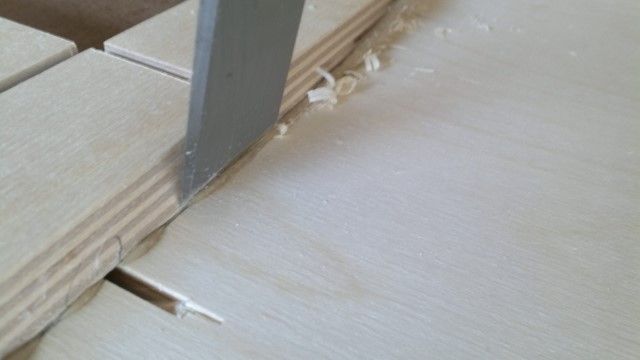
Cutting it out on the TS using the "rising cut"method. I really wish I knew about this earlier. Could've saved me a lot of grief on past projects. Another "Thanks, Bruce!" for this one.

Here is the access panel cut out of the top. Note that I marked the cab and access panel with a number, and which way it faces, so I can install an access panel to the top it came from. And yes; when I paint the cabs, the writing is gone. And that's why I also marked both pieces on the backs.


Stack of tops and their access panels.

Once you have seen the Smiley Face, you cannot unsee the Smiley Face!

A top and a 1-piece flange mocked up on a side to get the flange lined up with panels 2&3. There was a lot of measuring done before cutting the flange to size. It wound up at 10-1/16" on my TS.
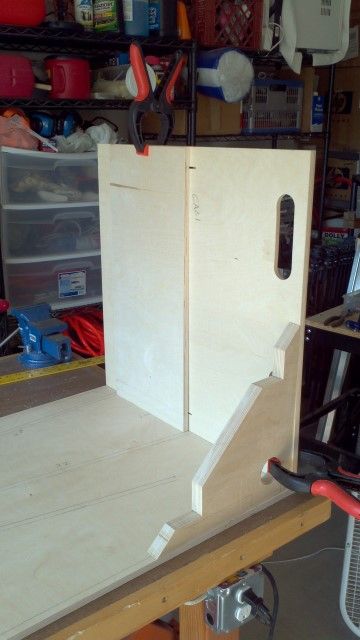
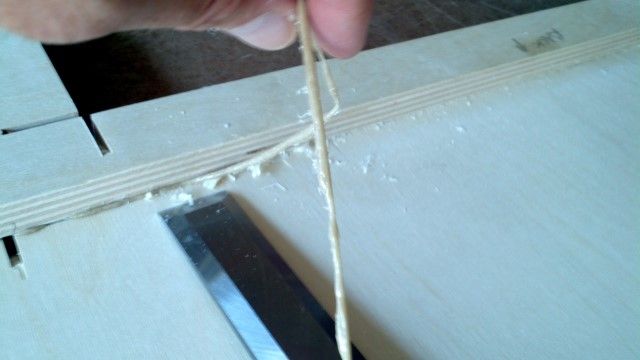
Lining up the flange with panel 2/3 marks. I took this opportunity to draw alignment lines (not shown) on the top, so when I secured the flange to the top, I got it positioned correctly.
Panel 3 side.

Panel 2 side.
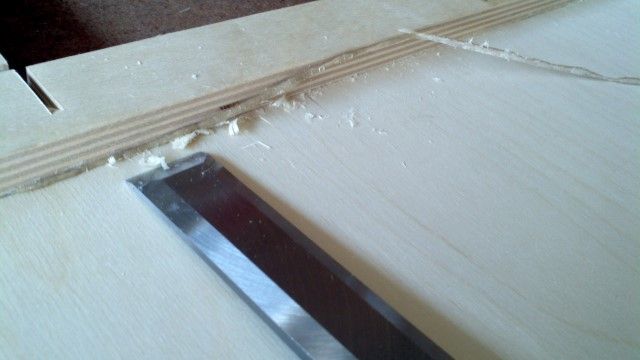
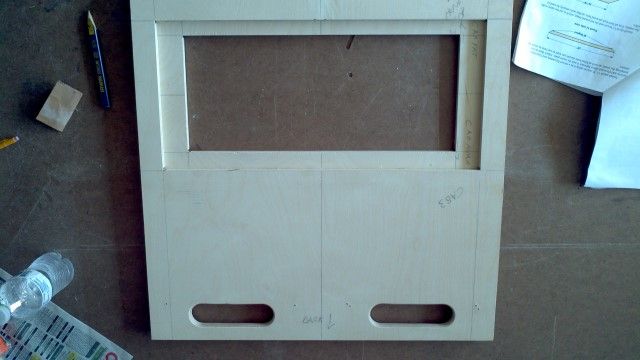
1-piece flange has been cutout. You can see how I marked the outside edges of where the flange sits on the top.

Shot of the top/flange combo. There's 1-1/2" on the sides and 1" on the top/bottom of the flange. The opening is 17"x7-1/4". The 3015LF is 7-1/8" from front gasket to top of magnet. I did not want to deal with nibbling away wood in the middle of the flange to get the magnet in there. I will use tons of screws and a double-row of gasket tape on the access panel; a seal will not be an issue.

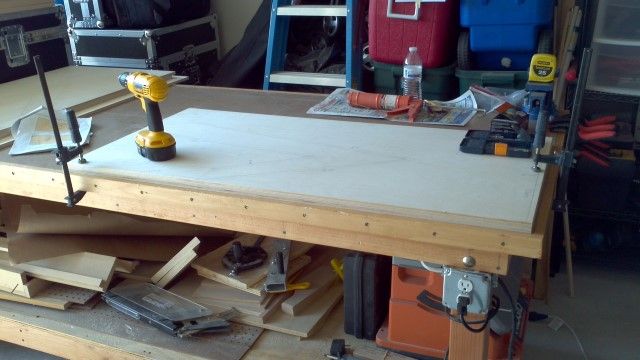
Two of the four top/flange pieces drying, post PL/nailing.

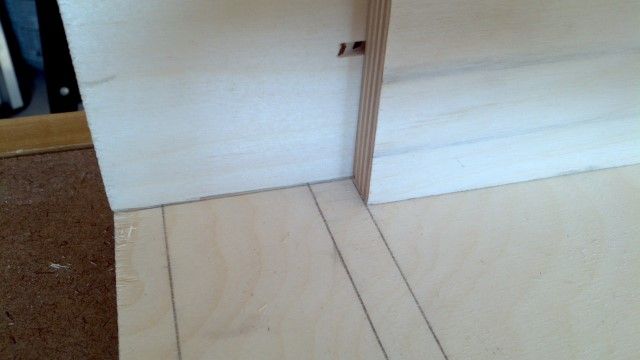
"Why the clamps?" you ask? Gotcha. This is how much space there is b/t the edge of the top opening closest to the back, and the edge of the flange.
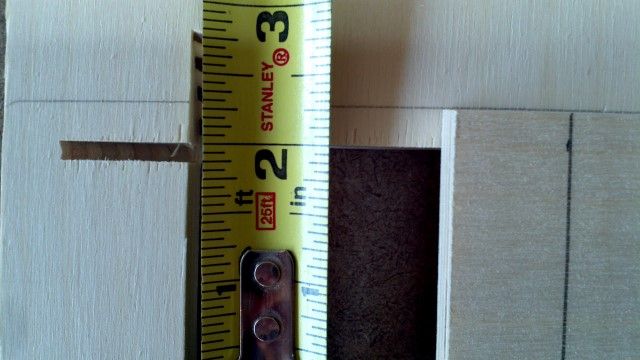
So yeah, that's why the clamps. Not enough room to nail it, even with 18-gauge brads. Didn't want to risk the brads busting thru the edge of the flange. Panel 3 butts right up against the flange, so there will be plenty of reinforcement. I most definitely will have some PL scraping to do tomorrow before assembly, but PL squeeze out is a beautiful thing. And speaking of PL: Here's how I keep an opened tube minty-fresh. Not the best pic but there is a #10 woodscrew threaded (not jammed in, screwed in) into the nozzle, and then a plastic baggie rubber-banded on top of it.

Whew...and I'm DONE. I guess tomorrow starts actual assembly! PL scraping will take awhile, then I have to drill the screw alignment holes in the sides...I should get at least the tops on tomorrow. It's been a good weekend so far. Thanks for looking.