Completion of the second Simplex 12
Glued back to cabinet. Can you have too many clamps?
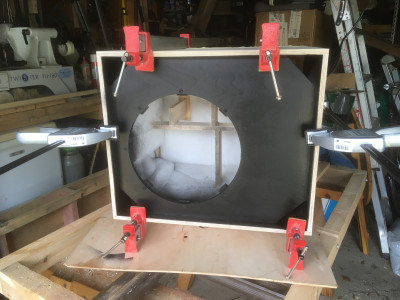
- Back glued and clamped
Un-routed edges - side
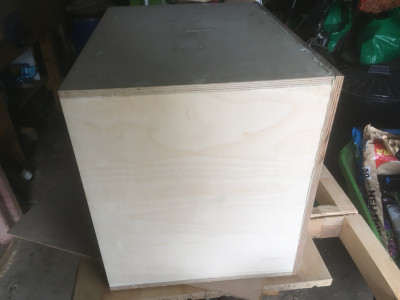
- Un-routed edges - side
Un-routed edges - back
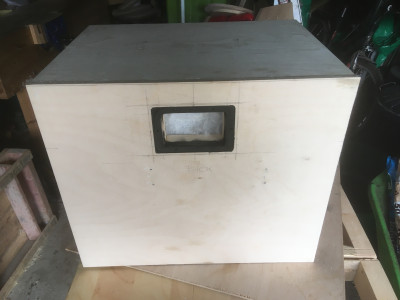
- Un-routed edges - back
Finished edges flush with back & sides using half-inch flush-trim bit
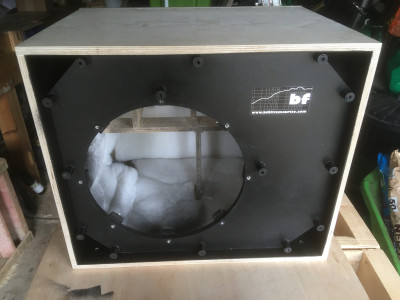
- Routed edges - squared to back with flush-trim bit
Routed edges - front showing squared edges
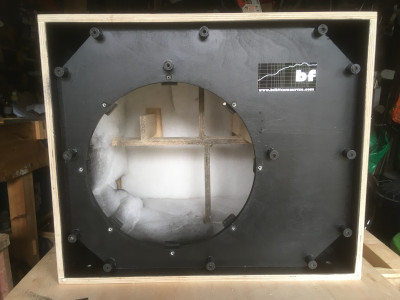
- Routed edges - front showing squared edges
Routed edges - all done - squared & rounded
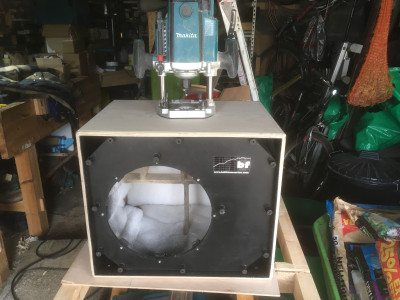
- Routed edges - all done - squared & rounded
Woodwork finished - all edges except inside front baffle rounded over with 9.3mm radius router bit
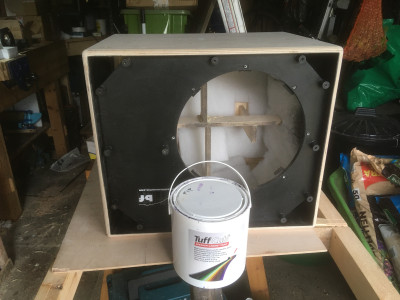
- Rounded all edges - front
Ready for the "Funky Purple" TuffCab paint - takes about 20 minutes per coat to apply, dries within 5-6 hours (even at 9 Celsius).
Starting with the bottom of the cab.
After painting the bottom, put 6mm x 50mm wood-screws wrapped in a little masking tape into the bolt holes to act as feet while painting the rest of the cab.
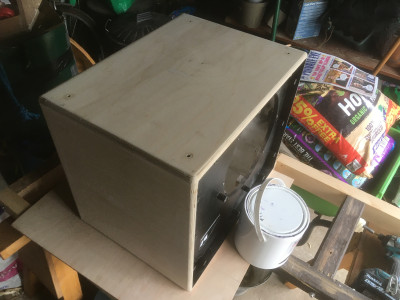
- Ready for the "Funky Purple"
Finished cabinet with first of three coats of TuffCab "Funky Purple" paint
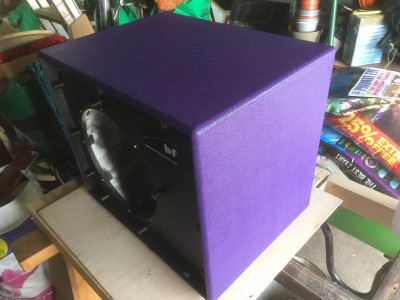
- "Funky Purple" - coat 1 of 3
Lessons learned:
Read the plans. Read the plans. Read the plans again.
Heed advice from experts on this forum (Bill & others).
Buy the best plywood you can afford - the difference between the WISA baltic birch and the eucalyptus ply is well worth the extra £££ ($$$)
Sawing ply one quarter inch oversize then routing to finished size produced much better edges than hand planing sawn edges and more precise component parts.
Gluing one side to the top & the other side to the base before gluing the pair around the baffle (see thread above) made for a better glued joint between the baffle edges and the cabinet, with less mess & stress trying to fit the glued edge inside the box top & sides.
Have now learned how to saw and route plywood sheets accurately using clamping guide bar(s) - from Rutlands in the UK.
Making the top and one side, then using them as templates (with a flush-trim bit) to make the matching base and other side ensures the cabinet fits perfectly.
Clamping corners with quick-grip clamps and plywood triangles, as suggested by Bruce Weldy - thanks again, works a treat when gluing the first pieces together.
Making 14 stand-off grille spacers was a bit of a chore. Used old cycle inner-tube between spacers (15mm copper pipe with wood core turned on lathe) and grille. Will replace inner-tube with ciircular black rubber tap (faucet) washers.
Use wood-screws and support blocks to mount the handle and driver to the cab.
Using a ready-made jack-plate (from Blue Aran, UK) with two parallel speakon connectors fixed to a PCB is quicker and less prone to dry joints than making a similar thing from its component parts.
Bill is always keen to provide help & constructive critique despite being incredibly busy - thanks again.
Users of this forum are very helpful.
These are the first speaker cabs I have ever made. They sound better, and are cheaper, than commercial cabs.
I've enjoyed making them & improved my woodworking skills in the process.
Don't expect our band with get big enough to need any more bass cabs, but if P.A. cabs, foldback monitors etc. are needed I will buy Bill's plans & build them with confidence of making a quality product for very reasonable outlay.
This cab & its twin must be ready for rehearsals & gigs starting next week: will post more pictures of them in use.