Page 3 of 6
Re: Slim Tuba HT Trials
Posted: Thu May 02, 2013 3:55 pm
by Bruce Weldy
miked wrote:Bosch jigsaw...
Got mine a few years back in a kit....came with some clamps.
You'll love it.
Re: Slim Tuba HT Trials
Posted: Sun May 05, 2013 9:49 pm
by kenkenni
I haven't been able to get anything done because of the rain over here in georgia, but I do have panels 1 and 2
assembled. Panel 3 or all the panels with 45* degree edges is where I am at a stall. It is not easy trying to cut
these type angles across a 4" wide panel with a circular saw, so I am using the time to think of some kind of jig
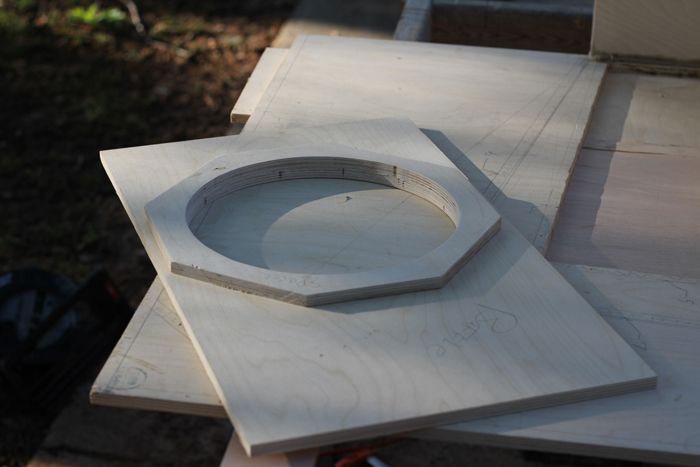
to construct to make this possible. I'll have something soon. Meanwhile I am sanding the inner rings of the baffle
and spacer so the part can clear the subwoofer sides.
Re: Slim Tuba HT Trials
Posted: Sun May 05, 2013 10:21 pm
by Tom Smit
Try clamping a larger piece "behind" the 4 inch piece, so that it supports it and prevents the 4 inch piece from turning/twisting. The larger piece can be fully clamped to the sled, but the edge tucked just inside the cutting edge.
Make sense?
Re: Slim Tuba HT Trials
Posted: Sun May 05, 2013 10:29 pm
by kenkenni
Thanks Tom . I'll give that a try. I was actually thinking of something like that. I am needing to make the cut without the saw housing or clamps
getting in the way.
Re: Slim Tuba HT Trials
Posted: Tue May 07, 2013 9:00 pm
by kenkenni
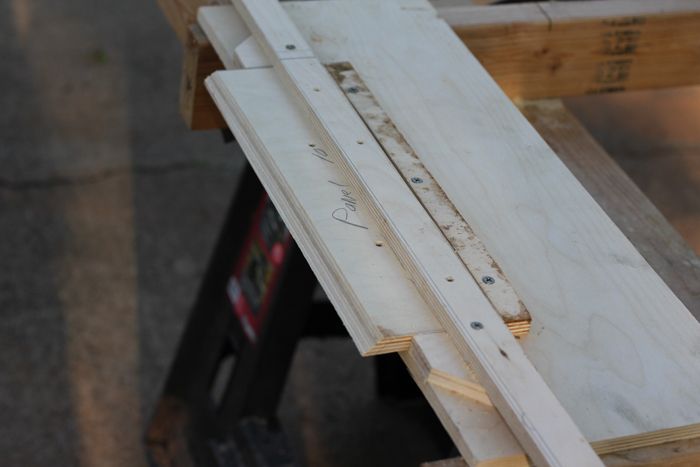
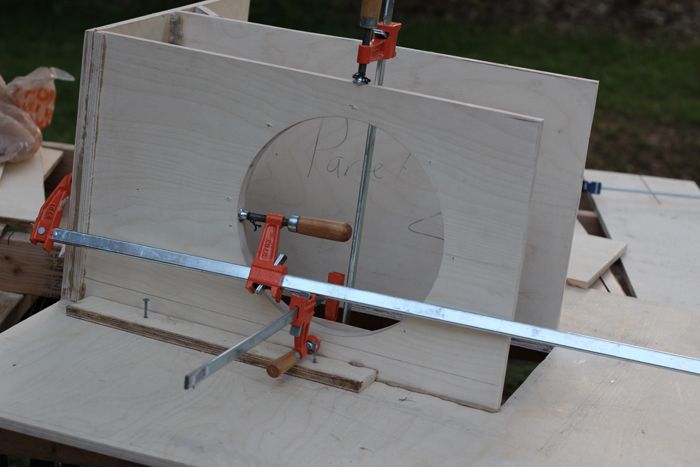
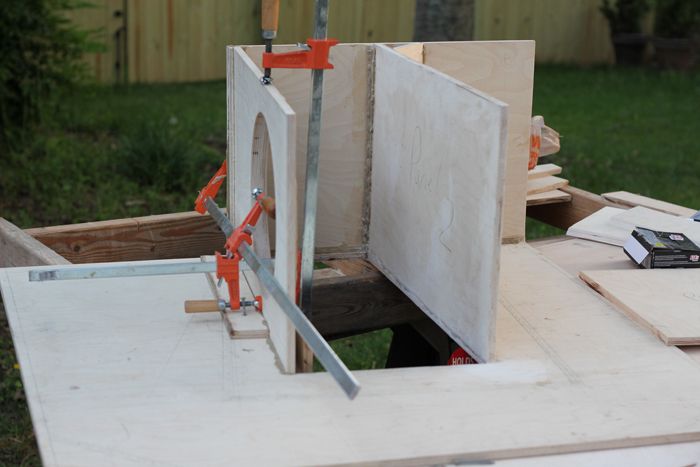
Here is what I came up with to help me cut angles on smaller panels without things getting in
the way. If I needed to cut panel a bit larger I would just unscrew the fence, re-measure and
screw it back down into the new location. It is re-usable. I call it my jig-a-ma-thing for angle cuts.
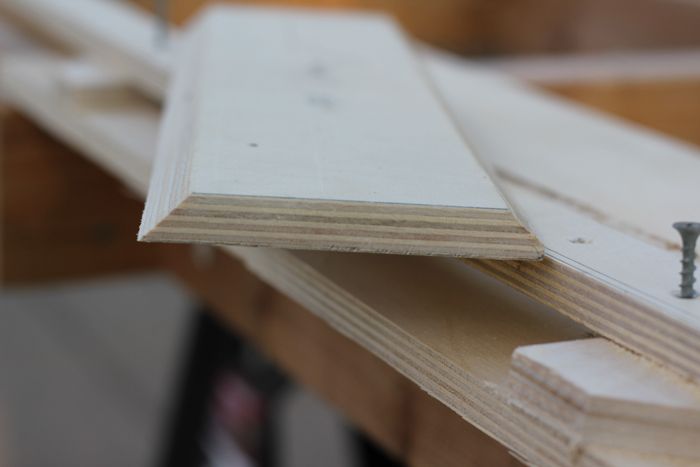
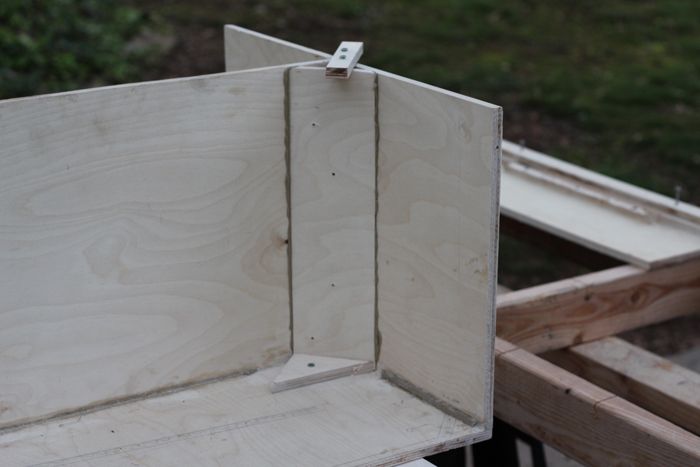
Here is a closer look at the results. Had to do a little trimming here, but it turned out good none-the-less.
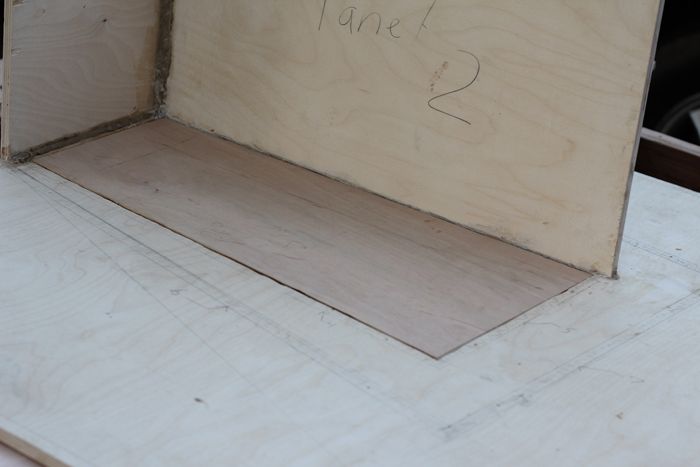
This is the access panel I re-cut. The edges are a lot straighter and the gap between this panel and the side is tiny.
I still have to get some more sanding in on the inside edges of the side panel to kind of make them look neater.
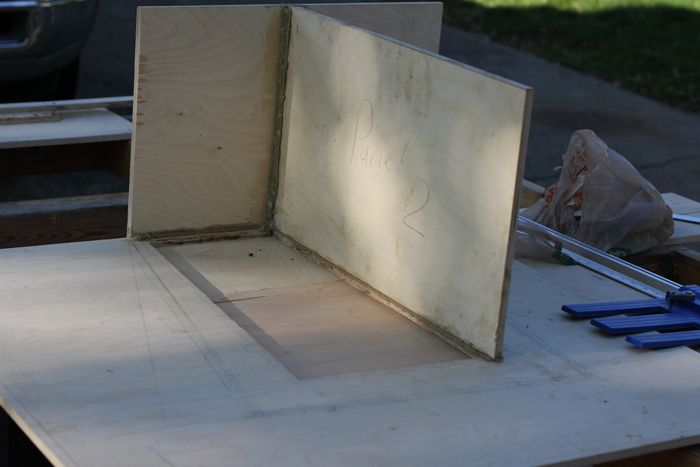
Just a different shot without the access panel in place.
This is what I just completed a little while ago. I only have like 2 1/2 hours to work on the build after I come from work before it
gets too dark to see what I'm doing.
I also worked on the baffle, sanding the inner rings so it clears the subwoofer when placed on top of it.
I wish I can put these together as fast as you guys. I so badly want to here this. Been stocking up on budget Blu-ray deals from
Walmart so when that day of completion comes I will be ready to break it in for real.
Re: Slim Tuba HT Trials
Posted: Tue May 07, 2013 9:34 pm
by Tom Smit
Give the driver it's break-in in free air...such as hanging from a hook. It will be quiet, rather than really loud when mounted in the cab. IITP.
Re: Slim Tuba HT Trials
Posted: Tue May 07, 2013 10:05 pm
by kenkenni
Thanks Tom. That is what I plan on doing.I meant I can't wait until after everything is finished so that I can break them in
some more in my home theater.
Re: Slim Tuba HT Trials
Posted: Wed May 08, 2013 7:26 am
by miked
You're doing great. Keep going!

I could never make angle cuts that look as good as yours with a circular saw. Kudos to you.
And I certainly understand not having enough time during the week to work on your projects. I get up at 4:30AM and get home about 5:00PM. I have an hour commute each way, so I'm shot when I get home. Then there's family to deal with and you gotta EAT dinner...then it's bedtime. There is NEVER any time during the week.

Re: Slim Tuba HT Trials
Posted: Wed May 08, 2013 9:33 am
by Tom Smit
kenkenni wrote:Thanks Tom. That is what I plan on doing.I meant I can't wait until after everything is finished so that I can break them in
some more in my home theater.
Oh, the anticipation!!!!!

Re: Slim Tuba HT Trials
Posted: Wed May 08, 2013 9:09 pm
by kenkenni
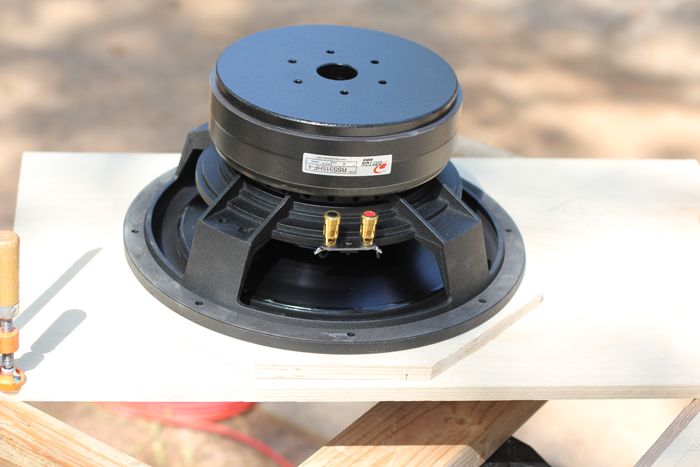
Man look at the ass on that babe, ooops I mean magnet!
I had a small gap near the bottom left of this panel so I used a piece of scrap to kind of patch it in.
Just another angle of what I have completed so far. I also managed to cut all the 45* angles on all the panels that needed them
using the jig I constructed the other day.
Re: Slim Tuba HT Trials
Posted: Fri May 10, 2013 4:39 pm
by kenkenni
Is it okay to coat the cavity that the woofer will be installed in with black underbed coating? I have a can still un-used from
when I built my mixer rack. Just thought It could be put to some use.
Re: Slim Tuba HT Trials
Posted: Fri May 10, 2013 6:15 pm
by Bill Fitzmaurice
kenkenni wrote:Is it okay to coat the cavity that the woofer will be installed in with black underbed coating?
Why?

Re: Slim Tuba HT Trials
Posted: Fri May 10, 2013 7:34 pm
by miked
Bill Fitzmaurice wrote:kenkenni wrote:Is it okay to coat the cavity that the woofer will be installed in with black underbed coating?
Why?
I'll betcha he's thinking "sound deadening/anti-resonance coating." That would be an unnecessary and time/material wasting step, kenkenni. The only rule for the woofer chamber is 100% absolutely air-tight. Doesn't matter what it looks like or if there's any coating/damping material on the walls. It's not needed and doesn't "give you" any return on investment. If you're at all worried about the chamber being air-tight, after the PL has dried for a couple of days, put a fillet of clear silicone over every panel joint and fillet it in with a gloved finger. Just the let silicone dry for 48 hours before installing the woofer/sealing the access cover.
Re: Slim Tuba HT Trials
Posted: Fri May 10, 2013 9:15 pm
by kenkenni
Thanks for the response. Miked that is exactly what I was thinking and also being that I am going to paint that
area black anyway then why not finish up the can. It dries on and looks like Duratex though not as thick. I used
it on my homemade mixer rack. No biggie though, thanks for the advice.
Re: Slim Tuba HT Trials
Posted: Fri May 10, 2013 9:46 pm
by hifibob
Ken, looking good so far, just take your time it will all come together.. I know the feeling, you just want it done already!!


