Page 17 of 31
Re: myn's Tuba HT Build Thread
Posted: Mon Aug 24, 2009 6:26 pm
by maxmercy
Myn,
That sucks.....but,
A couple of observations...first of all, did you flush cut the access hole before trying to glue in the flanges? The driver may have a tough time fitting in if you didn't do this first, as you will have to go a little wider on the flanges to have the desired flange ovelap.
If your driver fits in with the flanges the way you have them, then do not worry about this. when all of the flanges are in, secure the access cover on temporarily and sand the access cover down flush. That would be the easiest way out of this mess. Auraco is flexible and thick enough, and with gasket tape you probably will not have leaks (use two lines of tape, one iside the fasteners, and another outside just to be sure). trying to sand down just the flange will be difficult.
If you do not feel comfortable sanding down the access cover, then flush cut the flange and do it over....just my 2c
Small setback, no worries. You'll have a driver in there and testing in no time....did you already break the driver in? Now's the time...
JSS
Re: myn's Tuba HT Build Thread
Posted: Mon Aug 24, 2009 7:05 pm
by LelandCrooks
Dado the lip of the cover. I do that all the time to allow for the gasket. Not quite as much as your pic shows, but it will work. Usually less than 1/8th.
Re: myn's Tuba HT Build Thread
Posted: Tue Aug 25, 2009 11:40 am
by myn
MaxMercy,
You got me worried so I went out and measured! I've measured this so many times prior but wanted to make sure 100%
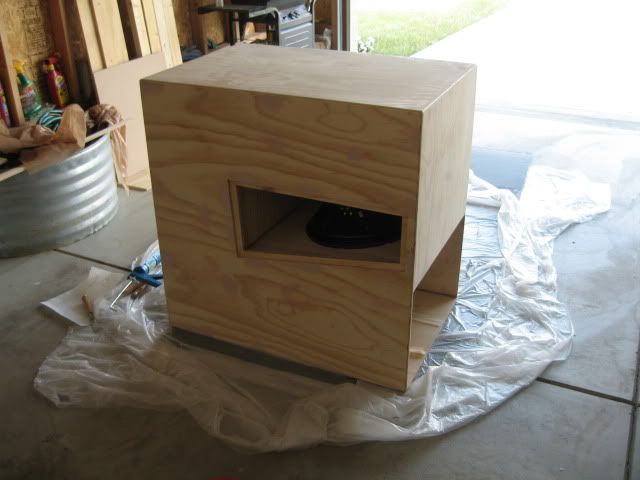
I didn't flush trim but the access panel hole/cutout but they were less than 2mm from the edge of the cutout.
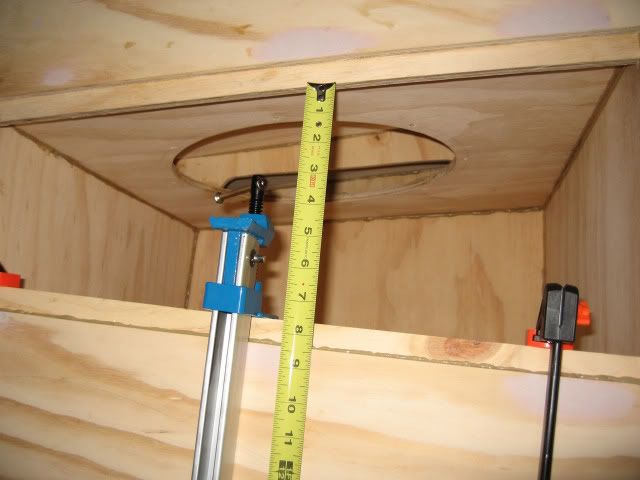
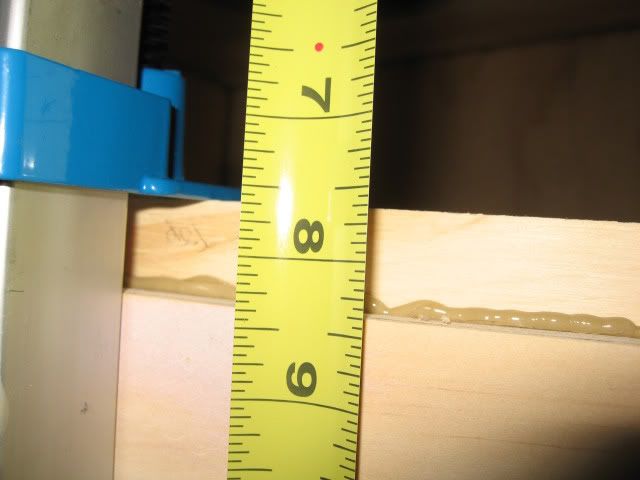
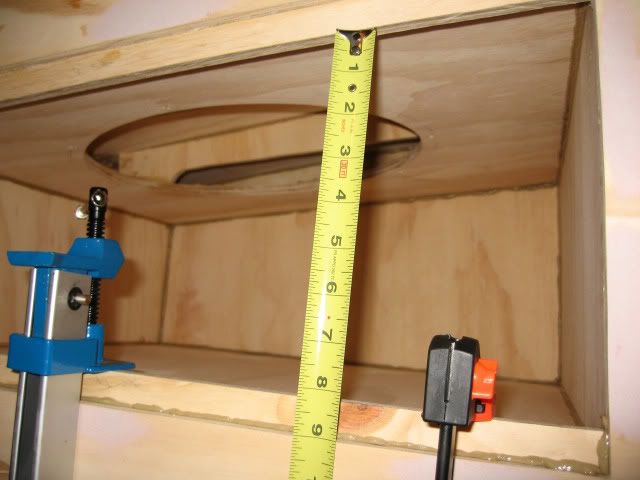
Parts Express says the mounting depth of the DVC 15 is 7-3/8". I measured about 7 1/2" towards the middle and > 8" towards the back.
MaxMercy: Did you have any issues getting your 15" Reference through the access panel?
Re: myn's Tuba HT Build Thread
Posted: Tue Aug 25, 2009 1:02 pm
by maxmercy
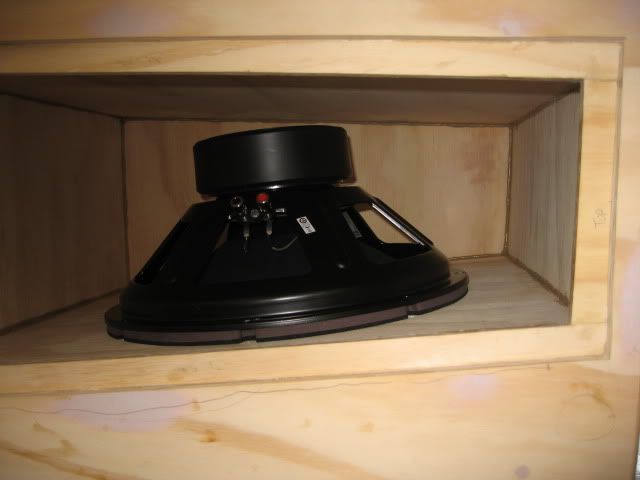
It is a tight fit for mine... the surround gets compressed about 50% and rubs when getting it in past the flanges...that's with me sliding the driver back (to the wider side of the access hole) so that it has clearance.
Get your DVC and try fitting it past the flanges you already have before you decide what to do. You may be fine...but's it's good to be sure.
JSS
Re: myn's Tuba HT Build Thread
Posted: Wed Aug 26, 2009 6:03 pm
by myn
Re: myn's Tuba HT Build Thread
Posted: Wed Aug 26, 2009 8:01 pm
by maxmercy
Wow, the Reference HF has a lot less room in there...that gasket looks beefy, I wouldn't bother with gasket tape unless you get leaks....The reference HF's gasket had more to be desired, so I used gasket tape...
as far as evening out the flanges, you know what I'd recommend. If you think you can sand the flange down to even easily, try it...
Flange glue joints are looking good, btw....
JSS
Re: myn's Tuba HT Build Thread
Posted: Wed Aug 26, 2009 9:29 pm
by myn
maxmercy wrote:as far as evening out the flanges, you know what I'd recommend. If you think you can sand the flange down to even easily, try it...
JSS
You think I shouldn't sand down the flanges and instead just sand down the access cover?
Re: myn's Tuba HT Build Thread
Posted: Wed Aug 26, 2009 10:18 pm
by maxmercy
Wait, I forgot you got your router back...
I would actually router with a straight bit (and guide) or templating bit and shave down the high spot on the flange, carefully. You will end up with a much more level flange than with sanding...and it will take MUCH less time.
JSS
Re: myn's Tuba HT Build Thread
Posted: Thu Aug 27, 2009 7:55 am
by WB
maxmercy wrote:I would actually router with a straight bit (and guide) or templating bit and shave down the high spot on the flange, carefully. You will end up with a much more level flange than with sanding...and it will take MUCH less time.
JSS
I second that opinion.
Re: myn's Tuba HT Build Thread
Posted: Thu Aug 27, 2009 8:57 am
by bgavin
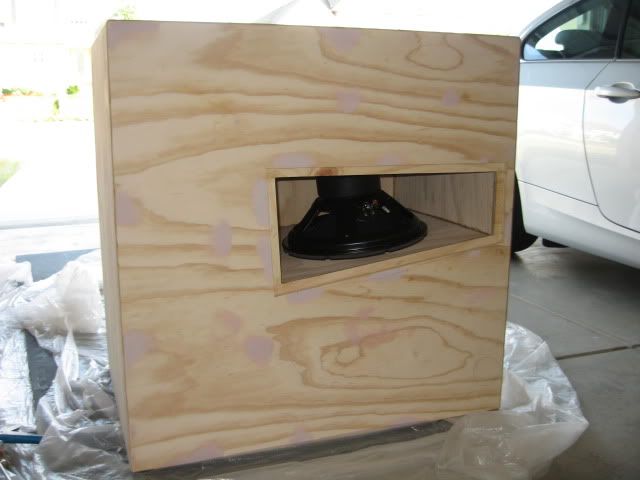
The way I read the photo, the flange is above the side panel height.
He could use a pair of 1/2" flats that straddle the opening to keep the router base from lifting when it hits the flange.
Re: myn's Tuba HT Build Thread
Posted: Thu Aug 27, 2009 9:38 am
by myn
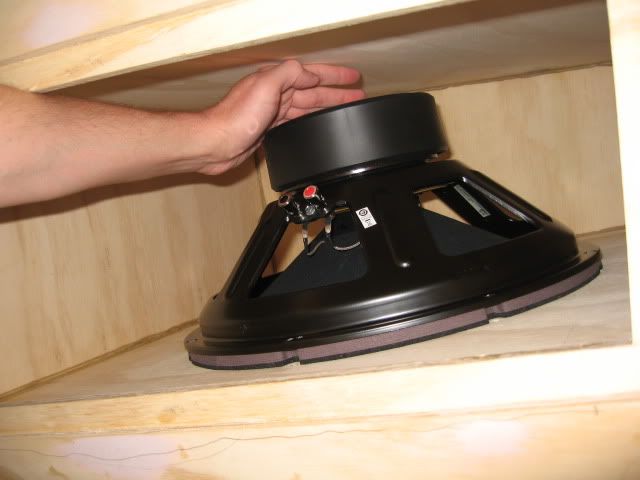
Hrm... Since the middle of the flange is higher, how would I orientate the router to trim down the 3/4" surface area of the flange?
I'm trying to imagine this.
Re: myn's Tuba HT Build Thread
Posted: Thu Aug 27, 2009 9:44 am
by Bill Fitzmaurice
myn wrote:Hrm... Since the middle of the flange is higher, how would I orientate the router to trim down the 3/4" surface area of the flange?
I'm trying to imagine this.
The router rides on the cabinet face, the depth of cut of the bit is constant. I'd use a collar on the router so the bit can't hit the side. That will leave a slight ridge at the flange edge, but since the cover has a bit of clearance it shouldn't hit that.
Re: myn's Tuba HT Build Thread
Posted: Thu Aug 27, 2009 12:32 pm
by jcmbowman
myn wrote:[== 8/26/2009 ==]
Regarding the drivers (Dayton DVC) gasket. I noticed that around where the driver holes are, it gets rather thin. Will this be suffice using the standard gasket?
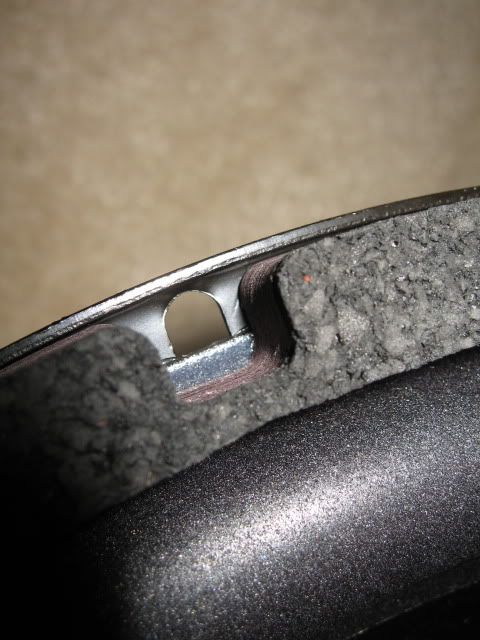
You should be fine without adding additional gasketing, but.......
pay special attention to the screw areas when you do your leak testing. If you detect even the SLIGHTEST leak, get some speaker gasket tape (or te nice weatherstripping some people use) and run a strip all the way around the driver cutout so that the driver gasket sits on top of it when you screw it into place.
not doing exactly that is what caused me to blow my first AT driver.
Re: myn's Tuba HT Build Thread
Posted: Thu Aug 27, 2009 4:27 pm
by maxmercy
Instead of a collar, use a templating bit. It looks like a flush-cutting bit, but with the bearing on the other side of the bit, it'll cut right to the panel wall. The router base is half on the side, half overhanging the access hole during the cut. You set the router bit depth even to the lowest part of the flange, and cut away the rest, starting from the 'inside' (inner portion of the flange) 'out' (to the panel wall).
Hope that makes sense...I can make a diagram...
JSS
Re: myn's Tuba HT Build Thread
Posted: Sat Aug 29, 2009 11:37 am
by bgavin
For these drivers with narrow gaskets, you can get away with cutting a smaller diameter cutout hole in the baffle.
Even those half-round surrounds do not flex close to their mount point.
Adding even a miniscule 1/8" more surface area helps insure no leaks.
Link to Drawing