Page 12 of 31
Re: myn's Tuba HT Build Thread
Posted: Mon Aug 03, 2009 6:50 pm
by David Carter
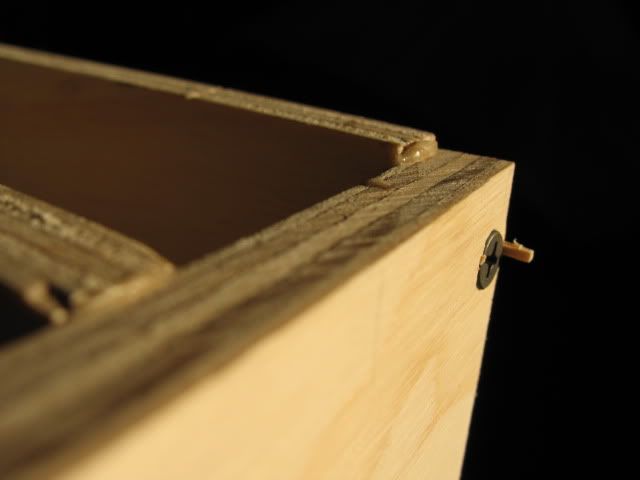
djohnson573 wrote:That corner looks familiar. Could it be????

It could, and it is...

Re: myn's Tuba HT Build Thread
Posted: Mon Aug 03, 2009 8:34 pm
by myn
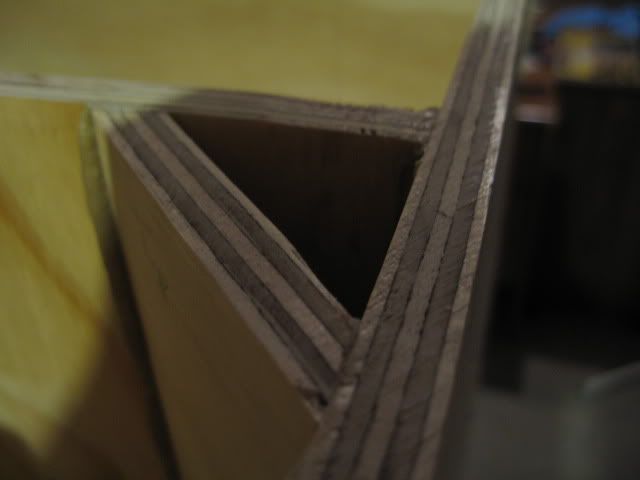
Who's corner is it!?
Re: myn's Tuba HT Build Thread
Posted: Mon Aug 03, 2009 9:17 pm
by myn
Re: myn's Tuba HT Build Thread
Posted: Mon Aug 03, 2009 9:29 pm
by WB
myn wrote:
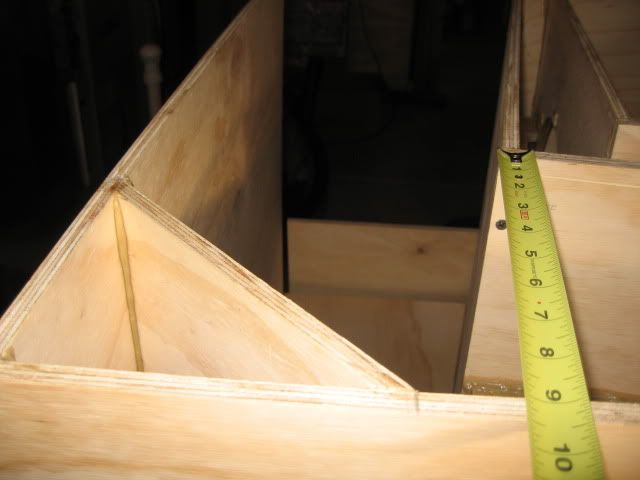
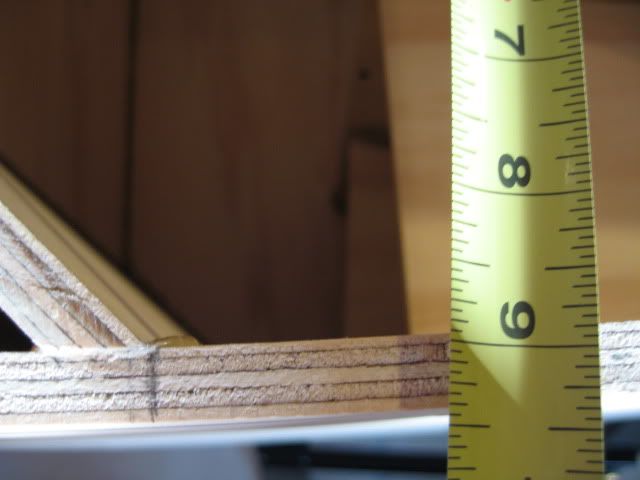
I did notice something odd today. As I understand with Horns, the horn path is suppose to get gradually wider. With this last reflector installed it actually appeared to get smaller around the bend.
It only gets smaller for a few inches of horn travel. A 10' to 40' sound wave won't even notice it. From what little I know, the reflectors are there to prevent 1/4 wave ripples from the parallel surfaces.
Re: myn's Tuba HT Build Thread
Posted: Mon Aug 03, 2009 9:36 pm
by Bill Fitzmaurice
WB wrote:
It only gets smaller for a few inches of horn travel. A 10' to 40' sound wave won't even notice it. From what little I know, the reflectors are there to prevent 1/4 wave ripples from the parallel surfaces.
+1. You can avoid the restriction in the path with a radiused reflector, but with the very long wavelengths in a sub the difference would be infinitesimal.
Re: myn's Tuba HT Build Thread
Posted: Mon Aug 03, 2009 9:37 pm
by maxmercy
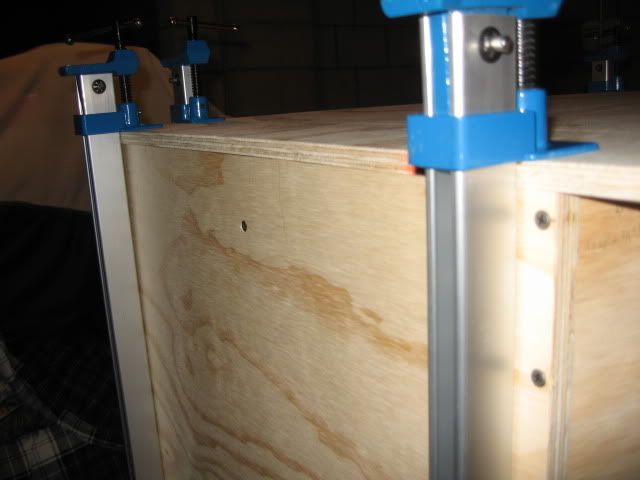
Just because you have an oversize side does not mean you don't have to use registration pegs/pins...the registration pins help keep that side from sliding around on that cushion of PL...
JSS
Re: myn's Tuba HT Build Thread
Posted: Mon Aug 03, 2009 9:57 pm
by myn
maxmercy wrote:Just because you have an oversize side does not mean you don't have to use registration pegs/pins...the registration pins help keep that side from sliding around on that cushion of PL...
JSS
MaxMercy,
The reason I cut it oversized was because my current 36x36 piece would require some serious clamping to get it to fit perfectly without any sort of lip all the way around from the vertical panels. This AraucoPly is really warpped

. With the larger side panel, now I don't have to worry about the crazy clamping to get it to fit right. I can use those clamps instead to compress the side panel to the vertical panels. I definitely plan on using registration points.
Here is my plan once the mouth is fully Duratexed up:
1) clamp opposite panel
2) mark the side panels by digging inside the horn mouth as much as I can tracing the outline. And inside of the access panel, panels too.
3) Where I couldn't reach in side the horn, measure from other panels and mark accordingly on side panel
4) Drill all pilot holes in side panel using tracing as a guide
5) Remount side panel aligning to trace and clamp
6) Redril through existing pilot holes into actual vertical panel edges
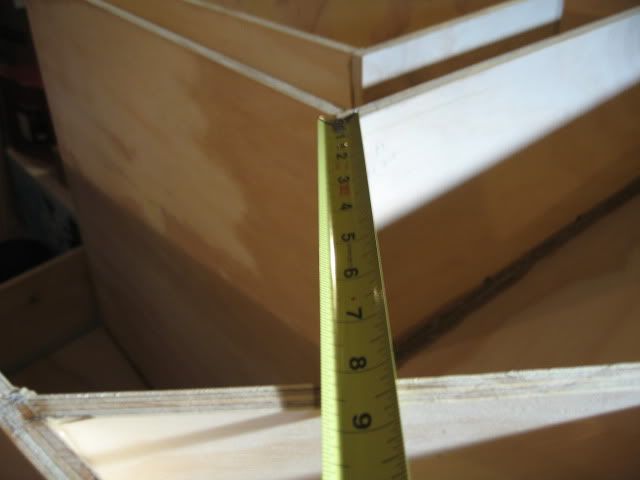
7) Remove side panel and apply a TON of PL to the edges of the vertical panels. Especially in the places where it's uneven (out 1/16")

Using 4 - 6 screws, screw them in slightly through the side panel so they poke out enough to act as registration pins
9) With help from my wife place side panel onto vertical panels laced with PL, aligning screws to the predrilled vertical panel holes.
10) Tighten these screws and continue to screw until entire side panel is secure
Sound okay? Any suggestions would be appreciated.
Re: myn's Tuba HT Build Thread
Posted: Tue Aug 04, 2009 6:41 am
by David Carter
myn wrote:Who's corner is it!?
It was mine, now it's his. The pic I posted was from my first pair of T39's which Dennis bought from me when I decided to sell them to finance a wider pair.
Re: myn's Tuba HT Build Thread
Posted: Tue Aug 04, 2009 8:02 am
by myn
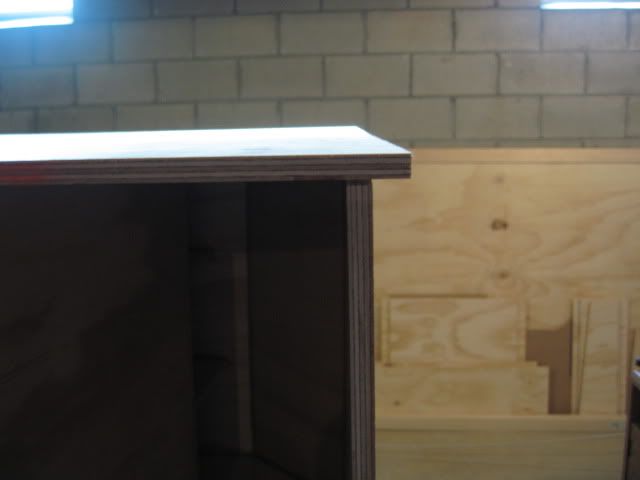
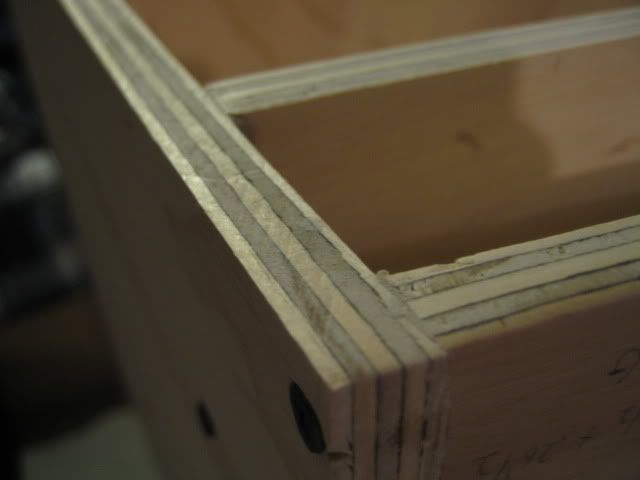
What roundrover bit did you use?
Re: myn's Tuba HT Build Thread
Posted: Tue Aug 04, 2009 8:12 am
by maxmercy
Myn, just be careful not to overtighten where the panels are below the mean panel size (the low ones). You could easily introduce a warp.
If I were you, I'd carefully cut some 1/16" auraco strips (or better yet, go to a hobby shop and get some 1/16" ply and cut 1/2" wide strips) with a table saw/circular saw and make all the panels the same height first. This is not the time to take chances that the PL will do its thing without fail, especially if you can't reach the joints to 'caulk' them later. Also, let the leveling strips cure fully before attaching the other side.
Any time I get to the point where I have spent more than 20 hours on a project, each successive step becomes a bit longer, just due to the 'don't screw it up here, now that you've gotten this far' thoughts in my mind...
If you don't apply these leveling strips, at least apply two beads of PL (one larger than the other) along each panel, just to make sure, in case one bead separates when fiddling with the other side to get the registration right... and don't overtighten the screws on the short panels...and you may not need as many screws as you think. I used NONE (nor any brads) to attach the other side, just clamps and weight. The registration points provided the location, the clamps and weight the force.
Whatever you do, do NOT get impatient. Plan it well, and it will fall into place.
JSS
Re: myn's Tuba HT Build Thread
Posted: Tue Aug 04, 2009 8:24 am
by David Carter
myn wrote:What roundrover bit did you use?
1/2" on the one in the pic. 3/8" on the most recent pair. The 3/8" matches the radius of the plastic corners, but the 1/2" looks slightly better overall IMHO.
Re: myn's Tuba HT Build Thread
Posted: Wed Aug 05, 2009 9:49 pm
by myn
Re: myn's Tuba HT Build Thread
Posted: Wed Aug 05, 2009 10:24 pm
by maxmercy
Nice work...
I used a 3/8" roundover so I wouldn't dig into my registration pins... If you back out your screws and fill (TEST the filler for how the stain will color it before you use it!!!!), you should be A-OK with a 1/2" roundover...
JSS
Re: myn's Tuba HT Build Thread
Posted: Thu Aug 06, 2009 5:54 am
by David Carter
myn wrote:I'm still trying to determine what round-over bit to use. On my LLT/EBS I used a 1/4" roundover which gave it just a tiny round edge. I'm thinking maybe something larger this time around?
Same principle as when painting/staining... test panels. Try out a couple different bits on some scrap pieces (do two sides), set them on one corner of cab in place of the missing side panel (assuming you haven't attached it yet), and you get to see what it looks like without committing.
Re: myn's Tuba HT Build Thread
Posted: Thu Aug 06, 2009 10:14 pm
by myn
[== 8/6/2009 ==]
Tonight I cut out the final 2 braces that are exposed in the mouth area. I actually kinda felt sad thinking that the cutting portion of this project may finally be over! I've enjoyed the cut, dryfit, glue pattern I've come accustom to for the past two months.
Last night while I was chiseling and sanding I discovered a small block of wood that I must have used for clamping inside the mouse maze of the horn.. This definitely shined some light on how important it will be to ensure everything is taken care of before the other panel side gets affixed with PL. Am I the only one that feels anxiety about attaching the other side panel, closing the enclosure?
Next on the agenda is marking the interior panels on the other side panel and predrilling.