S12 Build
Day 6
1. Materials
Cabinet & components.
Grille
Matte black spray paint
Tuff-Cab “Funky Purple” Cabinet paint
Four-inch paint rollers
Masking tape
2. Tools
Lathe, roughing gouge, skew chisel
Dividers, pipe cutter, drill-driver & bits
Saws
3. Objectives
• Fit grille
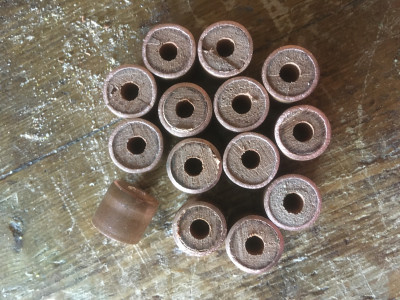
• Make 14 half inch long 15mm diameter spacers
• Paint cabinet
4. Method
• Removed driver, handle, feet & jack-plate from cabinet. Stored driver in original box for safety.
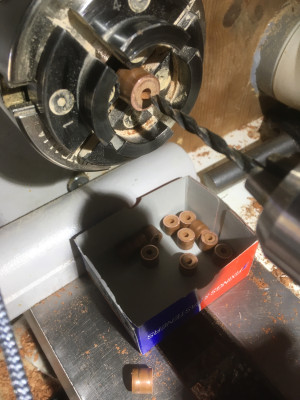
• Making 14 half-inch spacers:
◦ Turned a 12 inch piece of scrap hardwood (mahogany? from an old coat-stand) into a cylinder to (friction) fit inside a 12 inch piece of copper pipe on the lathe
◦ Pushed dowel into copper pipe & cut pipe & wood into half-inch long segments.
◦ Sanded ends flush on 6o grit abrasive paper.
• Fitting grille
◦ Filed edges of metal grill smooth
◦ Fitted spacers to baffle through holes in grille using 1½ inch No. 8 wood-screws & cup-washers.
◦ Removed grille – superglued spacers in position and attached to baffle with screws & cup-washers until glue cured
• Painting cabinet
◦ Removed screws & cup-washers
◦ Masked edges of cabinet surrounding baffle & jack-plate.
◦ Sprayed baffle, spacers & jack-plate recess matte black
◦ Allowed to dry
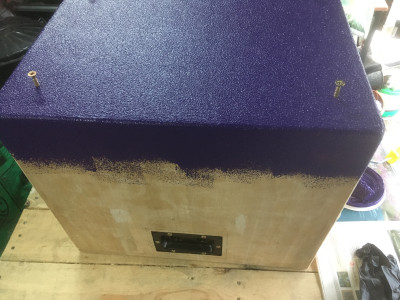
◦ Inserted 4 off 1½ inch No 12 wood-screws into cabinet feet holes to support cabinet
◦ Paint exterior surfaces (base/bottom of cab first) & edges
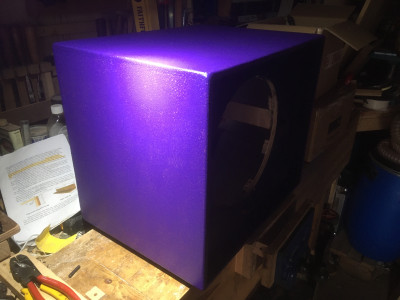
◦ Stand cabinet upright on supporting screws while paint dries
5. Results
• Cabinet painted – first coat
6. Lessons learned
• Paint inside ports before wadding & cabinet back are fitted
7. Next
• Re-fit driver, handle, jack plate, feet.
• Paint cabinet with second coat of TuffCab paint
◦ Allow to dry
• Print & fit BF logo on baffle (so it is protected)
• Mount / fit baffle
Photos:
Making spacers

- Making spacers
Finished spacers

- Finished spacers
"Funky Purple" cabinet (hope it improves playing funk)

- Bottom with temporary screws "Funky Purple"
Cabinet painted (first coat) & drying

- Cabinet painted and drying