Page 2 of 7
Re: Curved Grill WH10
Posted: Tue Apr 05, 2011 1:48 pm
by Zack Brock
LelandCrooks wrote:Now I know Nimrod's secret. He has a Bosch jig saw. Man I miss mine. One of my ex employees exploded it cutting plate. I replaced it with a porter cable that was on sale for 1/2 price, a $200 saw for $100. It's a good saw, but buy once, cry once. I should have sprung the extra and bought another Bosch.
+1 - Found mine in a local pawn shop in like-new shape for $40. Guess the pawn shop owner didn't have the internet to search what it was actually worth as I talked him down to $30. Mine makes table-saw perfect cuts.
And yes, great work and pictures Nimrod, thanks for sharing!
Re: Curved Grill WH10
Posted: Tue Apr 05, 2011 6:12 pm
by jjohnson
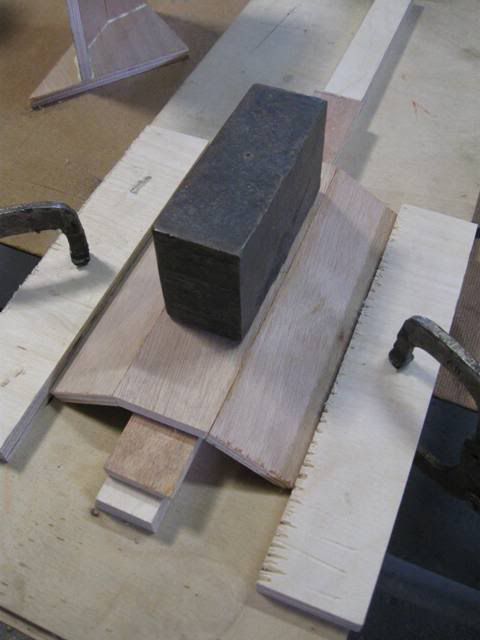
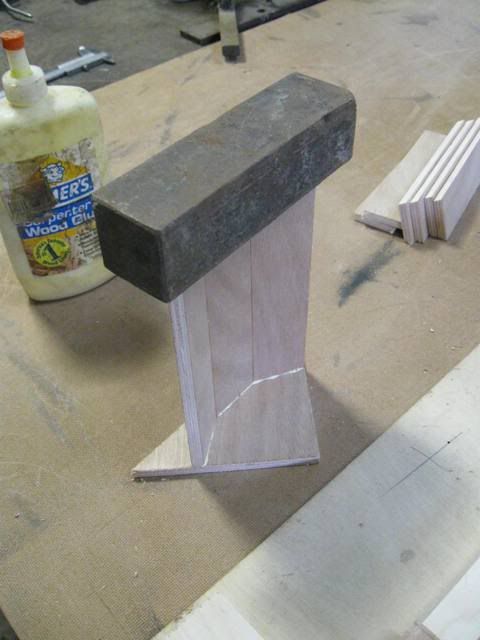
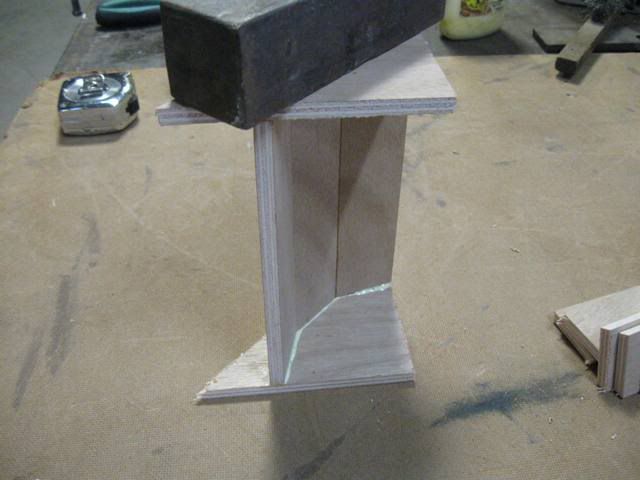
N.Webber wrote:Today I prepared the throat fillers.
I used this hot wire 'Styrofoam cutter' I still have from my younger R/C modeling days…
Here placed for slicing a block of foam into two 1" 'tiles':
...

Nice, might have to try that myself.
Re: Curved Grill WH10
Posted: Thu Apr 07, 2011 11:02 am
by N.Webber
...
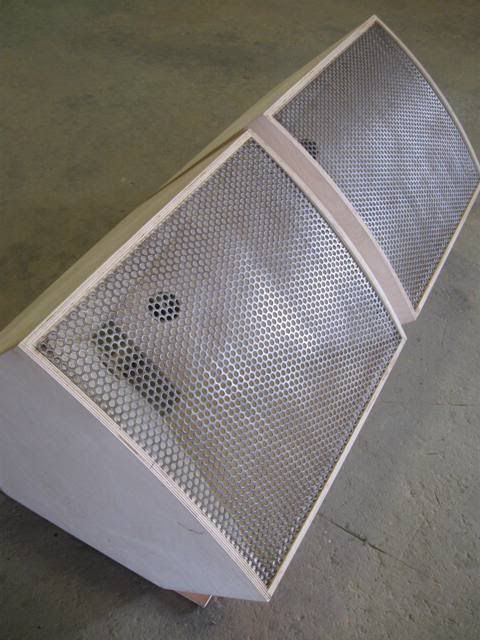
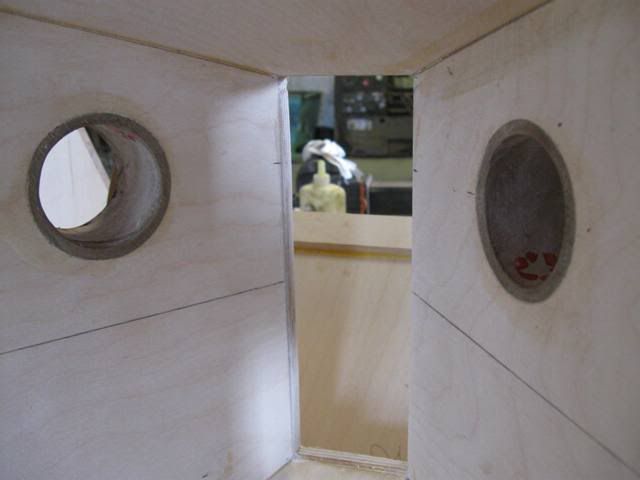
Fit testing the raw grills:
Assembling the handles inner pockets:
Handle pockets and ports ready:
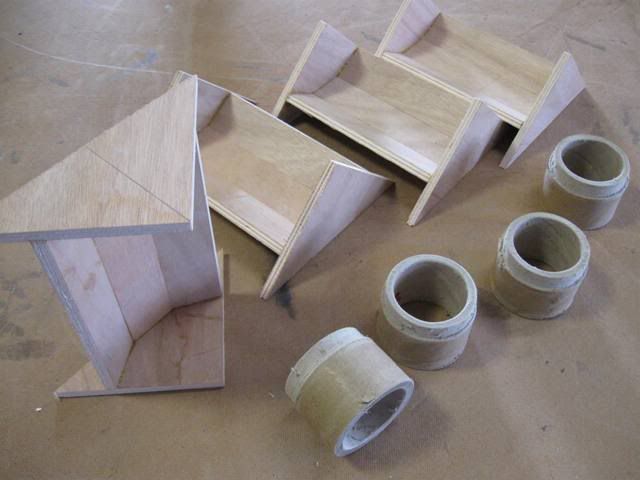
Ports in place:
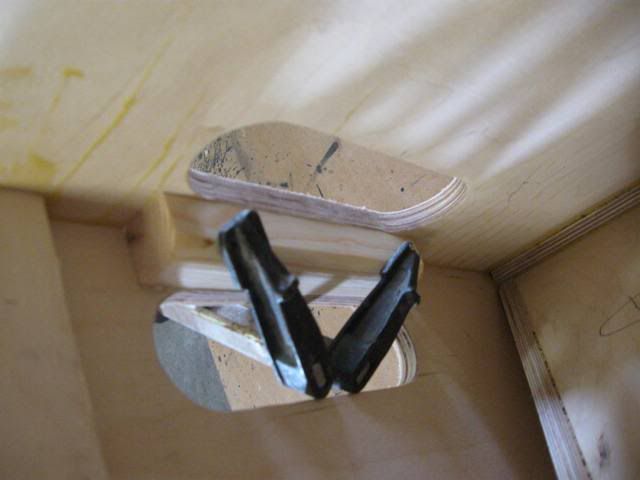
Preparing a handle pocket as a jig for the Piezo array supports:

...And used like this:

Re: Curved Grill WH10
Posted: Thu Apr 07, 2011 4:38 pm
by AntonZ
Curious to see how these handle pockets are going to work out.
You make it look so simple. Somewhat frustrating I must admit, but keep them pictures coming. Nice work, Nimrod!
Re: Curved Grill WH10
Posted: Sat Apr 09, 2011 9:17 am
by N.Webber
AntonZ wrote:Curious to see how these handle pockets are going to work out.
...Like this:
Drilling the handle’s cutout end radiuses with a 44mm (1-3/4”) dia. cup drill:

Cutting the straight edges:
The handle pocket will eventually be glued like this:

And this is how it will look from outside:
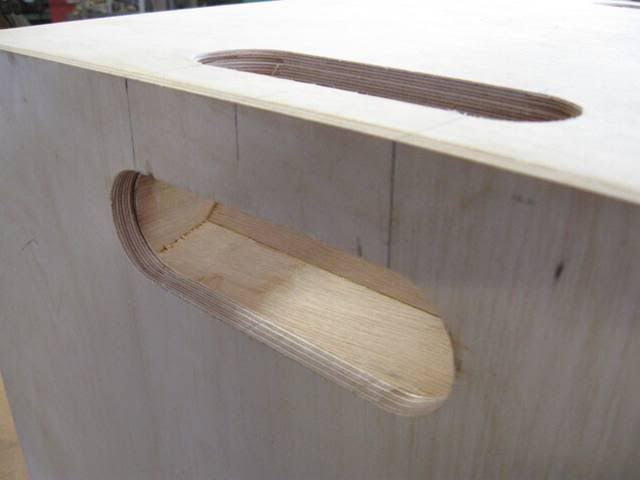
Of coarse the cutouts outer edges will be rounded, as well as the cab’s corner.
Also, the handle inner corner (between the two cutouts) will be fitted with a rounded filler.
Re: Curved Grill WH10
Posted: Sat Apr 09, 2011 9:48 am
by jjohnson
N.Webber wrote:Of coarse the cutouts outer edges will be rounded, as well as the cab’s corner. Also, the handle inner corner (between the two cutouts) will be fitted with a rounded filler.
Can you tell us the distance you're using from the corner to the edge of the handle? Also, what size of filler have you found to be comfortable? I'm just asking since my last handle was not as comortable as I wanted.
Re: Curved Grill WH10
Posted: Sat Apr 09, 2011 12:02 pm
by N.Webber
jjohnson wrote:Can you tell us the distance...
Here you go...

Re: Curved Grill WH10
Posted: Sat Apr 09, 2011 4:12 pm
by jjohnson
N.Webber wrote:jjohnson wrote:Can you tell us the distance...
Here you go...
Nice!!! Wish I could get my drawings to look that good.
Re: Curved Grill WH10
Posted: Mon Apr 11, 2011 12:53 pm
by thomas
Brilliant build!
Re: Curved Grill WH10
Posted: Mon Apr 11, 2011 1:17 pm
by Harley
N.Webber wrote:Here you go...
What programme is that Nimrod?
Re: Curved Grill WH10
Posted: Mon Apr 11, 2011 1:58 pm
by N.Webber
Harley wrote:What programme is that Nimrod?
Gooo...d old SketchUp
http://sketchup.google.com/intl/en/index.html
Re: Curved Grill WH10
Posted: Thu Apr 14, 2011 11:30 am
by N.Webber
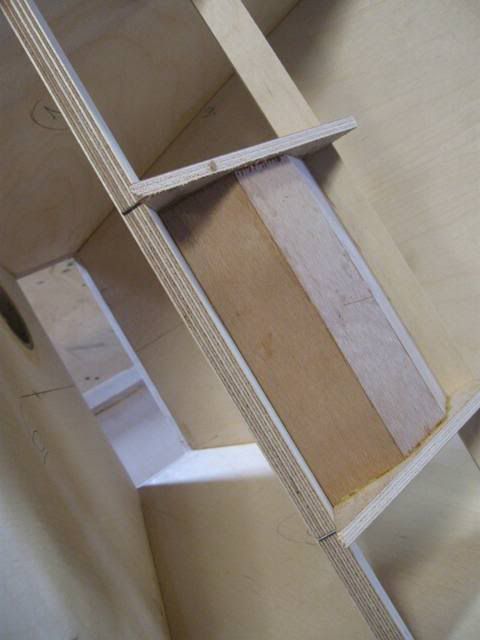
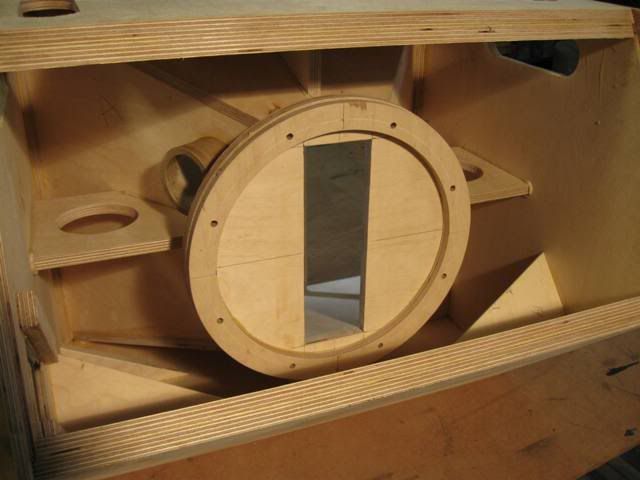
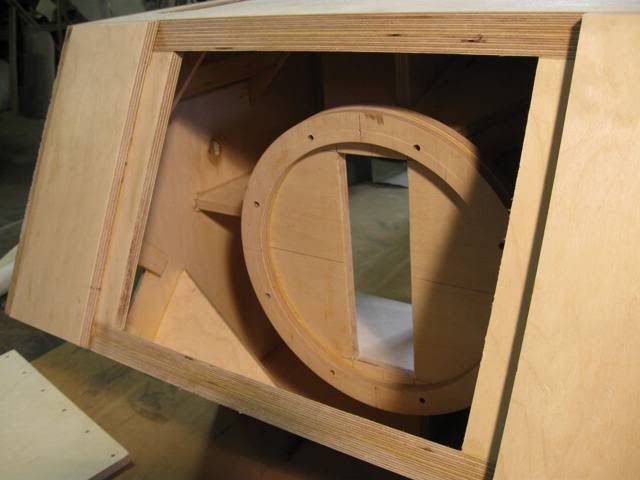
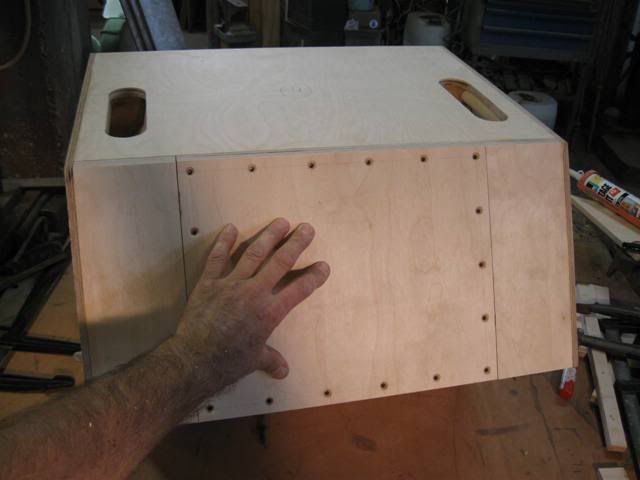
Some more cab building:
Handle inner filler glued in place:
All horn braces in place:
Handle pocket glued:
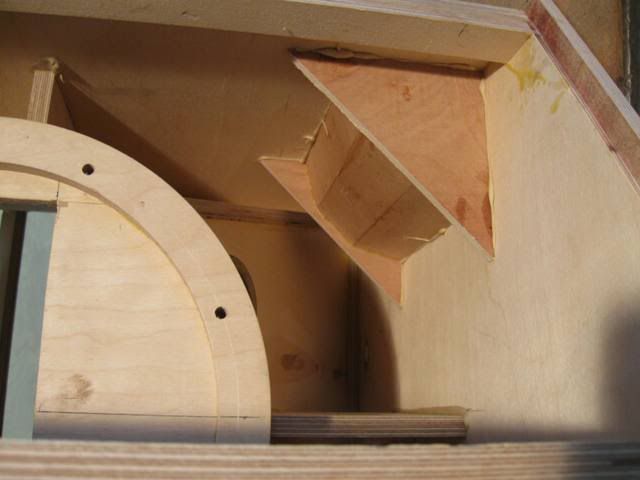
Attaching upper back side pieces:

Adding side flanges for the access panel:
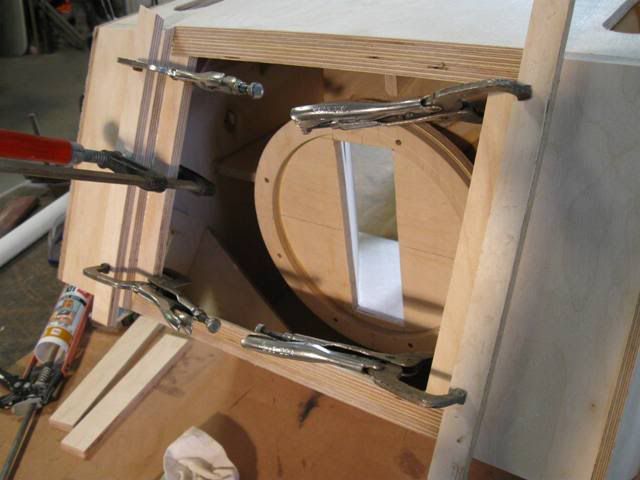
Cab main assembly complete:
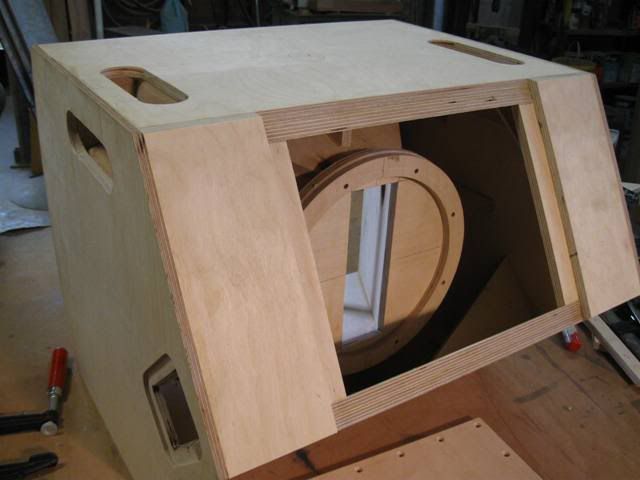
Close-up of access opening:
And dry fitting the access cover:
Next/hopefully tomorrow: The part I love… routing
Re: Curved Grill WH10
Posted: Thu Apr 14, 2011 11:53 am
by lazyman
Really nice work!
Are this white foam good for fillers, its not too soft, or acoustic absorbent ?
Re: Curved Grill WH10
Posted: Thu Apr 14, 2011 12:50 pm
by N.Webber
lazyman wrote:Really nice work!
Are this white foam good for fillers, its not too soft, or acoustic absorbent ?
Thanks..
I think/hope this material is ok, as I have used it also for my DR290s…
It is relatively stiff and
closed cell foam, so to my understanding should do the job.
Re: Curved Grill WH10
Posted: Fri Apr 15, 2011 10:23 am
by N.Webber
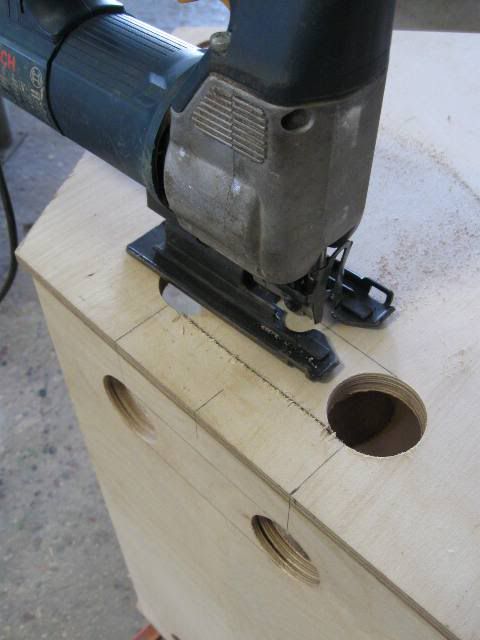
Routing done. The corner rounding was straight forward, 5mm radius for the handles cutouts and 10mm radius for the shell/sides corners.
The front lip edges were just hand sanded to create a radius of about 2mm. I've added recesses for the cabs feet on the two optional bases.
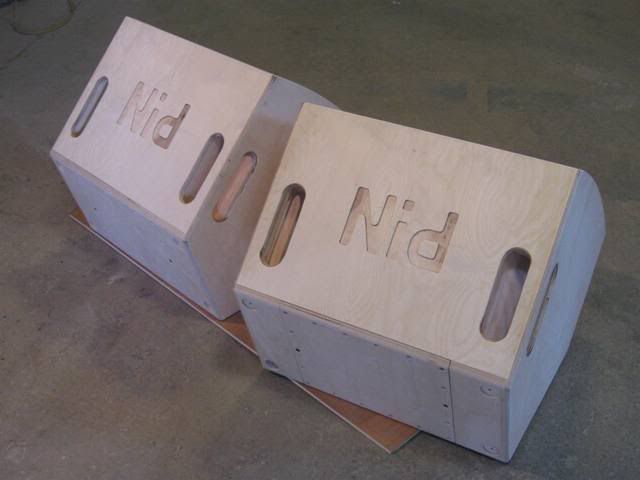
For those interested, here is how I did the logo routing (CNC = See & Copy…

)
The router is fitted with a 15 deg. conical bit and a template follower. The depth was set to 3mm (over the template's thickness):

The cab's panel is marked for the center of the logo (in this case, the center of the panel):

The template is positioned up to the center marking and clamped:
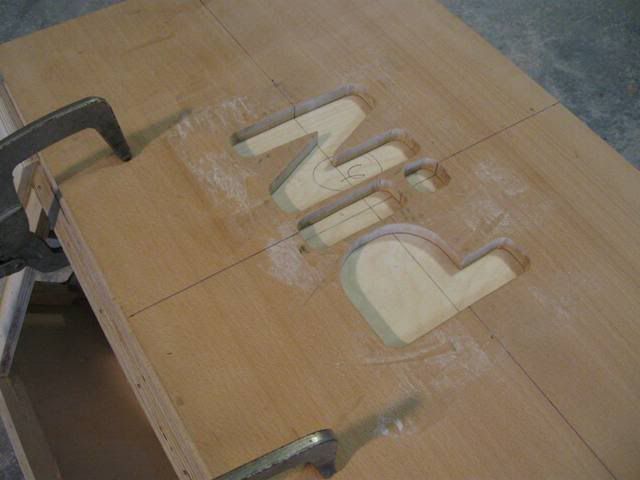
The "d" is fitted with the first stage removable 'sub-template':
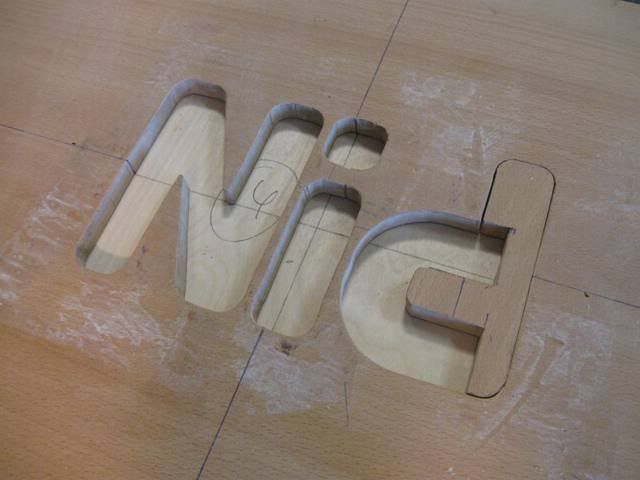
Routing the first stage complete:
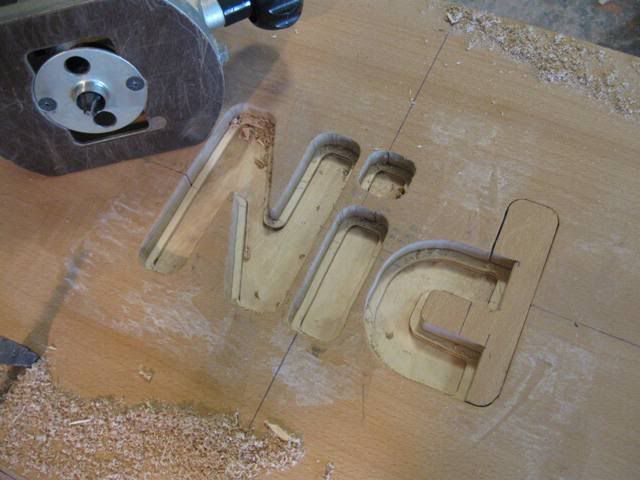
Replacing the "d" sub-templates:

Completing the second stage of the "d":
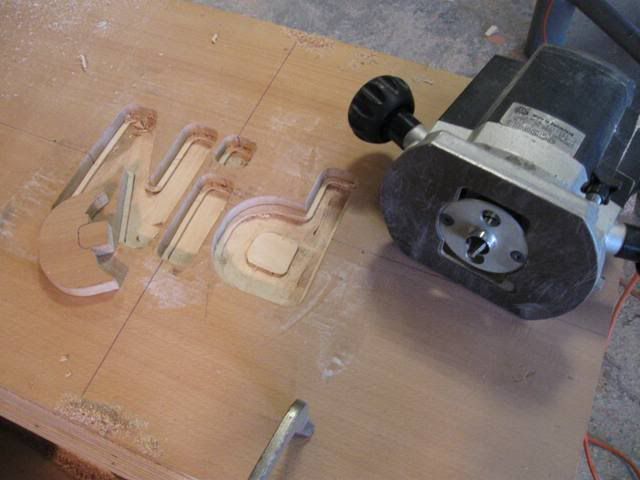
Template removed, edges sanded lightly, done:

Next: minor Bondo touchups, sanding and… paint.