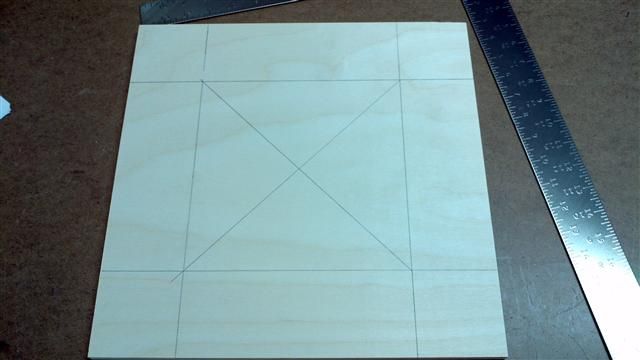
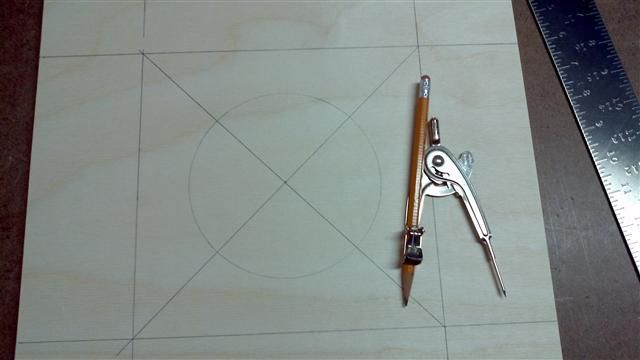
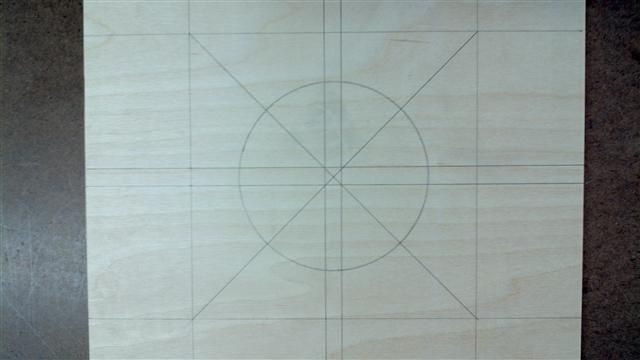
I'm going with Delta Pro's b/c I got a pretty good deal on them. The extra 9 pounds per driver will add up when I'm stacking them two-high, but it is what it is; they're present and paid for. I'm building four; two with the melded array and two with the 6-element array. 1/2", 9-ply BB will be purchased this weekend. I plan to at least rough-cut the panels (no angles) this weekend too. I hope to at least get them all rough cut out and labeled as to where they go. We'll see if we get any assembly done.
As of this moment I have all the little parts, everything except the wood, crossovers and Duratex and grills; Leland will be hearing from me soon. It's amazing how many "parts" go into a speaker. Screws for this, jacks for that, corner protectors, feet....it really adds up!
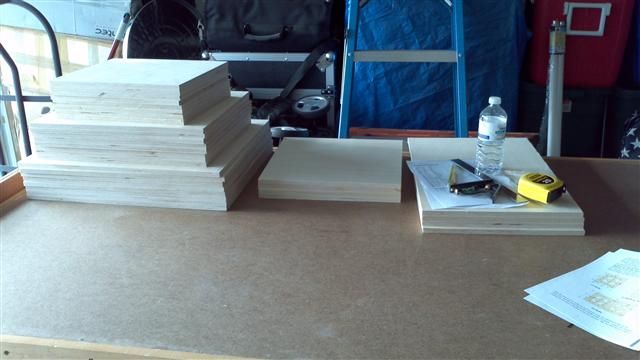
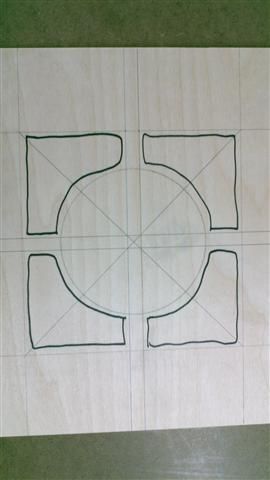
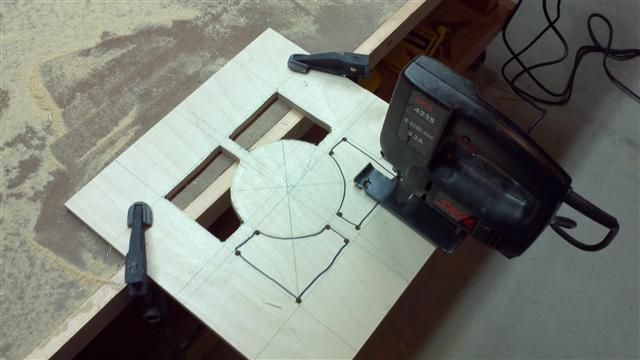
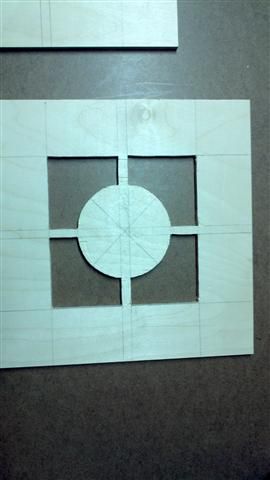
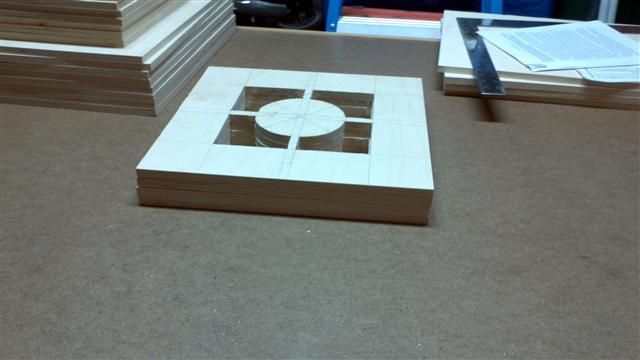
For now, some pics.
It's The Tweeter Army! I need 36, so I bought 40 to allow for (hopefully none) dead tweets and (hopefully none) screwups on my part when it comes time to cut and glue. I'll be building the jigs as to try to eliminate problem areas.

Here are the four Delta Pro's undergoing break-in. Per the plans they are getting 8-10v each, running at 30Hz off a tone gen proggy. I'm running two per side on a Crown XLS1500.

Oooooh, speakers! The bluriness is them vibrating, not camera shake.

DVM showing voltage.

Amp. This is one of my electric bass rigs. The Studio Channel pre above makes a pretty decent bass pre (FYI, IMO).

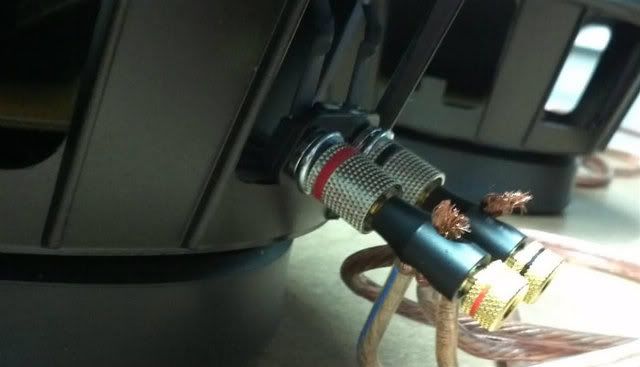
How the speakers are wired in parallel. Amp channel to speaker 1, leads running from speaker 1 to speaker 2.
And finally, a screenshot of NCH Tone Generator. Works very well, extremely small footprint (300KB or so).

More pics to follow this weekend. I've been looking foward to this build for a very long time.