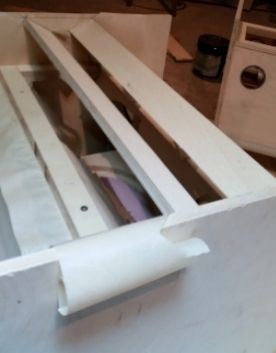
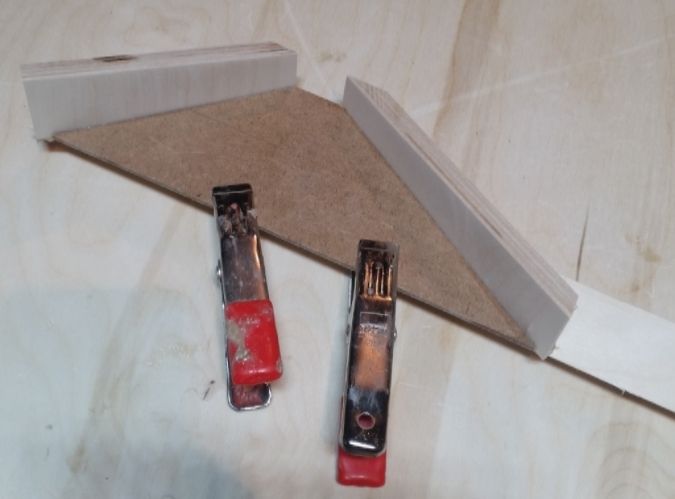
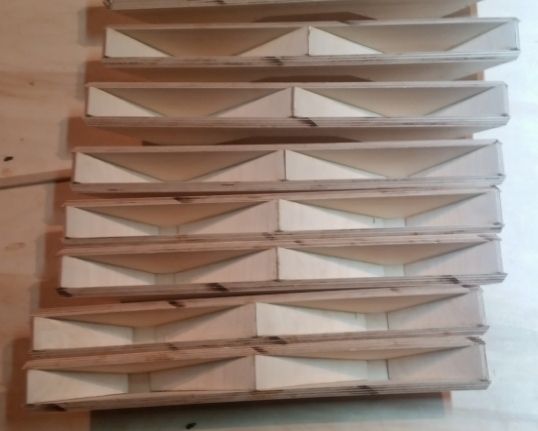
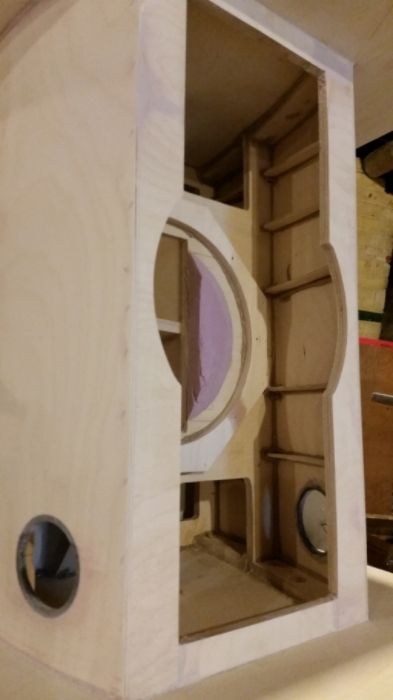
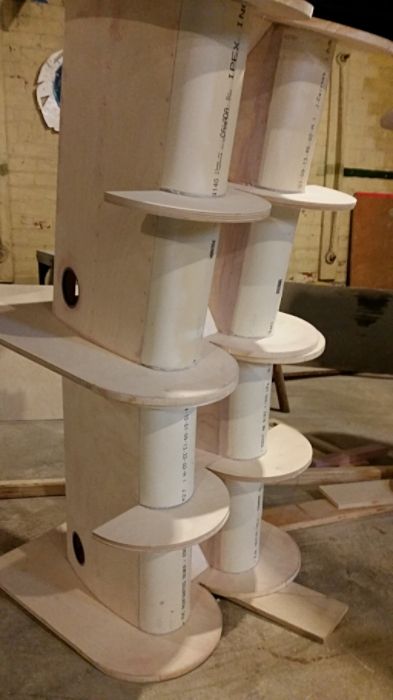
The flex in the horn sheaths was bothering me so I added some 5/8" x 1/8" strips again leaving plenty of room for the vent and I left out the middle section as the middle brace will support that:
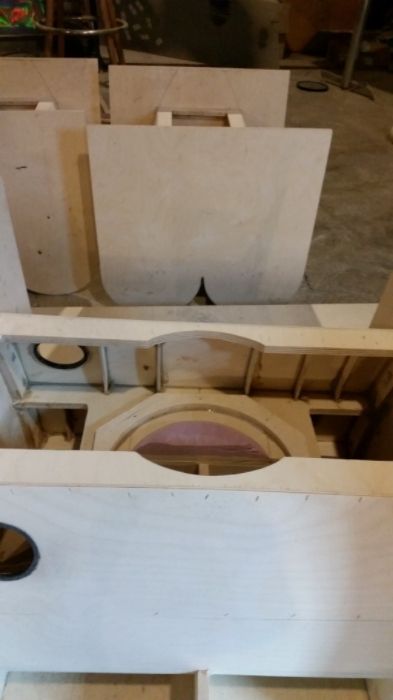
Even though the strips are only 1/8" wide x 5/8" tall, the difference is substantial when you push on them or knock on them. It sounds and feels solid now. I was originally going to put another strip on top of them to make an "I beam" but it wasn't necessary. I didn't cut out the radius or fit them precisely, just lots of PL to fill the gaps. I let that set up overnight and then the next day went in with a syringe filled with PL to fill any missed spots.
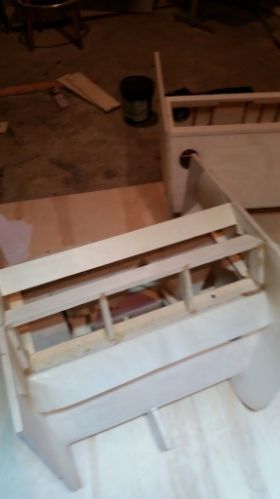
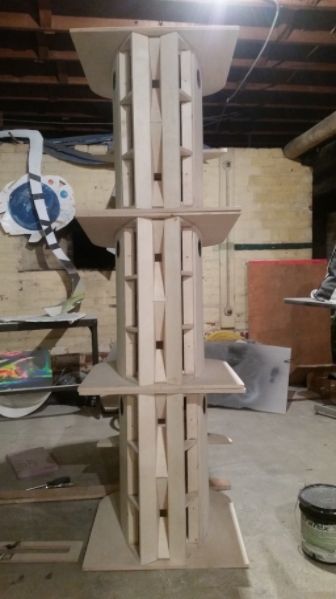
I then did some bodywork to everything but the outside of the cab. I filled all the staple holes, sanded and filled any joint lines and pretty much got everything ready for paint as I will be painting everything without a grill. I know there are panels yet to add but the random orbital won't be able to get everywhere once those panels are attached:
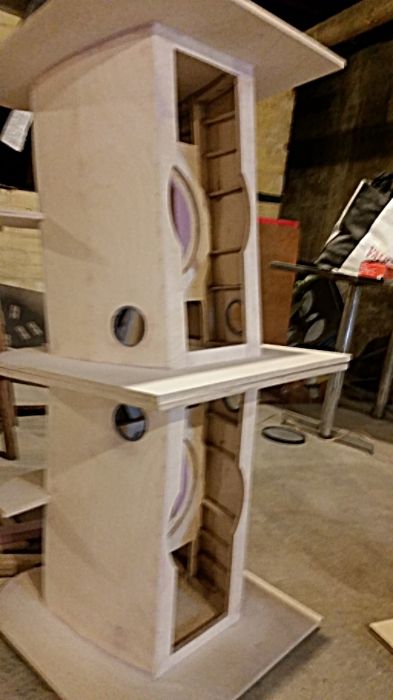
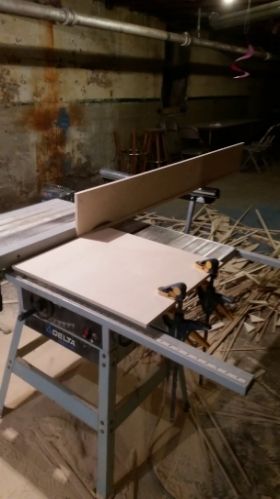
Well that quote didn't make me feel any better, lol. Trying to sand hotmelt in that spot wasn't working and it was bothering me so I got a little carried away with the bondo:LelandCrooks wrote: Scrape the excess glue, sand it a bit, and you're good to go. I make them pretty just because I'm doing for somebody else who's paying me.
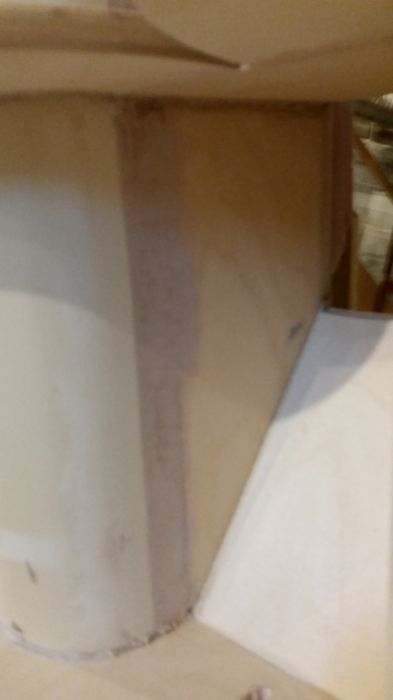
Not that great of a picture but that joint is smooth now!
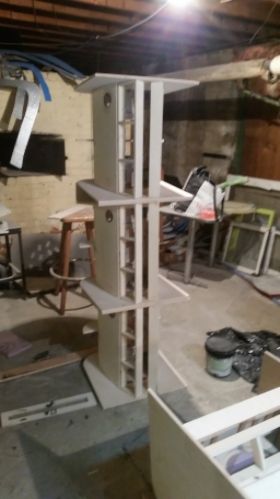
I guess that's the end of that phase. Next up will be the compression horns and modules. I might need some luck to figure those out