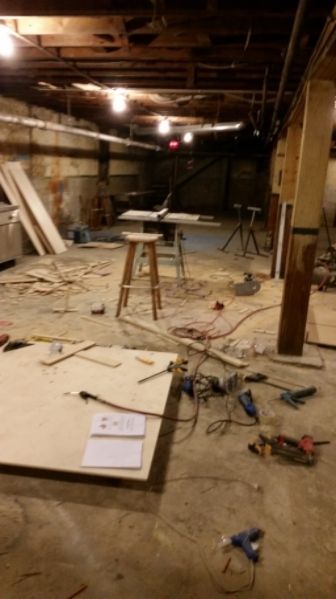
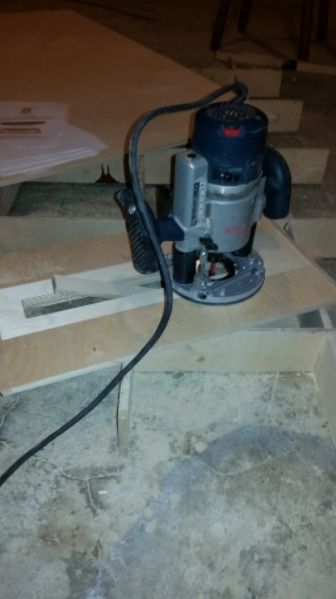
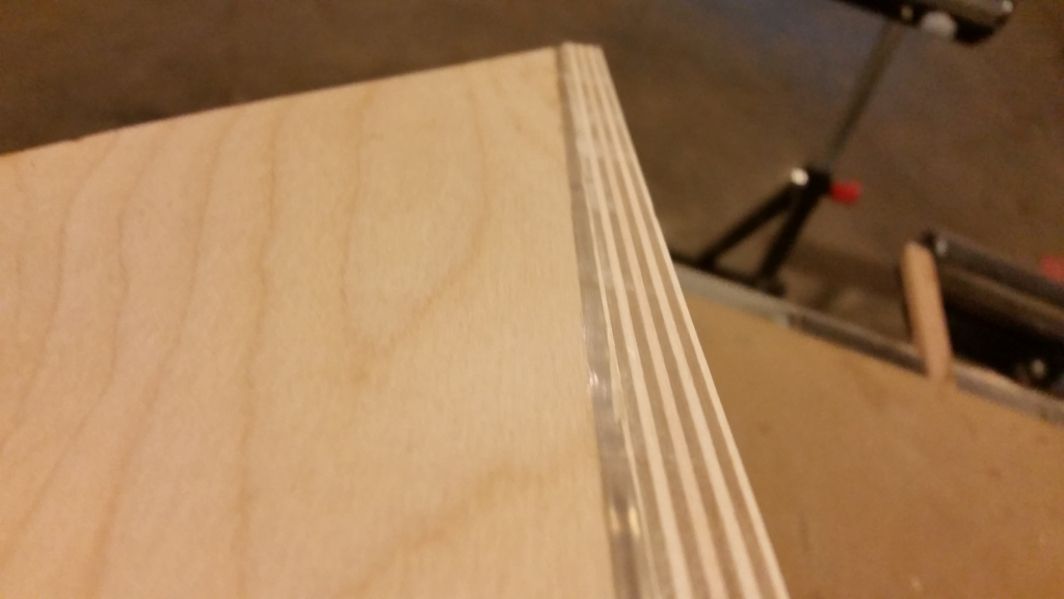
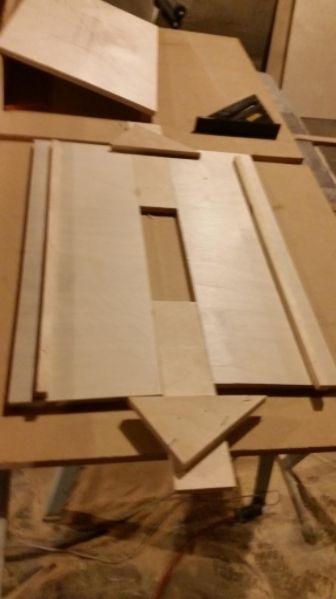
Well those first throat horn sides sure make you realize that you need to get your woodworking skills up to speed. Just trying to make sense of which way the bevel cut goes sure gets your sketchup skills in order as well. If all else fails PL will save the day.
So after the throat horn sides were cut I came up with a pretty good system for quickly making a jig for all the cuts on the tablesaw sled:
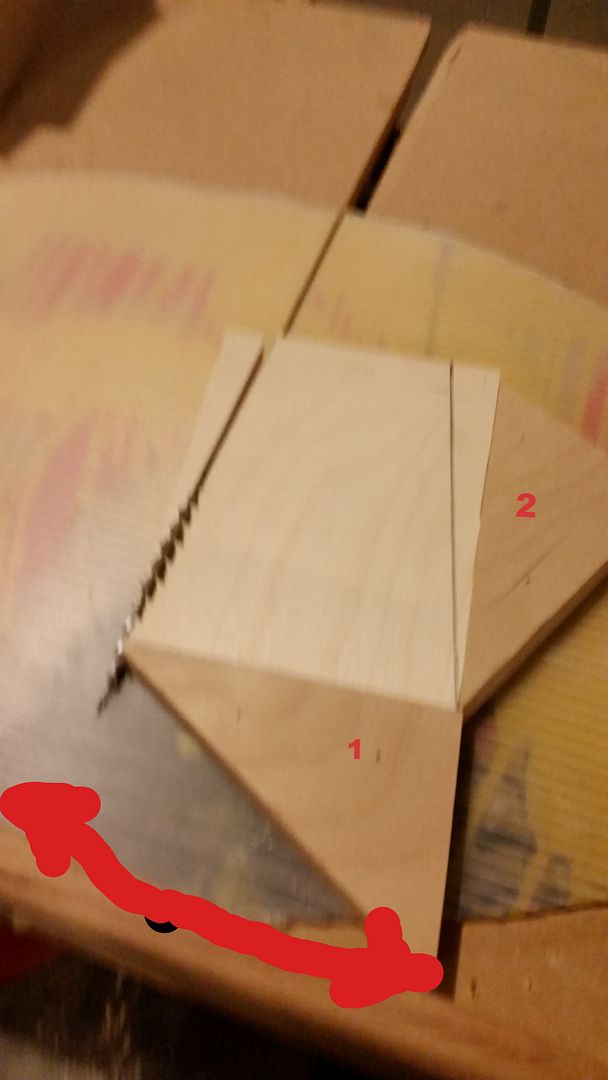
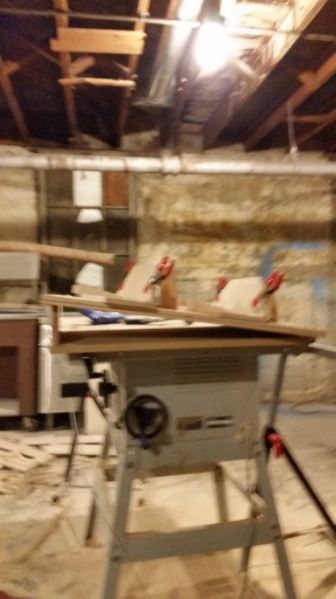
I used a scrap piece of chloroplast laid down to let me know where the saw cut line was as with all the bevel cuts, the cut line wasn't obvious. Then I lined up my cut and using the brad nailer, I nailed down a piece of scrap (1 in the photo) with a couple 1" brads right into the MDF sled. Then going a bit wide I made a test cut and kept on inching my way to the blade until the pencil line lined up. Then I nailed another piece of scrap (2 in photo) to lock in that position. After that I just ran all my other pieces through without measuring or marking the cut lines, just blind faith.
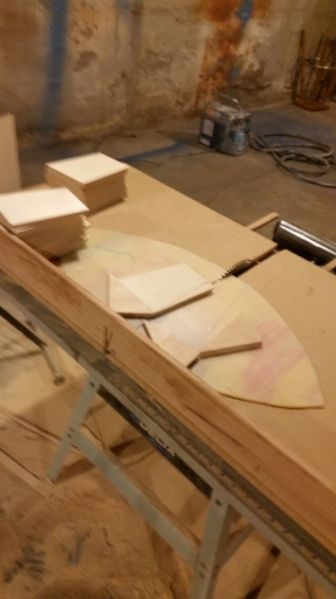
Same system for the other cut on the other side. You can see where I keep the blanks on the left side of the table, run them through, then place them on the right side of the table when done. Wash, rinse and repeat and 8 cuts done in less than a minute. Afterwards, I lift up on the chloroplast and the scrap pieces nailed into the MDF sled top just pop right out.
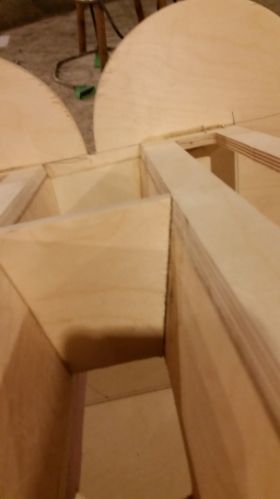
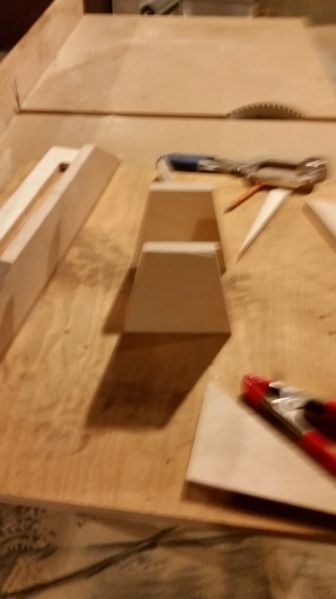
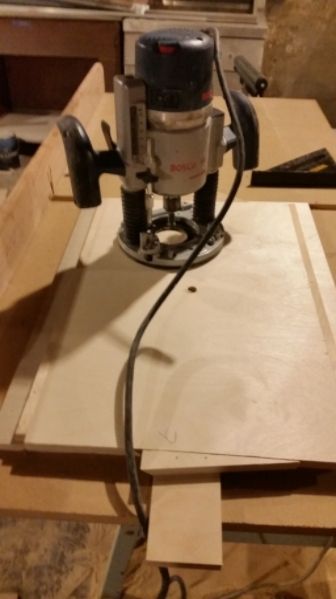
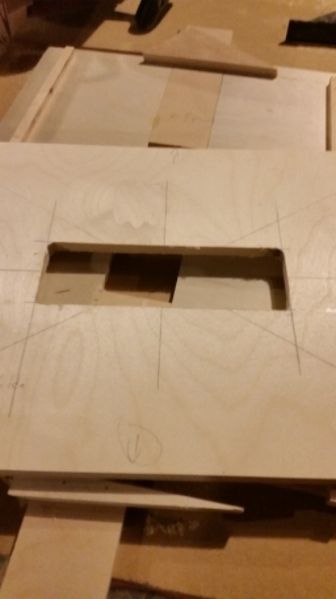
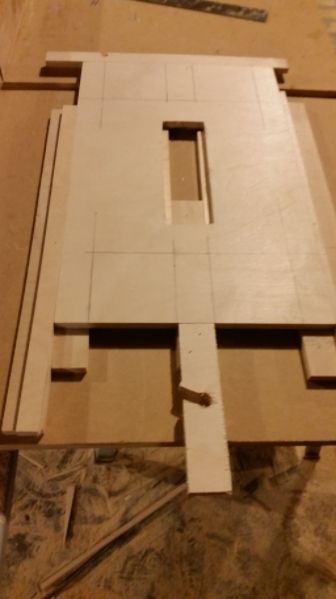
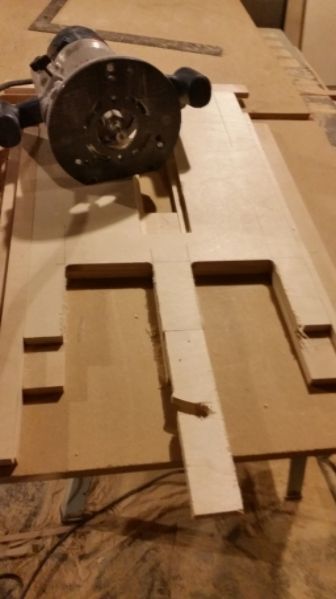
Loving the nail to the sled idea, I made a pattern using scrap to cut the slots in the throat horn supports:
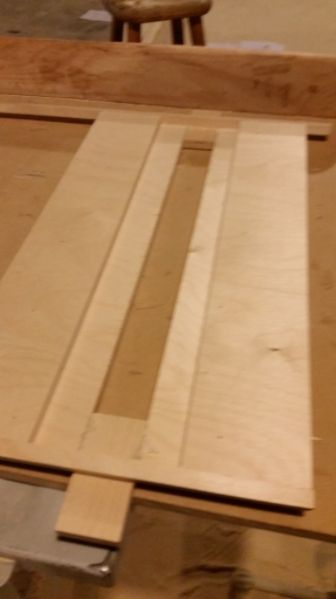
With the brad nailer it only took a couple minutes to put together.
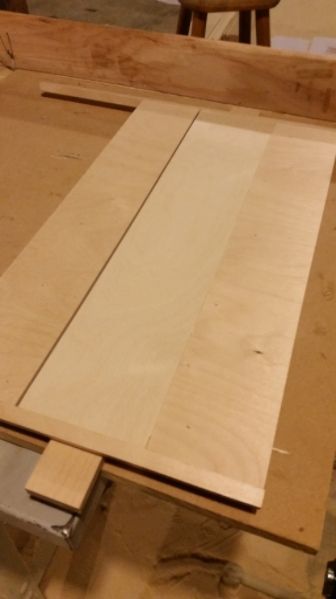
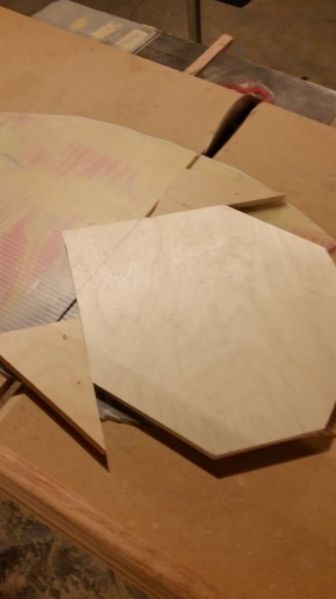
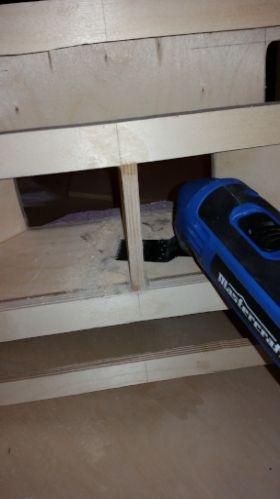
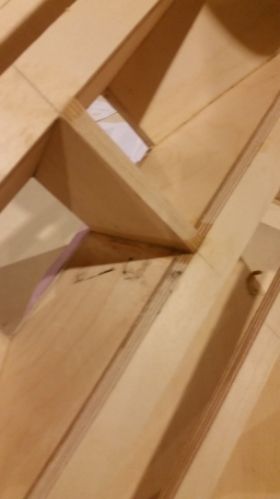
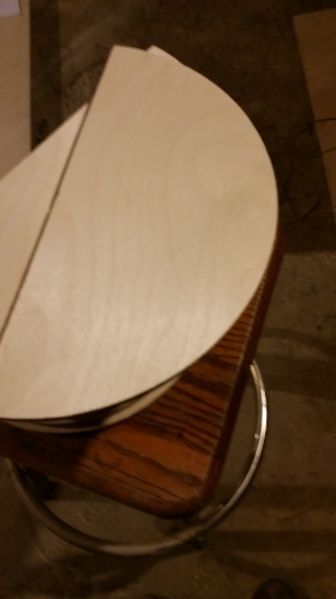
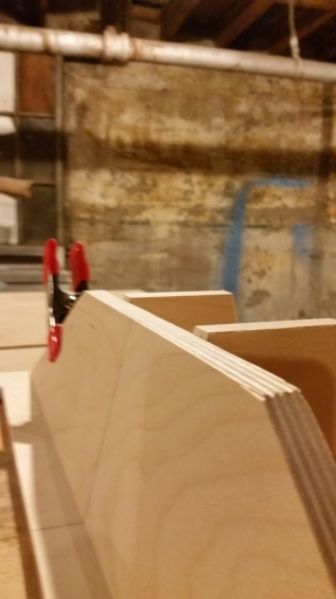
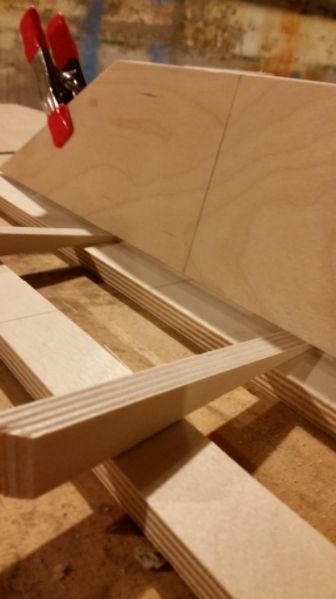
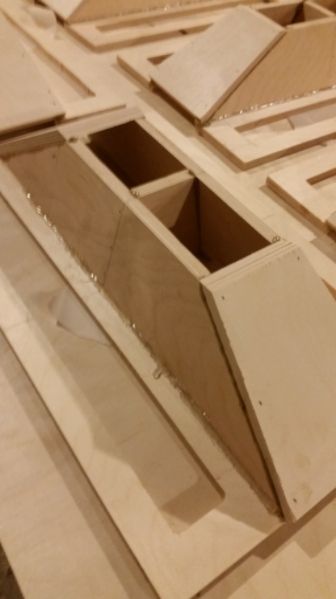
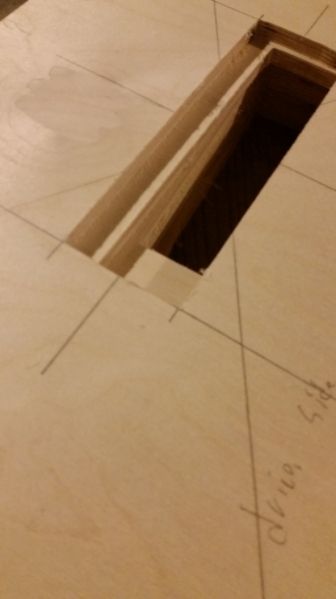
Test fitting the blanks. The small gap is from the bevel on that side, if there was play the cut would come out sloppy.
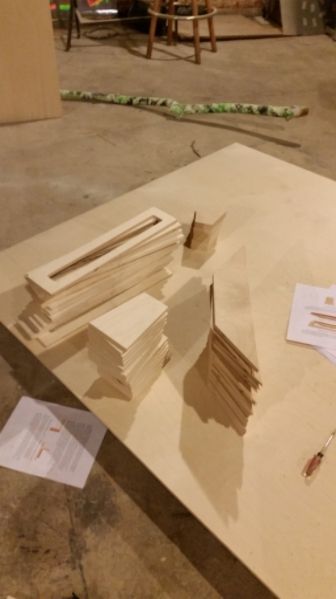
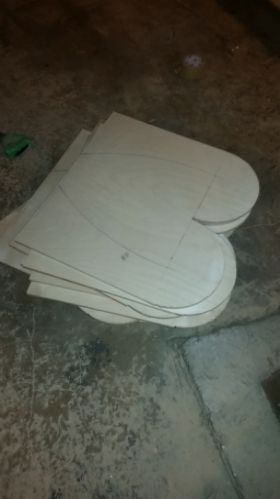
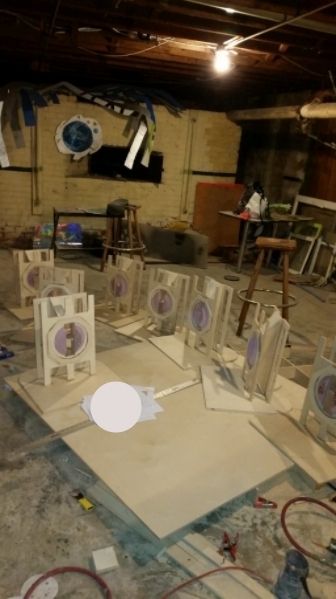
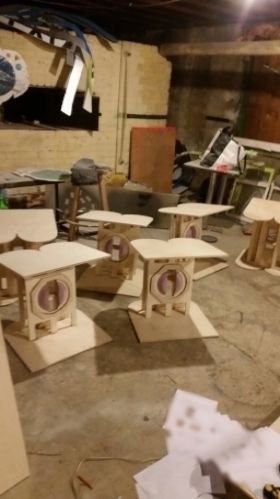
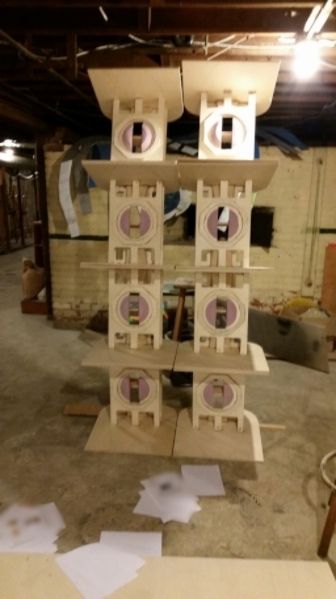
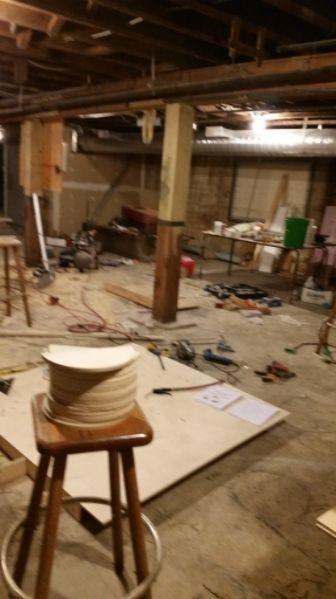
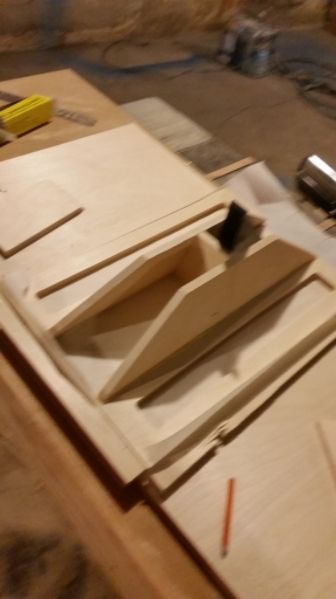
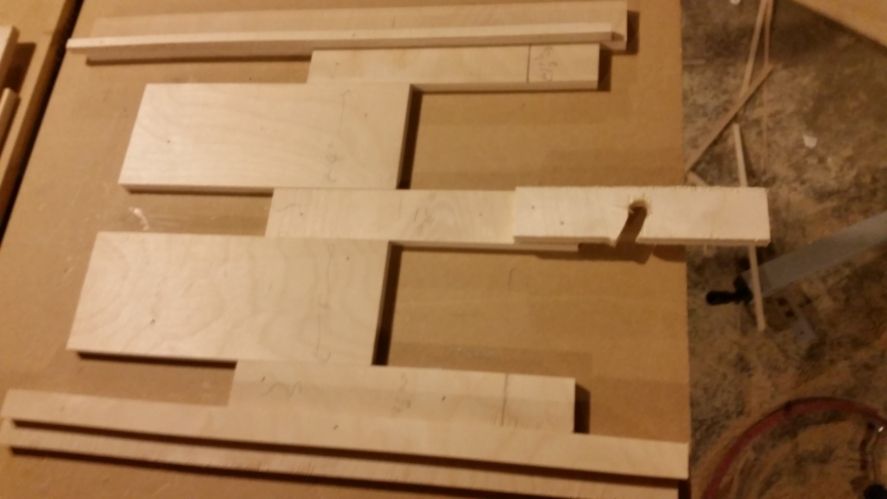
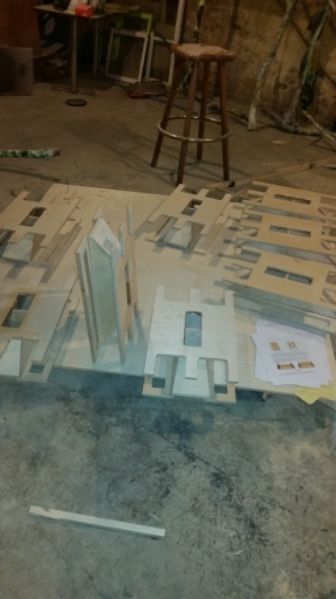
All the throat horn pieces ready for assembly.

 .
.